1. Кіріспе
This manual provides detailed instructions for the installation, operation, and maintenance of your GLEDOPTO Tuya SPI Pixel Controller, Model GL-SPI-206P. This device is designed to control various types of addressable LED strips, including RGBCCT, RGBW, and RGB, offering dynamic lighting effects and smart home integration via ZigBee protocol.
2. Өнім аяқталдыview
The GLEDOPTO GL-SPI-206P is a versatile SPI Pixel LED Controller that integrates with the Tuya/Smart Life ecosystem. It supports a wide range of digital LED strip types and offers advanced features such as dynamic lighting modes, music synchronization, segment control, and voice control compatibility with platforms like Google Assistant, Amazon Alexa, and Yandex Alice.

Image 2.1: GLEDOPTO Tuya SPI Pixel Controller GL-SPI-206P. This image displays the front view of the controller with its input and output terminals, QR code for app download, and regulatory markings. A smartphone screen showing the control app interface is also visible.

Image 2.2: Key features of the GLEDOPTO ZigBee Tuya SPI Pixel Controller. This image highlights features such as Music Sync, Multiple Color Scenes, Segmental Control, and compatibility with various IC chipsets, Amazon Alexa, Smart Life, and Home Assistant.
3. Техникалық сипаттамалар
| Ерекшелік | Мәлімет |
|---|---|
| Өнім атауы | Tuya SPI Pixel LED Controller |
| Үлгі нөмірі | GL-SPI-206P |
| Кіріс көлеміtage | DC 5-24V |
| Max IC Quantity | 1000 |
| Жалпы шығыс тогы | 15А макс |
| Өлшемдері | 108 x 45 x 18 мм |
| Жұмыс температурасы | -20 - 45 °C |
| Протокол | ZigBee + 2.4G RF |
| Supported LED Strips | WS2811, TM1814B (RGBW), TM1934A, SK6812 (RGBW), SK9822, UCS2904B (RGBW), UCS8904B (RGBW), WS2801, LPD6803, LPD8803, WS2805 (RGBCCT), etc. |
| Материал | Поликарбонат |
4. Орнату
4.1. Электр схемасы
Proper wiring is crucial for the correct functioning of the controller and LED strips. Ensure all connections are secure and match the polarity and data lines of your specific LED strip type.

Image 4.1: Wiring diagrams for various LED strip types. This image illustrates how to connect WS2811, WS2801, and TM1934A LED strips to the controller's V+, Data (DI/BI), Clock (CI), and Ground (GND) terminals.
- V+: Connect to the positive (+) terminal of your DC power supply.
- V-: Connect to the negative (-) terminal of your DC power supply.
- Data1/DI: Connect to the Data Input line of your LED strip.
- Clk1/CI: Connect to the Clock Input line of your LED strip (for strips requiring a clock signal).
- Gnd: Connect to the Ground line of your LED strip and the negative (-) terminal of your DC power supply.
- Кіріс көлемін қамтамасыз етіңізtage (5-24V DC) matches the requirements of your LED strip and power supply.
4.2. Қолданбаны орнату
To control the GLEDOPTO SPI Pixel Controller, download the Tuya Smart or Smart Life application on your smartphone or tablet.
- Контроллердегі QR кодын сканерлеңіз немесе кіріңіз smartapp.smart321.com/smartlife қолданбаны жүктеп алу үшін.
- Install the application and register an account if you don't already have one.
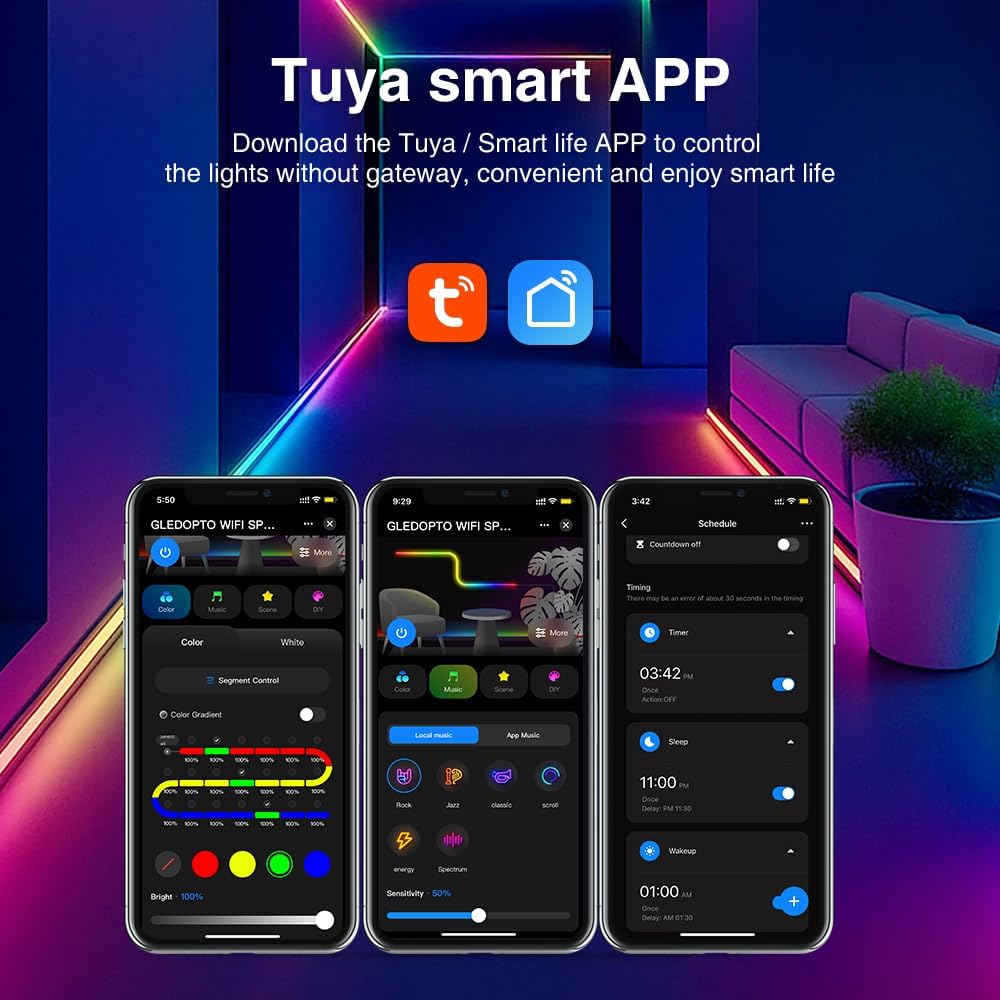
Image 4.2: Tuya Smart APP interface. This image shows various control screens within the Tuya/Smart Life app, including color selection, scene modes, and scheduling options.
4.3. Құрылғыны жұптастыру
Follow these steps to pair your controller with the Tuya/Smart Life app:
- Смартфоныңыздың 2.4 ГГц Wi-Fi желісіне қосылғанына көз жеткізіңіз.
- Tuya Smart немесе Smart Life қолданбасын ашыңыз.
- Add a new device by tapping the "+" icon in the top right corner.
- Select "Lighting" or "LED Controller" from the device list.
- Power on the GLEDOPTO controller. If it does not automatically enter pairing mode (indicated by a blinking light), press and hold the "Push" button on the controller for approximately 5-10 seconds until the indicator light blinks rapidly.
- Жұптастыру процесін аяқтау үшін қолданбадағы экрандағы нұсқауларды орындаңыз.
5. Пайдалану нұсқаулары
5.1. Dynamic Effects and Customization
The controller offers over 40 built-in dynamic modes. You can also create and customize your own lighting effects through the app.

Image 5.1: App interface for DIY dynamic effects. This image shows options for selecting various dynamic effects like Gradient, Jump, Breathe, Flickering, and customizing their speed and colors.
- Navigate to the "DIY" or "Scene" section within the app.
- Choose from predefined effects or select "Add DIY" to create a new one.
- Adjust parameters such as color, speed, and effect type to achieve your desired lighting.
5.2. Segment Control
Divide your LED strip into up to 20 segments for individual dimming and color adjustments, allowing for intricate lighting designs.

Image 5.2: App interface demonstrating segment control. The image shows a slider for "Segment Control" and individual color/brightness controls for different sections of an LED strip.
- Access the "Segment Control" feature in the app.
- Define the number of segments and their respective lengths.
- Independently adjust the color and brightness for each segment.
5.3. Топтық бақылау
Control multiple GLEDOPTO devices simultaneously by creating groups within the Tuya/Smart Life app.

Image 5.3: Diagram illustrating group control. This image shows a house layout with multiple GLEDOPTO devices (represented by Wi-Fi symbols) being controlled from a single smartphone app.
- In the app, go to the device settings and select "Create Group".
- Add other compatible GLEDOPTO devices to the group.
- Control all devices in the group with a single command.
5.4. Music Synchronization
The controller can synchronize lighting effects with music, either by capturing sound through its built-in microphone or your phone's microphone.

Image 5.4: App interface for music synchronization. This image shows options for "Local music" and "APP music" to create rhythmic lighting effects based on audio input.
- Access the "Music" section in the app.
- Choose between "Local music" (using your phone's microphone) or "APP music" (using the controller's built-in microphone).
- The lights will react to the rhythm and beat of the music.
5.5. Өшірулі жад функциясы
Контроллерде екі қосымша режимі бар өшірулі жад функциясы бар:

Image 5.5: Illustration of power-off memory modes. One mode remembers the last state before power failure, while the other lights up by default when powered on. The "Push" button on the controller is highlighted for mode selection.
- Соңғы күйді есте сақтаңыз: The controller will resume its last settings (on/off, color, mode) after a power interruption.
- Әдепкі қосулы: The controller will turn on with a default setting when power is restored.
- To switch between these modes, short press the "Push" button on the controller three times.
5.6. Дауыспен басқару
Integrate your GLEDOPTO controller with popular voice assistants for hands-free control.
- Ensure your controller is paired with the Tuya/Smart Life app and linked to your Google Assistant, Amazon Alexa, or Yandex Alice account.
- Дауыстық пәрмендерді пайдаланыңыз, мысалы:
- "Alexa, turn on [Device Name]."
- "Hey Google, set [Device Name] to blue."
- "Yandex, dim [Device Name] to 50%."
6. Техникалық қызмет көрсету
- Keep the controller in a dry environment, away from direct sunlight and extreme temperatures.
- Құрылғыны жұмсақ, құрғақ шүберекпен тазалаңыз. Сұйық тазалағыштарды немесе еріткіштерді пайдаланбаңыз.
- Қызып кетуді болдырмау үшін контроллердің айналасында дұрыс желдетуді қамтамасыз етіңіз.
7. Ақаулықтарды жою
| Мәселе | Ықтимал себебі | Шешім |
|---|---|---|
| Жарықдиодты жолақ жанбайды. | No power, incorrect wiring, faulty LED strip. |
|
| Controller cannot be paired with the app. | Incorrect pairing mode, Wi-Fi issues, app version. |
|
| Түстер дұрыс емес немесе сәйкес келмейді. | Incorrect LED strip type selected in app, faulty strip. |
|
| Дауыспен басқару жұмыс істемейді. | Not linked to voice assistant, incorrect device name. |
|
8. Кепілдік және қолдау
Warranty information for the GLEDOPTO Tuya SPI Pixel Controller GL-SPI-206P is not explicitly provided in the product details. For specific warranty terms or technical support, please contact your retailer or the manufacturer directly.
For further assistance, please refer to the GLEDOPTO official webсайтына өтіңіз немесе тұтынушыларға қызмет көрсетуге хабарласыңыз.