1. Қауіпсіздік туралы маңызды ақпарат
Please read and understand all instructions before beginning installation. Failure to follow these instructions could result in electric shock, fire, or personal injury.
- Орнату немесе техникалық қызмет көрсету алдында автоматты ажыратқыштың қуат көзінен ажыратылғанына көз жеткізіңіз.
- Барлық сымдар ұлттық және жергілікті электр нормаларына сәйкес болуы керек.
- The ceiling fan must be mounted to a structure capable of supporting a minimum of 35 lbs (15.9 kg).
- Желдеткішті пышақтары немесе корпусы зақымдалған кезде пайдаланбаңыз.
- Желдеткіш жұмыс істеп тұрған кезде қолдарды, киімдерді және басқа заттарды желдеткіш қалақтарынан алыс ұстаңыз.
- Бұл желдеткіш тек үй ішінде пайдалануға арналған.
2. Пакет мазмұны
Verify that all components listed below are included in your package. If any parts are missing or damaged, contact LEDLUX customer support before proceeding with installation.
- Мотор корпусының жинағы
- Желдеткіш пышақтары (8 дана)
- Төмен түсетін шыбықтар (4.5", 12", 24" нұсқалары)
- Бекіту кронштейні
- Қашықтан басқару пульті және қабылдағыш
- Аппараттық жинақ (бұрандалар, шайбалар, сым гайкалар)
- Нұсқаулық
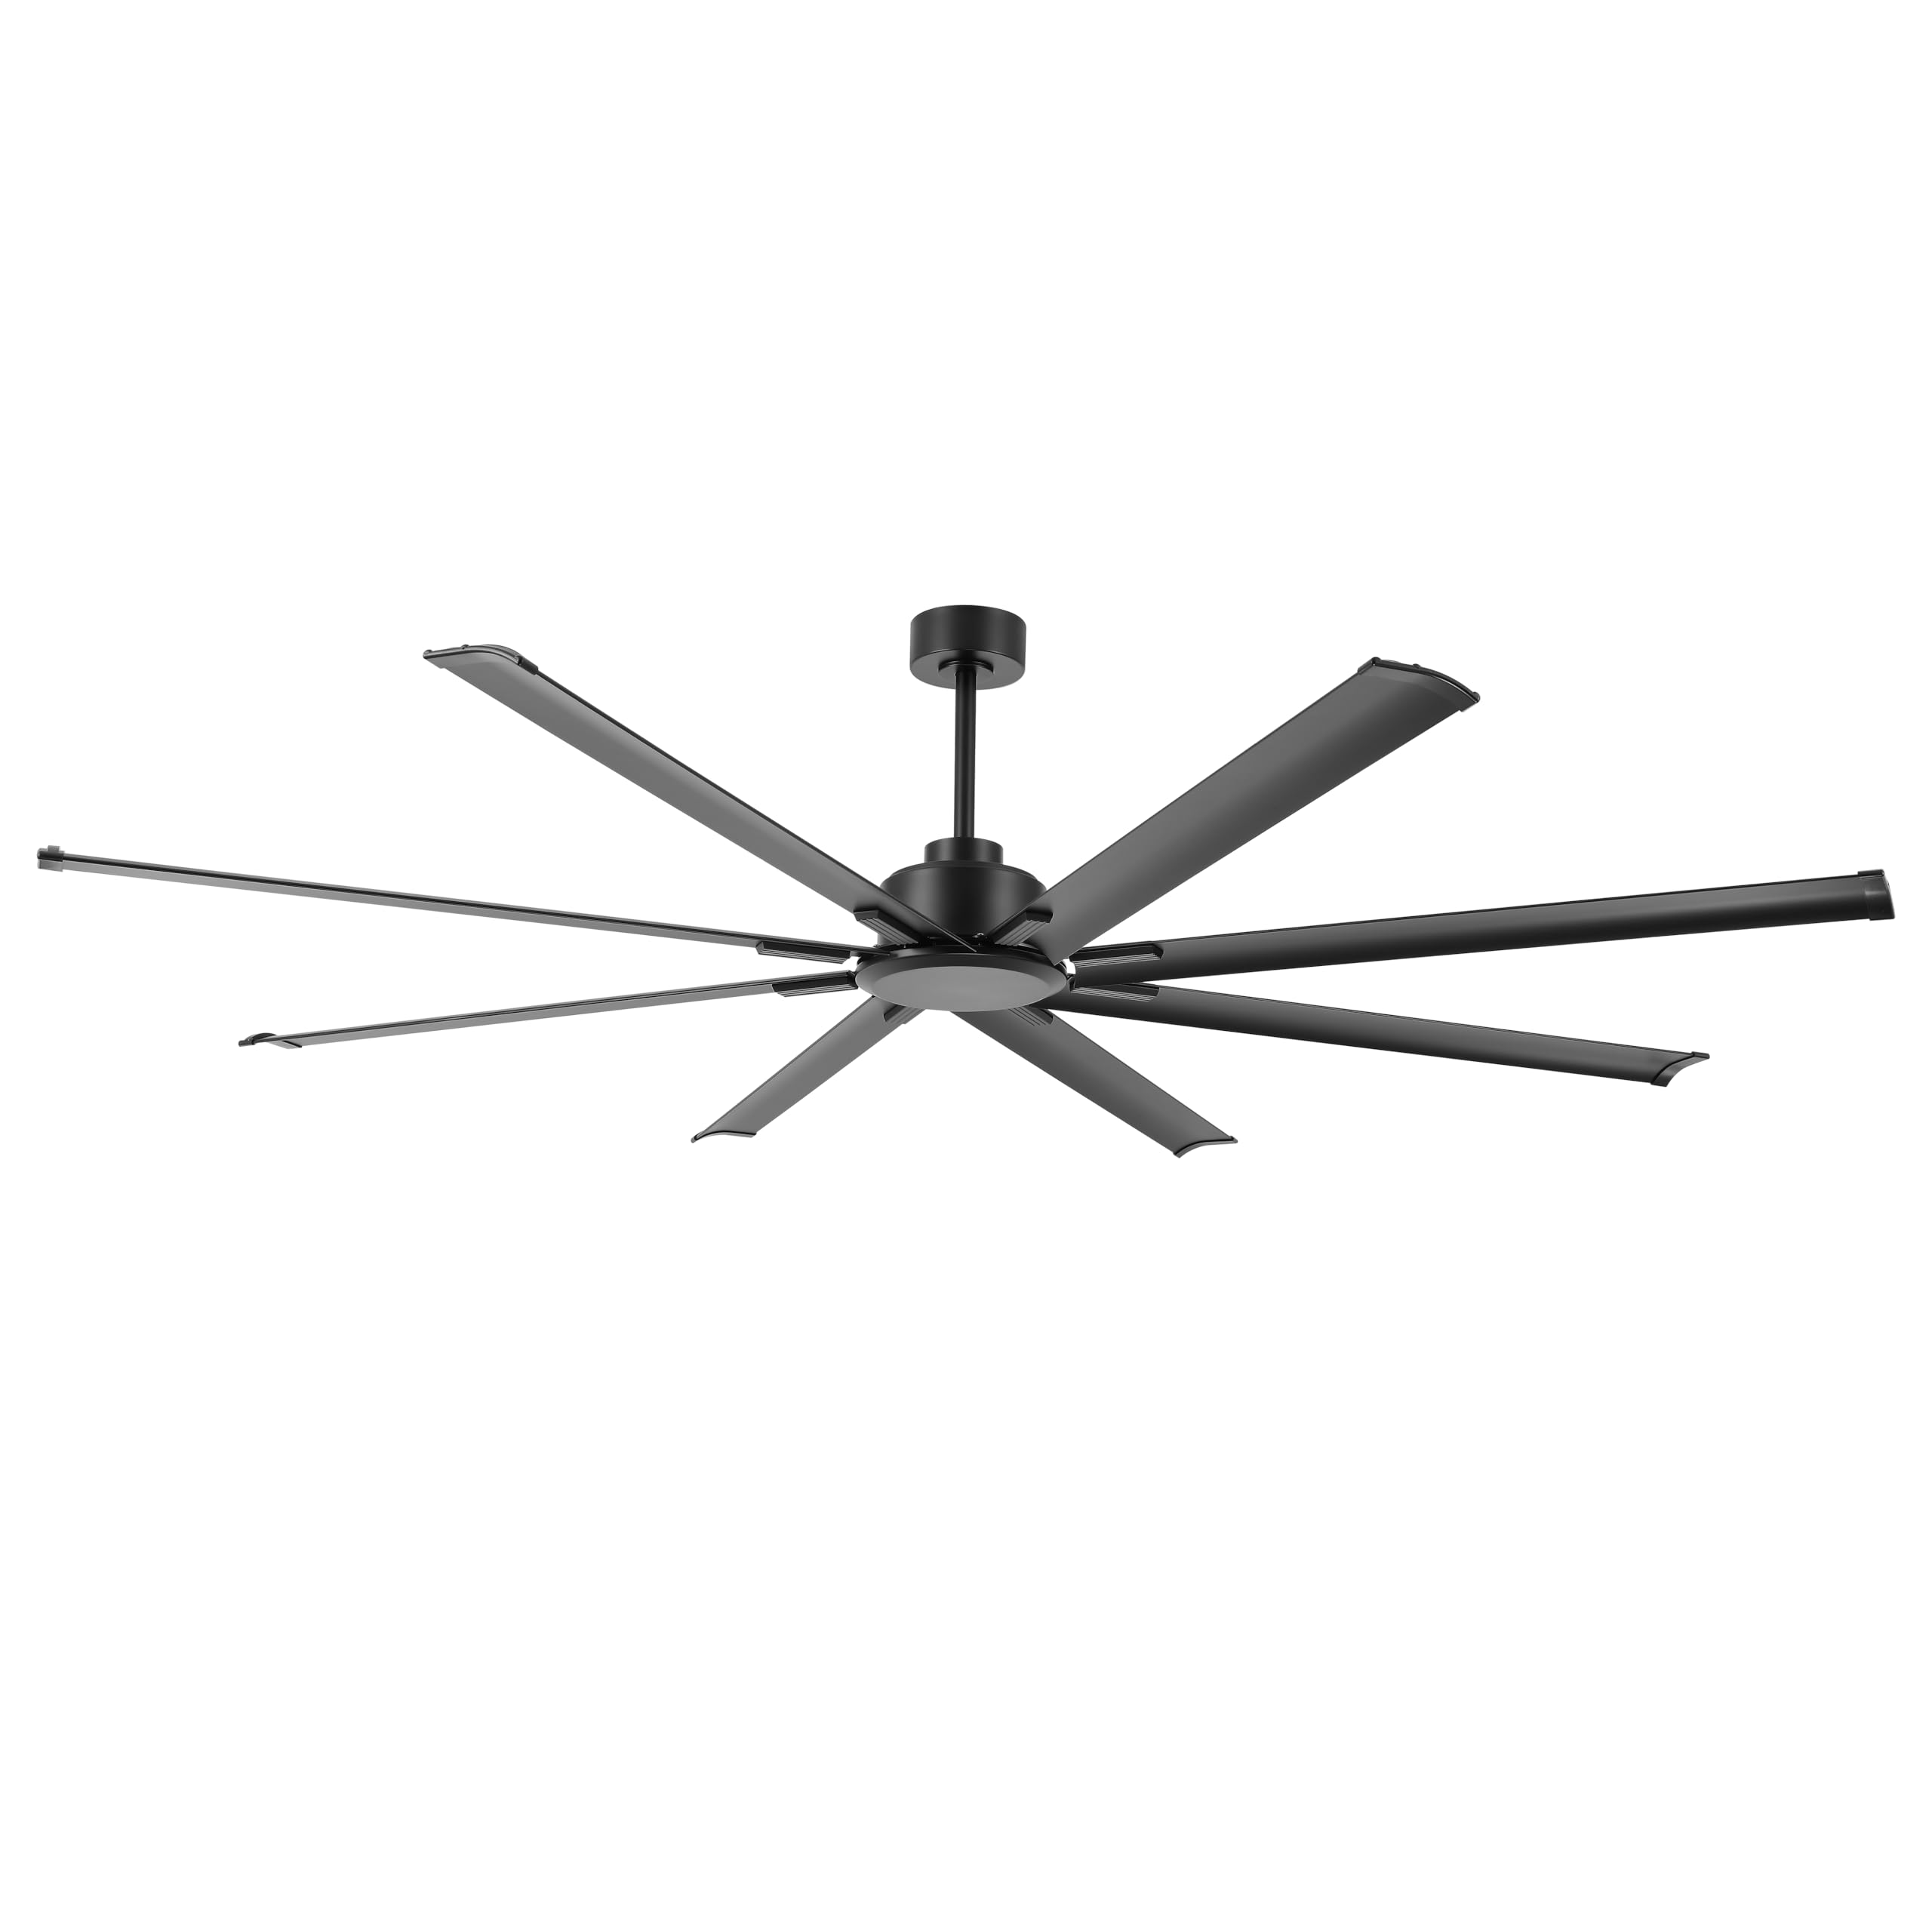
Image: The LEDLUX 96-inch ceiling fan, showcasing its eight black aluminum blades, central motor housing, and the included remote control. This image provides an overview of the main product components.
3. Орнату және орнату
Follow these steps carefully for proper installation of your LEDLUX ceiling fan.
3.1 Орнату алдындағы бақылау тізімі
- Негізгі ажыратқыштағы қуатты өшіріңіз.
- Орнату орны желдеткіштің салмағын көтере алатынына көз жеткізіңіз.
- Gather necessary tools (screwdriver, wire strippers, ladder, etc.).
3.2 Желдеткішті орнату
- Attach the mounting bracket to the ceiling junction box. Ensure it is securely fastened to a structural beam.
- Select the appropriate downrod (4.5", 12", or 24") for your ceiling height.
- Желдеткіш сымдарды таңдалған төменгі штанга арқылы беріңіз.
- Secure the downrod to the motor housing.
- Желдеткіш жинағын абайлап көтеріп, бекіту кронштейніне іліңіз.

Image: A diagram illustrating the overall dimensions of the 96-inch ceiling fan, including its width and height with different downrod lengths (12.7", 20.3", 32.5"). It also shows how the fan can be mounted on both flat and sloped ceilings, along with the three included downrod sizes (4.5", 12", 24").

Image: This image displays the LEDLUX ceiling fan installed in three different room settings: a high ceiling, a low ceiling, and a slanted ceiling, demonstrating its versatility for various architectural styles.
3.3 Сымды қосылымдар
- Connect the fan's wires to the household wiring according to the wiring diagram provided in the full manual. Use wire nuts to secure connections.
- Install the remote receiver into the mounting bracket canopy.
- Connect the receiver wires to the fan and household wires as instructed.
3.4 Пышақтарды бекіту
- Attach each of the 8 fan blades to the motor housing using the provided screws and washers. Ensure all screws are tightened securely.
4. Пайдалану нұсқаулары
Your LEDLUX ceiling fan is controlled by the included remote control. Ensure batteries are installed correctly in the remote.
4.1 Қашықтан басқару құралының функциялары

Сурет: егжей-тегжейлі view of the remote control for the LEDLUX ceiling fan, highlighting buttons for speed adjustment (1-6), fan on/off, forward/reverse function, natural wind mode, and timer settings (1H/2H/4H/8H).
- Қосу/өшіру түймесі: Желдеткішті қосады немесе өшіреді.
- Жылдамдық түймелері (1-6): Желдеткіш жылдамдығын төменнен (1) жоғарыға (6) реттейді.
- Алға/кері түймесі: Пышақтың айналу бағытын өзгертеді.
- Timer Buttons (1H/2H/4H/8H): Таңдалған уақыт аяқталғаннан кейін желдеткішті автоматты түрде өшіруге орнатады.
- Natural Wind Button: Simulates a natural breeze by cycling through various speeds.
4.2 Қайтарылатын функция (жазғы/қысқы режим)
The fan features a reversible DC motor, allowing for year-round use to optimize air circulation.
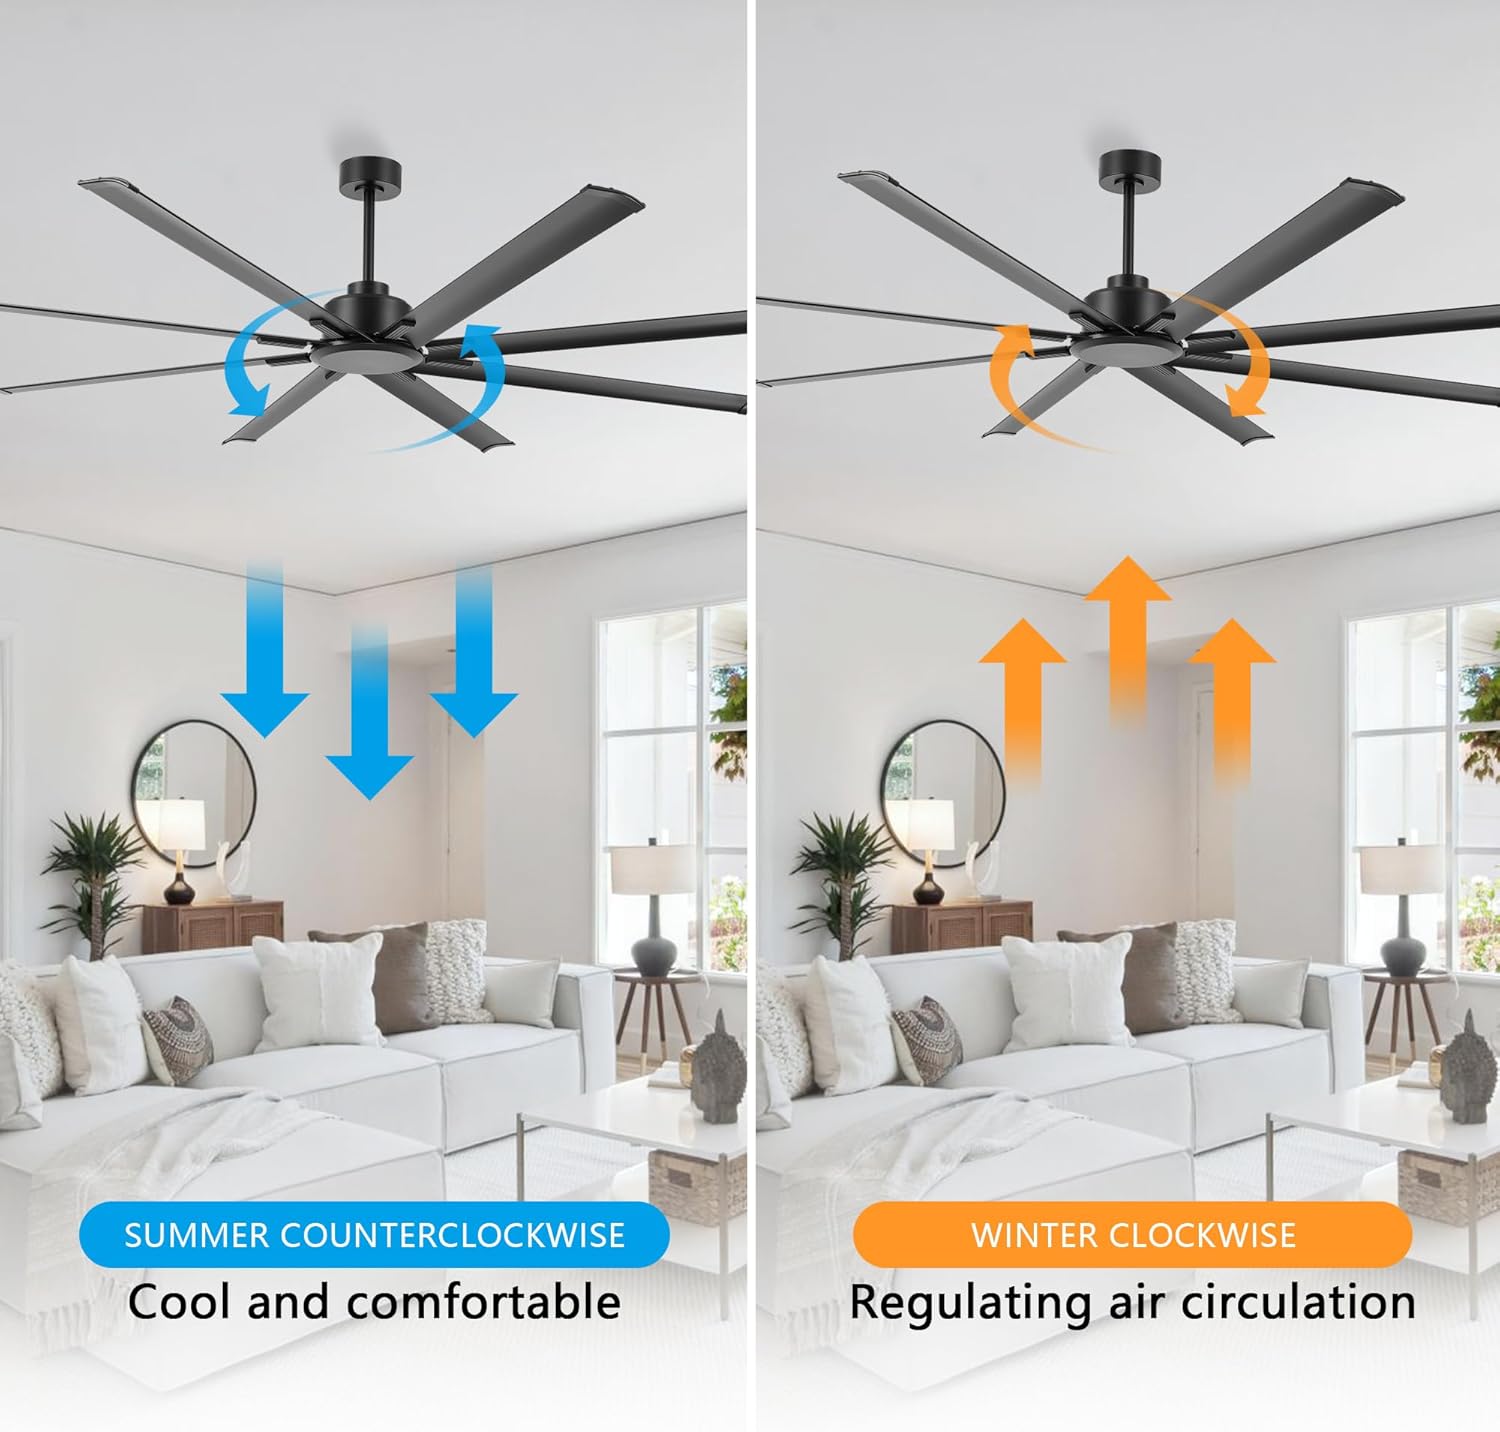
Image: This image illustrates the reversible function of the ceiling fan. On the left, blue arrows indicate counter-clockwise rotation for a cooling downdraft in summer. On the right, orange arrows show clockwise rotation for an updraft to circulate warm air in winter.
- Жазғы режим (сағат тіліне қарсы): Press the reverse button to make the blades rotate counter-clockwise, creating a downward airflow that produces a cooling effect.
- Қысқы режим (сағат тілімен): Press the reverse button again to make the blades rotate clockwise, creating an upward airflow that helps circulate warm air trapped near the ceiling.
4.3 Таймер функциясы
Use the timer buttons on the remote control to set the fan to operate for a specific duration before automatically turning off.

Image: This graphic highlights the silent operation of the fan, stating sound is less than 35dB, and illustrates the available timer settings: 1 hour, 2 hours, 4 hours, and 8 hours.
- Press the 1H, 2H, 4H, or 8H button to activate the timer. The fan will run for the selected time and then shut off.
- To cancel the timer, press the fan On/Off button or select a different timer setting.
5. Техникалық қызмет көрсету
Тұрақты техникалық қызмет көрсету төбелік желдеткіштің оңтайлы өнімділігі мен ұзақ қызмет ету мерзімін қамтамасыз етеді.
- Тазалау: Желдеткіш қалақшалары мен қозғалтқыш корпусын мезгіл-мезгіл жұмсақ, d шүберекпен сүртіңізamp мата. Абразивті тазартқыштарды немесе еріткіштерді қолданбаңыз.
- Бекіту бұрандалары: Check all screws on the fan blades and mounting hardware annually to ensure they are secure.
- Пышақ балансы: If the fan wobbles, ensure all blades are securely attached and consider using a blade balancing kit (not included) if necessary.
6. Ақаулықтарды жою
Желдеткішпен мәселелерге тап болсаңыз, келесі жалпы мәселелер мен шешімдерді қараңыз:
| Мәселе | Ықтимал себебі | Шешім |
|---|---|---|
| Желдеткіш іске қосылмайды | Желдеткішке қуат жоқ | Check circuit breaker and wall switch. Ensure all wiring connections are secure. |
| Қашықтан басқару пульті жұмыс істемейді | Dead batteries or incorrect pairing | Replace remote batteries. Refer to the full manual for remote pairing instructions. |
| Желдеткіш шамадан тыс тербеледі | Loose blades or unbalanced blades | Ensure all blade screws are tight. Check for bent blades. Use a blade balancing kit if needed. |
| Шулы жұмыс | Loose screws or motor issues | Tighten all screws. If noise persists, contact customer support. |
7. Техникалық сипаттамалар
| Ерекшелік | Мәлімет |
|---|---|
| Бренд | LEDLUX |
| Үлгі нөмірі | SYCF9605 |
| Түс | Қара |
| Монтаждау түрі | Төбеге орнату |
| Жылдамдықтардың саны | 6 |
| Тtage | 12 вольт (тұрақты ток) |
| Ішкі/сыртқы пайдалану | Ішкі |
| Бақылау әдісі | Қашықтан |
| Тиімділік | Жоғары тиімділік |
| Пышақтардың саны | 8 |
| Пышақ материалы | Алюминий |
8. Кепілдік және қолдау
LEDLUX stands behind the quality of its products.

Image: A graphic detailing the LEDLUX "Worry-Free Promise," which includes a 3-Year Full Warranty on all parts and a 10-Year Motor Warranty.
- Моторға кепілдік: The DC motor is covered by a 10-year free replacement warranty.
- Бөлшектерге кепілдік: All other parts of the fan are covered by a full 3-year warranty.
For warranty claims, technical assistance, or missing parts, please contact LEDLUX customer support through the retailer where the product was purchased or visit the official LEDLUX webсайт.