
1. Кіріспе
This manual provides essential information for the proper setup, operation, and maintenance of your sibolan 18.5-inch 1080P FHD Portable Monitor. This monitor is designed to extend your visual workspace, offering a vibrant 1080P Full HD display with a 100Hz refresh rate, suitable for various applications including work, entertainment, and gaming. Its portable design and versatile connectivity options make it an ideal companion for laptops, PCs, smartphones, and gaming consoles.
2. Пакет мазмұны
Төменде тізімделген заттардың барлығы сіздің пакетіңізде бар екенін тексеріңіз. Егер қандай да бір элемент жоқ немесе зақымдалған болса, тұтынушыларды қолдау қызметіне хабарласыңыз.
- sibolan 18.5-inch Portable Monitor
- Пайдаланушы нұсқаулығы
- Қуат адаптері
- USB-C-ден USB-C-ге дейінгі кабель (x2)
- HDMI кабелі

2.1-сурет: Өнім бумасының мазмұны.
3. Өнім аяқталдыview
3.1 Монитор мүмкіндіктері
- Көрсеткіш: 18.5-inch Full HD (1920x1080) IPS Panel with 72% sRGB color gamut.
- Жаңарту жылдамдығы: Тегіс көріністер үшін 100 Гц.
- Көрнекі жақсартулар: HDR support, Low Blue Light, Flicker-Free technology.
- Аудио: Integrated dual speakers.
- Стенд: Built-in 0-180° adjustable kickstand.
- Монтаждау: 75x75mm VESA wall mount compatible.
- Дизайн: Lightweight aluminum alloy construction.
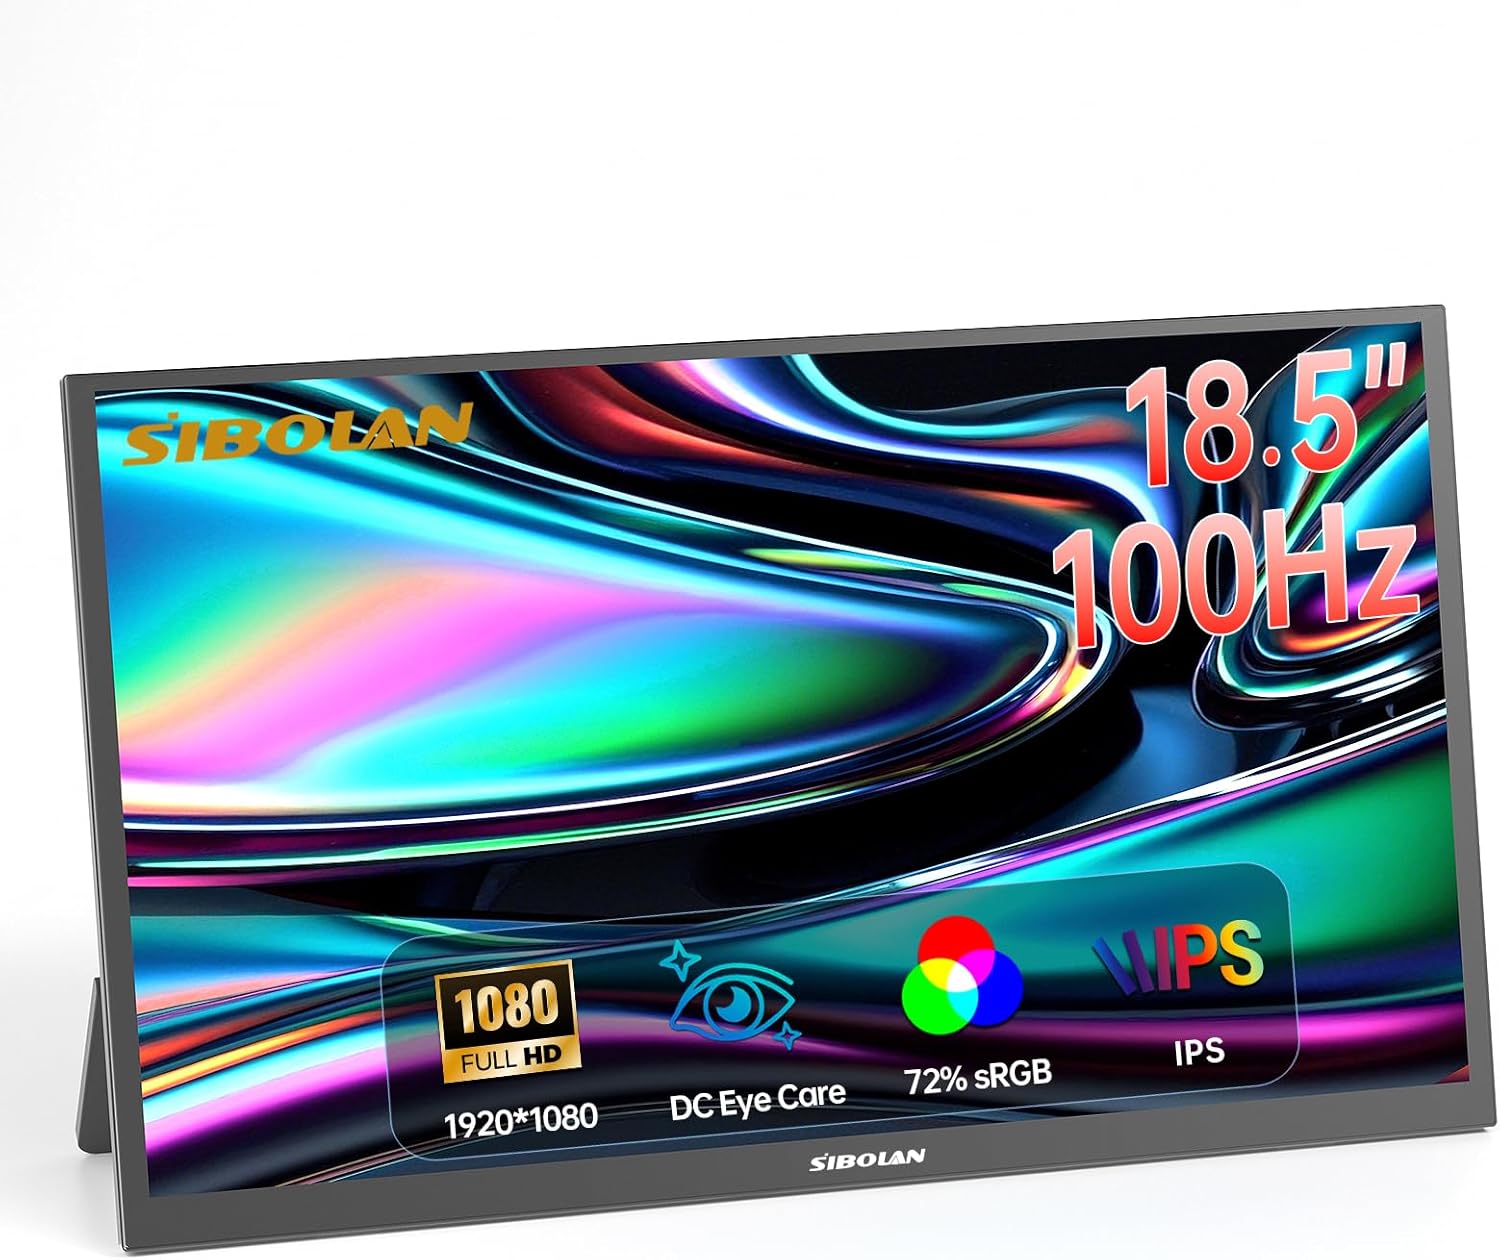
3.1-сурет: Алдыңғы view of the sibolan portable monitor.

Figure 3.2: Monitor dimensions and adjustable stand.
3.2 Порттар және басқару элементтері
The monitor features a variety of ports for connectivity and controls for easy navigation:
- Мини HDMI порты: For video input from devices like PCs, game consoles, and cameras.
- USB-C порттары (x2): Full-featured USB-C ports for video, audio, and power delivery with compatible devices. One port can also be used for power input only.
- 3.5 мм аудио ұясы: Сыртқы құлақаспаптарды немесе динамиктерді қосуға арналған.
- Қуатты қосу/өшіру түймесі: Мониторды қосу немесе өшіру үшін.
- Басқару дөңгелегі: Used to navigate the On-Screen Display (OSD) menu and adjust settings like brightness, volume, and input source.

Figure 3.3: Monitor ports and controls layout.

3.4-сурет: жағы view монитор порттары.
4. Орнату
4.1 Алғашқы орналастыру
Place the monitor on a stable, flat surface. The built-in kickstand can be adjusted from 0 to 180 degrees to achieve your desired viewing angle. For alternative mounting, the monitor supports a 75x75mm VESA mount.

Figure 4.1: VESA mounting points on the monitor.
4.2 Қуат қосылымы
Connect the provided power adapter to one of the USB-C ports on the monitor and then to a power outlet. The monitor requires external power to operate.
5. Пайдалану нұсқаулары
5.1 Connecting to a Laptop or PC
The monitor offers flexible connectivity options for laptops and PCs:
- Using a Single USB-C Cable (Full-Featured USB-C): If your laptop or PC has a full-featured USB-C port that supports video output and power delivery, you can connect it to the monitor using a single USB-C to USB-C cable. This cable will transmit video, audio, and power, simplifying your setup.

Figure 5.1: Connecting to a laptop via USB-C.
- Using HDMI and Power Cable: If your device does not have a full-featured USB-C port, connect the monitor to your device using the provided HDMI cable for video and audio. Additionally, connect the monitor to a power source using the power adapter and a USB-C cable.

Figure 5.2: Connecting to a laptop via HDMI and power.
5.2 Connecting to a Smartphone
For compatible smartphones with USB-C video output capabilities, connect your phone to the monitor using a USB-C to USB-C cable. The monitor will display your phone's screen, often enabling a desktop-like experience or screen mirroring.
Video 5.1: Demonstration of connecting a smartphone to the portable monitor via USB-C, showcasing screen mirroring and desktop mode functionality.
5.3 Connecting to a Game Console
Connect your game console (e.g., PS4/5, Xbox, Nintendo Switch) to the monitor using an HDMI cable for video and audio. Ensure the monitor is also connected to a power source. This setup provides an expanded display for an immersive gaming experience.

Figure 5.3: Connecting to a game console.
6. Дисплей параметрлері
The monitor's settings can be adjusted using the Control Wheel. Press the wheel to access the On-Screen Display (OSD) menu, and roll it to navigate options and adjust values.
6.1 Жарықтық және контраст
Adjust the brightness and contrast levels to suit your viewing environment and preferences. These settings are typically found under the 'Picture' or 'Display' menu in the OSD.
6.2 HDR Mode
The monitor supports High Dynamic Range (HDR). You can enable HDR mode through the OSD menu to enhance image brightness, contrast, and color depth, providing a more realistic visual experience for compatible content.
6.3 Low Blue Light
To reduce eye strain during prolonged use, especially in low-light conditions, activate the Low Blue Light feature from the OSD menu. This mode filters out harmful blue light emissions without significantly affecting color accuracy.

Figure 6.1: Low Blue Light feature for eye protection.
7. Техникалық қызмет көрсету
7.1 Мониторды тазалау
Монитор экранын тазалау үшін оны жұмсақ, талшықсыз шүберекпен ақырын сүртіңіз. Қыңыр белгілер үшін жеңіл dampen the cloth with water or a mild, non-abrasive screen cleaner. Avoid using harsh chemicals, alcohol, or ammonia-based cleaners, as these can damage the screen surface. Do not spray liquid directly onto the screen.
7.2 Жалпы күтім
Keep the monitor away from direct sunlight, excessive heat, and moisture. Avoid placing heavy objects on the monitor or applying pressure to the screen. When transporting the monitor, use appropriate protective packaging to prevent damage.
8. Ақаулықтарды жою
Монитормен проблемалар туындаса, келесі кең таралған шешімдерді қараңыз:
| Мәселе | Ықтимал себебі | Шешім |
|---|---|---|
| Қуат жоқ/Монитор қосылмайды | Қуат адаптері қосылмаған немесе ақаулы. | Ensure the power adapter is securely connected to the monitor and a working power outlet. Try a different outlet. |
| Сигнал жоқ/Бос экран | Incorrect input source selected; cable not connected properly; device not outputting signal. | Check all cable connections (USB-C, HDMI). Use the Control Wheel to select the correct input source in the OSD menu. Ensure your connected device is powered on and configured to output video. |
| Жыпылықтайтын экран | Loose cable connection; incompatible display settings. | Secure all cable connections. Adjust the refresh rate or resolution on your connected device. |
| Динамиктерден дыбыс жоқ | Volume too low or muted; incorrect audio output selected on device. | Increase monitor volume using the Control Wheel. Check audio settings on your connected device to ensure audio is routed to the monitor. |
9. Техникалық сипаттамалар
| Ерекшелік | Мәлімет |
|---|---|
| Бренд | sibolan |
| Үлгі нөмірі | 185 BTS |
| Экран өлшемі | 18.5 дюйм |
| Ажыратымдылық | FHD 1080p (1920 x 1080 пиксель) |
| Жаңарту жылдамдығы | 100 Гц |
| Дисплей түрі | IPS СКД |
| Аспект қатынасы | 16:9 |
| Viewбұрыш | 178 градус |
| Жауап беру уақыты | 5 миллисекунд |
| Қосылу технологиясы | HDMI, USB-C |
| Порттар | 1x Mini HDMI, 2x USB-C, 1x 3.5mm Audio Jack |
| Элемент өлшемдері (D x W x H) | 16.73" x 9.84" x 0.78" |
| Элемент салмағы | 2.06 килограмм (шамамен 4.54 фунт) |
| Қосымша мүмкіндіктер | Blue Light Filter, Flicker-Free, High Dynamic Range (HDR), Portable, Built-in Kickstand, VESA Mount (75x75mm) |
| Үйлесімді құрылғылар | Laptops, PCs, Phones, Macs, PS4/5, Xbox, Switch |
10. Кепілдік және қолдау
10.1 Өндірушінің кепілдігі
This sibolan portable monitor is covered by a Өндірушінің 1 жылдық кепілдігі сатып алынған күннен бастап. Бұл кепілдік қалыпты пайдалану кезіндегі материалдар мен өңдеу ақауларын қамтиды. Ол дұрыс пайдаланбаудан, апаттардан, рұқсатсыз өзгертулерден немесе сыртқы себептерден туындаған залалды қамтымайды.
10.2 Тұтынушыларды қолдау қызметі
For technical assistance, warranty claims, or any questions regarding your sibolan portable monitor, please contact the manufacturer's customer support. Refer to the contact information provided on the product packaging or the official sibolan webсайт.