Ankilo WA113B&C-MA06US-HY
Ankilo Projection Alarm Clock User Manual
Model: WA113B&C-MA06US-HY
1. Кіріспе
Сатып алғаныңыз үшін рахметasing the Ankilo Projection Alarm Clock. This device is designed to provide convenient timekeeping with a unique projection feature, allowing you to view the time on your ceiling or wall. It also includes an alarm, temperature display, and USB charging capabilities. Please read this manual carefully to ensure proper use and maintenance of your new alarm clock.
2. Қауіпсіздік туралы ақпарат
- Құрылғыны шектен тыс температураға, тікелей күн сәулесіне немесе жоғары ылғалдылыққа шығармаңыз.
- Құрылғыны судан немесе басқа сұйықтықтардан алыс ұстаңыз.
- Құрылғыны өзіңіз бөлшектеуге немесе жөндеуге әрекеттенбеңіз. Барлық қызмет көрсетуді білікті мамандарға тапсырыңыз.
- Қуат алу үшін тек берілген USB кабелін пайдаланыңыз.
- The CR2032 battery is for backup only; the clock requires continuous USB power for full functionality.
3. Пакет мазмұны

- 1 x Ankilo Projection Alarm Clock
- 1 x USB Power Cable (1.5m)
- 1 x CR2032 Memory Battery (pre-installed for backup)
- 1 x Пайдаланушы нұсқаулығы
The image above shows the complete contents included in your Ankilo Projection Alarm Clock package. Please verify all items are present upon unboxing.
4. Өнім аяқталдыview

This diagram illustrates the various buttons and ports on your Ankilo Projection Alarm Clock for easy identification and operation.
| Құрамдас | Сипаттама |
|---|---|
| SNOOZE / LIGHT түймесі | Press to snooze alarm or adjust display brightness. |
| PROJECT Button | Press to adjust projection brightness. |
| Ескерту түймесі | Press to set or activate/deactivate alarm. |
| SET түймесі | Уақыт/күнді орнату режиміне кіру үшін басыңыз. |
| ЖОҒАРЫ ТҮЙМЕ | Increase values during setting, or switch 12/24H format. |
| DOWN түймесі | Decrease values during setting, or switch temperature unit. |
| Проекция Л.amp | Emits time projection onto surface. |
| Қуат порты | Connect USB power cable here. |
| CR2032 батарея бөлімі | Houses the backup battery. |
| Спикер | Outputs alarm sound. |
5. Орнату
5.1 Құрылғыны қуаттандыру
The Ankilo Projection Alarm Clock is primarily powered by a USB cable. Connect the provided USB cable to the power port on the back of the clock and plug the other end into a standard USB power adapter (not included) or a USB port.
Маңызды ескерту:
- The LED screen will only remain on when the USB power supply is connected.
- The included CR2032 battery serves as a backup to retain time and alarm settings during power outages, but it does not power the display or projection.
5.2 Бастапқы уақыт пен күнді орнату
- түймесін басып тұрыңыз ОРНАТУ button for 3 seconds to enter time setting mode. The hour digits will start flashing.
- пайдаланыңыз UP or ТӨМЕН түймелері сағатты реттеуге арналған.
- түймесін басыңыз ОРНАТУ сағатты растау және минут параметріне өту үшін қайтадан түймесін басыңыз. Минут сандары жыпылықтайды.
- пайдаланыңыз UP or ТӨМЕН минутты реттеу үшін түймелер.
- түймесін басыңыз ОРНАТУ again to confirm the minute and move to year setting.
- пайдалану арқылы процесті қайталаңыз UP/ТӨМЕН және ОРНАТУ жылды, айды және күнді орнату.
- Күнді орнатқаннан кейін, түймесін басыңыз ОРНАТУ параметр режимінен шығу үшін соңғы рет.
6. Пайдалану нұсқаулары
6.1 Дабылды орнату
- түймесін басып тұрыңыз Дабыл button for 3 seconds. The alarm hour digits will flash.
- пайдаланыңыз UP or ТӨМЕН қажетті оятқыш сағатын орнату үшін түймелерді басыңыз.
- түймесін басыңыз Дабыл again to confirm the hour and move to minute setting.
- пайдаланыңыз UP or ТӨМЕН buttons to set the desired alarm minute.
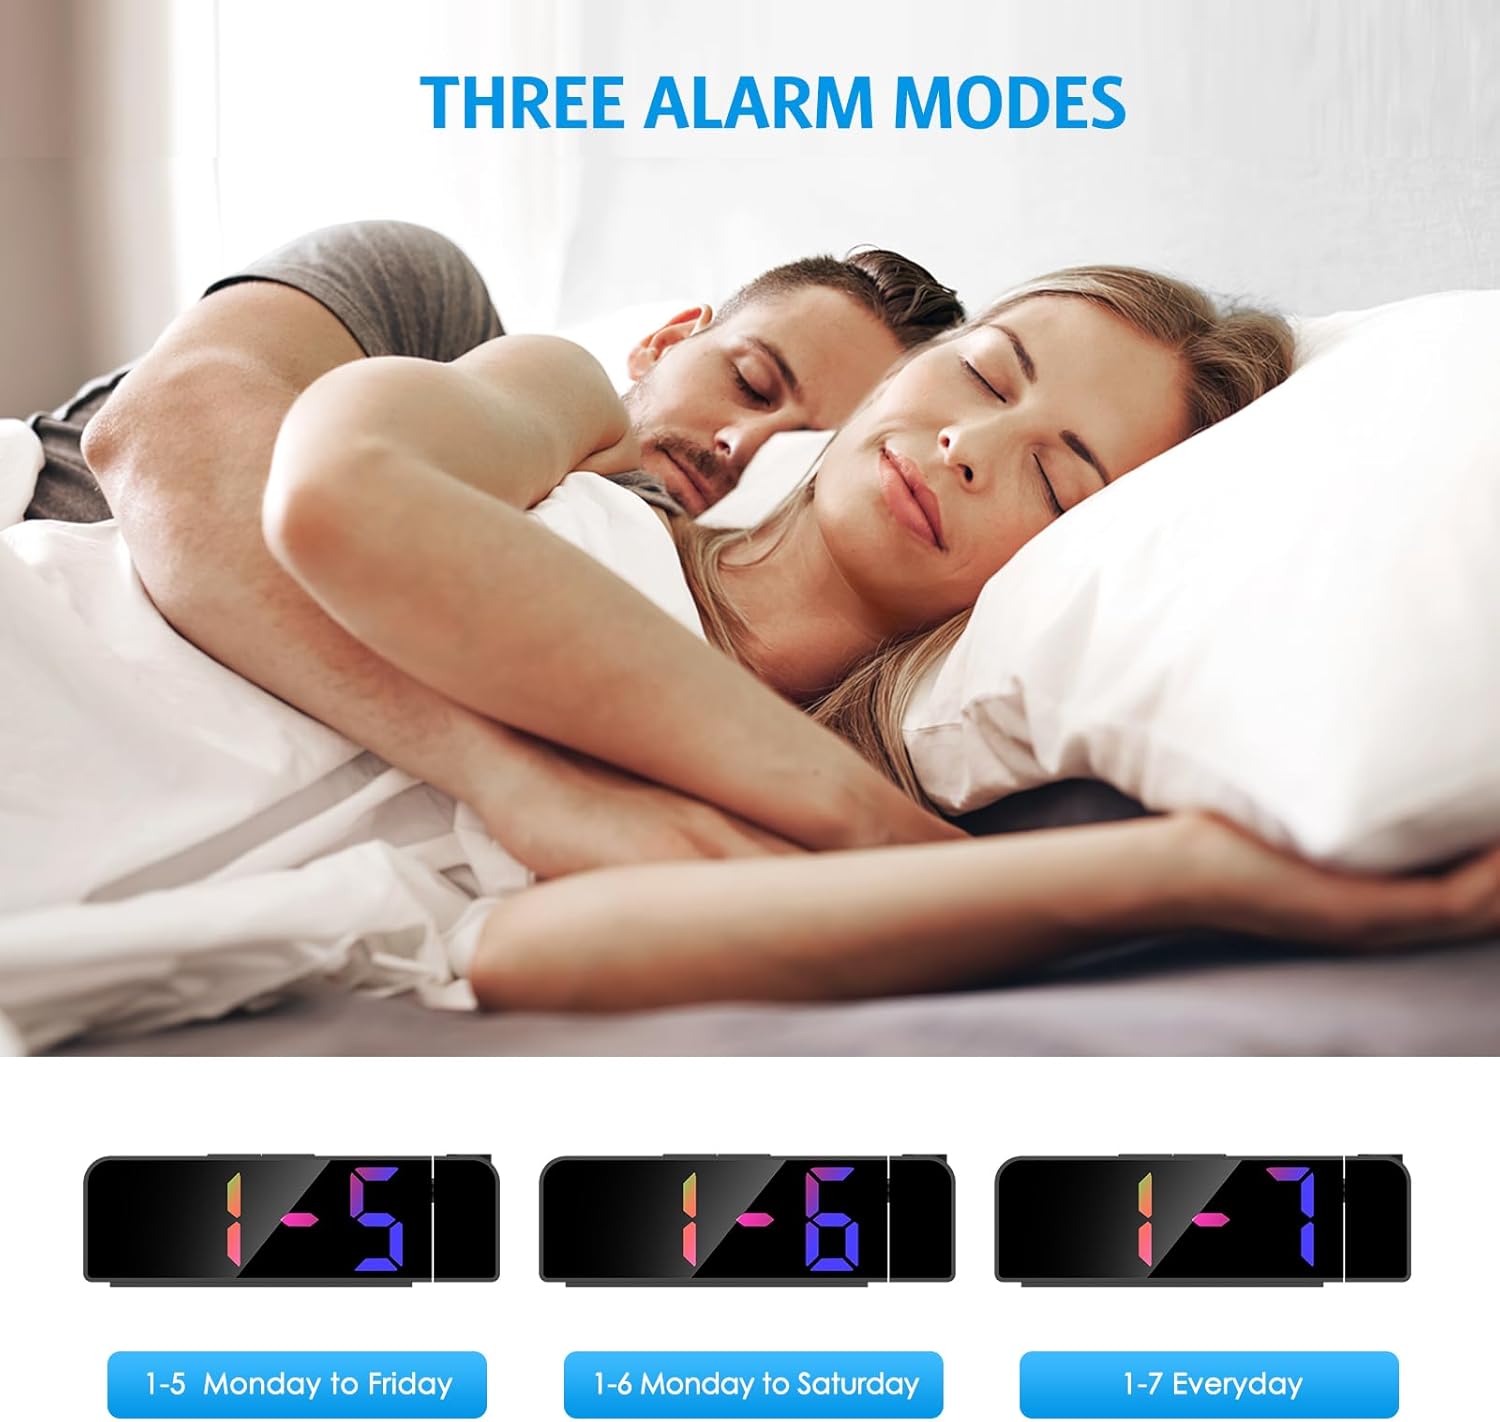
- түймесін басыңыз Дабыл again to select the alarm mode:
- 1-5: Дабыл дүйсенбіден жұмаға дейін шырылдайды.
- 1-6: Alarm sounds Monday to Saturday.
- 1-7: Alarm sounds Everyday.
- түймесін басыңыз Дабыл one last time to confirm and exit alarm setting mode.
The image above illustrates the three available alarm modes: weekdays, weekdays plus Saturday, and every day.
6.2 Кідірту функциясы

Дабыл естілгенде, үлкен түймесін басыңыз ҰЙЫҚТЫРУ / ЖАРЫҚ button on the top of the clock to activate the snooze function. This will provide an additional 5 minutes of sleep before the alarm sounds again. You can repeat this process as needed.
The image highlights the prominent SNOOZE/LIGHT button, easily accessible for quick snooze activation.
6.3 Дисплей жарықтығын реттеу

түймесін басыңыз ҰЙЫҚТЫРУ / ЖАРЫҚ button (short press) to cycle through 4 levels of display brightness: Bright, Medium, Low, and Off. Select the brightness level that best suits your environment.
This image demonstrates the four distinct brightness settings for the main LED display, from bright to completely off.
6.4 Adjusting Projection Brightness and Orientation

түймесін басыңыз ЖОБА button (short press) to cycle through 3 levels of projection brightness: Off, Dim, and Bright. The projection lamp can be rotated 180 degrees to project the time onto your ceiling or wall.
The image illustrates the projection feature, showing the clock projecting time onto a wall and the three available brightness levels for the projection.

Important Projection Orientation: The projection digits are only displayed correctly when the projection direction is towards the back of the alarm clock (away from the front display). If you project forward, the numbers will appear reversed. Ensure the projection is directed appropriately for correct readability.
This image clearly demonstrates the correct and incorrect projection orientations, emphasizing that projection should be directed backward for proper display.
6.5 Түнгі режим

The alarm clock features an automatic night mode. By default, the display brightness will automatically dim between 18:00 (6 PM) and 5:59 (5:59 AM). This time range can be adjusted to suit your preferences within the settings menu (refer to the full manual for advanced settings).
The image depicts the alarm clock operating in a low-light environment, showcasing the automatic dimming feature of the night mode.
6.6 12/24 сағат пішімі

12 сағаттық және 24 сағаттық уақыт форматтары арасында ауысу үшін түймесін қысқа басыңыз UP button during normal time display. The display will toggle between AM/PM indication (12-hour) and military time (24-hour).
This image visually compares the appearance of the time display in both 12-hour and 24-hour formats.
7. Техникалық қызмет көрсету
To maintain your Ankilo Projection Alarm Clock, gently wipe the surface with a soft, dry cloth. Avoid using abrasive cleaners or solvents, as these may damage the finish or electronic components. Keep the projection lens clean for clear time display.
8. Ақаулықтарды жою
| Мәселе | Ықтимал себебі | Шешім |
|---|---|---|
| Дисплей өшірулі немесе күңгірт. | Not connected to USB power, or display brightness set to 'Off'. | Ensure USB cable is securely connected. Press ҰЙЫҚТЫРУ / ЖАРЫҚ жарықтығын реттеу үшін. |
| Projection numbers are reversed. | Проекция lamp is facing forward. | Rotate the projection lamp 180 degrees so it projects towards the back of the clock. |
| Дабыл естілмейді. | Дабыл орнатылмаған немесе өшірілген. | басып тұрыңыз Дабыл to set the alarm time and mode. Ensure the alarm icon is visible on the display. |
| Қуат қосылғаннан кейін уақыт/параметрлер қалпына келтіріледіtage. | CR2032 backup battery is dead or missing. | Replace the CR2032 battery in the battery compartment. |
| Проекция бұлыңғыр. | Projection lens is dirty or surface is too far/close. | Clean the projection lens with a soft cloth. Adjust the clock's distance from the projection surface (ideal 1.6ft-16ft). |
9. Техникалық сипаттамалар
| Ерекшелік | Мәлімет |
|---|---|
| Бренд | Анкило |
| Үлгі нөмірі | WA113B&C-MA06US-HY |
| Дисплей түрі | Сандық жарықдиодты |
| Дисплей өлшемі | 7.9 дюйм |
| Өнім өлшемдері | 1.7"Е x 3.3"H |
| Қуат көзі | Corded Electric (USB cable) |
| Сақтық көшірме батареясы | 1 x CR2032 (кіреді) |
| Арнайы мүмкіндіктер | 180° Projection, Adjustable Brightness (Display & Projection), USB Charging Port, Night Mode, Temperature Display, Snooze Function, Multiple Alarm Modes (1-5, 1-6, 1-7) |
| Материал | Металл |
| Элемент салмағы | 6.7 унция |
10. Кепілдік және қолдау

- ТАУАРДЫ ҚАЙТАРУ ШАРТТАРЫ: Enjoy a 6-month return period from the date of purchase.
- Кепілдік: Your Ankilo Projection Alarm Clock is covered by a 24-month warranty against manufacturing defects.
- Өмір бойы қолдау: Ankilo is committed to providing lifetime technical support for this product.
The image above summarizes our commitment to customer satisfaction, including return policy, warranty, and ongoing support.
For any questions, troubleshooting assistance, or warranty claims, please contact Ankilo customer support through the platform where you purchased the product or visit our official webбайланыс ақпаратына арналған сайт.
Ask a question about this manual
Ask about setup, troubleshooting, compatibility, parts, safety, or missing instructions. Manuals+ will review the question and use this page’s manual context to help answer it.