1. Кіріспе және одан әріview
This manual provides essential instructions for the safe and efficient use of your Maxcom MM135L Basic Mobile Phone. The MM135L is designed for straightforward communication, featuring a user-friendly interface, large keys, and a 1.77-inch screen. It supports 2G networks and includes dual SIM capability, an SOS button for emergencies, and convenient USB-C charging. Please read this manual thoroughly before operating the device.
2. Пакет мазмұны
Барлық элементтер пакетте бар екенін тексеріңіз:
- Maxcom MM135L Mobile Phone
- Battery (Lithium-Ion, 600 mAh)
- USB кабелі
- SIM науасын шығарғыш
- Пайдаланушы нұсқаулығы (бұл құжат)
3. Құрылғының орналасуы
Familiarize yourself with the physical components of your Maxcom MM135L phone.
3.1-сурет: Артқы view of the Maxcom MM135L phone, showing the blue textured back cover, Maxcom logo, and speaker grille at the top.

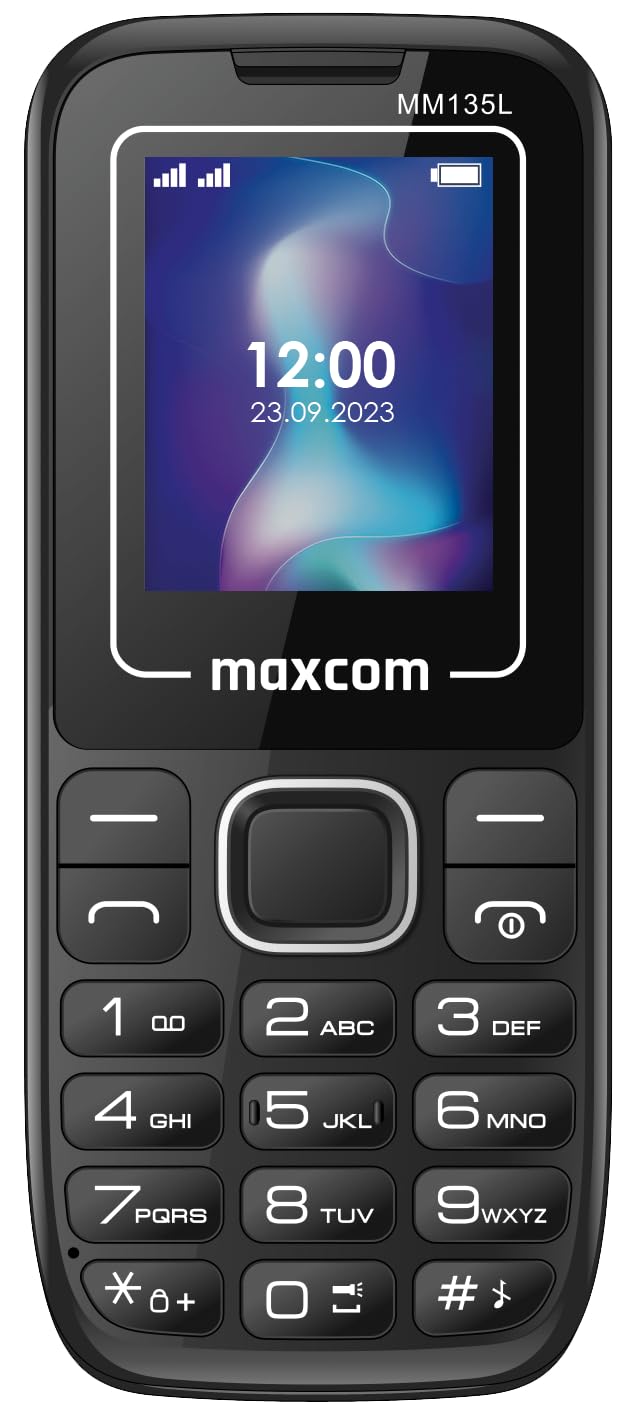
3.2-сурет: Алдыңғы view of the Maxcom MM135L phone, displaying the screen, large numeric keypad, and call/end buttons.

Figure 3.3: Bottom edge of the phone, featuring the USB-C charging port and a 3.5mm headphone jack.

Figure 3.4: Top edge of the phone, highlighting the integrated flashlight.
Негізгі компоненттер:
- Дисплей экраны: 1.77-inch LCD for clear text and call information.
- Сандық пернетақта: Large, tactile buttons for easy dialing and texting.
- Call/End Buttons: Dedicated buttons for managing calls.
- Навигация пернелері: Мәзірді шарлау үшін.
- SOS түймесі: Located on the rear for emergency calls (refer to Figure 3.1).
- Шам: Integrated at the top of the device (refer to Figure 3.4).
- USB-C порты: For charging the device (refer to Figure 3.3).
- Құлаққап ұясы: 3.5mm port for audio accessories (refer to Figure 3.3).
4. Орнату
4.1 Батареяны орнату
- Телефонның артқы қақпағын абайлап алыңыз.
- Батарея түйіспелерін батарея бөлімінің ішіндегі терминалдармен туралаңыз.
- Батареяны орнына ақырын басыңыз.
- Артқы қақпақты қауіпсіз түрде шертетініне көз жеткізіңіз.
4.2 SIM картасын орнату
The Maxcom MM135L supports dual SIM cards.
- With the phone powered off and the back cover removed, locate the SIM card slots.
- Insert your SIM card(s) into the designated slot(s) with the gold contacts facing down, following the orientation indicated on the phone.
- Ensure the SIM card(s) are fully seated.
- Replace the back cover and battery.
4.3 Телефонды зарядтау
The phone uses a USB-C port for charging.
- Connect the USB-C cable to the charging port at the bottom of the phone (refer to Figure 3.3).
- Connect the other end of the USB cable to a compatible USB power adapter or a computer's USB port.
- Экрандағы батарея индикаторы зарядтау күйін көрсетеді.
- Батарея толығымен зарядталғаннан кейін зарядтағышты ажыратыңыз.
Ескерту: For optimal battery life, fully charge the phone before first use.
5. Пайдалану нұсқаулары
5.1 Қуатты қосу/өшіру
- Қосу үшін: түймесін басып тұрыңыз Call/Power түймесін экран жанғанша басыңыз.
- Қуатты өшіру үшін: түймесін басып тұрыңыз Аяқтау/қуат button until the power off options appear, then confirm.
5.2 Қоңырау шалу және қабылдау
- Қоңырау шалу үшін: Пернетақта арқылы телефон нөмірін енгізіп, түймесін басыңыз Қоңырау түймесі.
- Қоңырауға жауап беру үшін: түймесін басыңыз Қоңырау телефон шырылдаған кезде түймесін басыңыз.
- Қоңырауды аяқтау үшін: түймесін басыңыз Соңы түймесі.
5.3 Хабарламаларды жіберу және алу
- Navigate to the "Messages" menu using the navigation keys.
- Select "Create New Message" to compose an SMS.
- Enter the recipient's number and your message, then send.
- Received messages will appear in the "Inbox".
5.4 SOS түймесін пайдалану
The SOS button is located on the rear of the phone. It is designed for emergency situations.
- Іске қосу үшін: Press and hold the SOS button for several seconds.
- The phone will automatically sound an alarm and send emergency SMS messages to pre-set contacts.
- It will then automatically call the saved emergency contacts in a loop until a call is answered.
- Төтенше жағдайдағы байланыстардың телефон параметрлерінде дұрыс конфигурацияланғанына көз жеткізіңіз.
5.5 Шамның функциясы
The built-in flashlight can be activated for convenience.
- Refer to the phone's specific settings or a dedicated side button for flashlight activation. Typically, a long press on a designated key or a side switch controls it.
6. Техникалық қызмет көрсету
- Тазалау: Телефонның бетін тазалау үшін жұмсақ, құрғақ шүберекті пайдаланыңыз. Сұйық тазалағыштардан аулақ болыңыз.
- Батареяға күтім жасау: Батареяны шектен тыс температураға ұшыратпаңыз. Батареяны жиі толық зарядсыздандырудан аулақ болыңыз.
- Сақтау орны: Ұзақ уақыт бойы пайдаланбаған кезде телефонды салқын, құрғақ жерде сақтаңыз.
- Суға төзімділік: Бұл телефон суға төзімді емес. Сұйықтықтардың әсеріне жол бермеңіз.
7. Ақаулықтарды жою
| Мәселе | Мүмкін шешім |
|---|---|
| Телефон қосылмайды. | Батареяның дұрыс орнатылғанына және зарядталғанына көз жеткізіңіз. Зарядтағышты қосып, әрекетті қайталаңыз. |
| Қоңырау шалу немесе қабылдау мүмкін емес. | Check if the SIM card is properly inserted and activated. Verify network signal strength. Contact your service provider if issues persist. |
| Батарея зарядталмай жатыр. | Ensure the USB-C cable and charger are securely connected and functional. Try a different charging cable or adapter. |
| SOS түймесі жұмыс істемейді. | Verify that emergency contacts are saved in the phone's settings. Ensure the phone has network coverage. |
| Қоңырау сапасы нашар. | Move to an area with better network reception. Check the speaker and microphone for obstructions. |
8. Техникалық сипаттамалар
| Ерекшелік | Мәлімет |
|---|---|
| Модель атауы | MM135L |
| Экран өлшемі | 1.77 дюйм |
| Дисплей түрі | СКД |
| Ажыратымдылық | 128 x 160 |
| Ұялы технология | 2G |
| SIM қолдауы | Қос SIM |
| Батарея Түрі | Литий-ион |
| Батарея сыйымдылығы | 600 мАч |
| Зарядтау порты | USB-C |
| Өлшемдері (L x W x H) | 7 x 14 x 3.5 см |
| Салмағы | 60 г |
| Арнайы мүмкіндіктер | SOS Button, Flashlight, Expandable Memory, Fast Charging Support |
9. Кепілдік және қолдау
For warranty information, technical support, or service inquiries, please refer to the warranty card included with your product or contact Maxcom customer service directly. Keep your proof of purchase for warranty claims.