Кіріспе
Thank you for choosing the ROCAM Digital Projection Alarm Clock, Model CR1024. This device combines a digital alarm clock with a 270° rotatable projection feature, FM radio, dual alarm settings, and a USB charging port. Please read this manual carefully to ensure proper use and to fully enjoy all its features.

Image: The ROCAM Digital Projection Alarm Clock displaying time, date, temperature, and humidity, positioned on a bedside table next to a cup of coffee and a notebook.
Өнім ерекшеліктері
- 270° Rotatable Projection: Project time onto your wall or ceiling with adjustable angle and focus.
- 5-Level Dimmable LED Display: Adjust the brightness of the main display to your preference.
- FM Radio & Sleep Timer: Enjoy your favorite radio stations and set a sleep timer for automatic shutdown.
- Dual Alarm with Weekend/Weekday Mode: Set two independent alarms with customizable schedules (Mon-Sun, Mon-Fri, Sat-Sun, One-Time).
- USB-C Power Input & USB-A Charging Output: Power the clock via USB-C and charge external devices like smartphones via USB-A.
- Батареяның сақтық көшірмесі: Қуат беру кезінде уақыт пен дабыл параметрлерін сақтайдыtages (батареялар кірмейді).
- Температура және ылғалдылық дисплейі: Shows indoor temperature (°C/°F) and humidity.
- Түнгі жарық функциясы: Integrated night light for soft illumination.
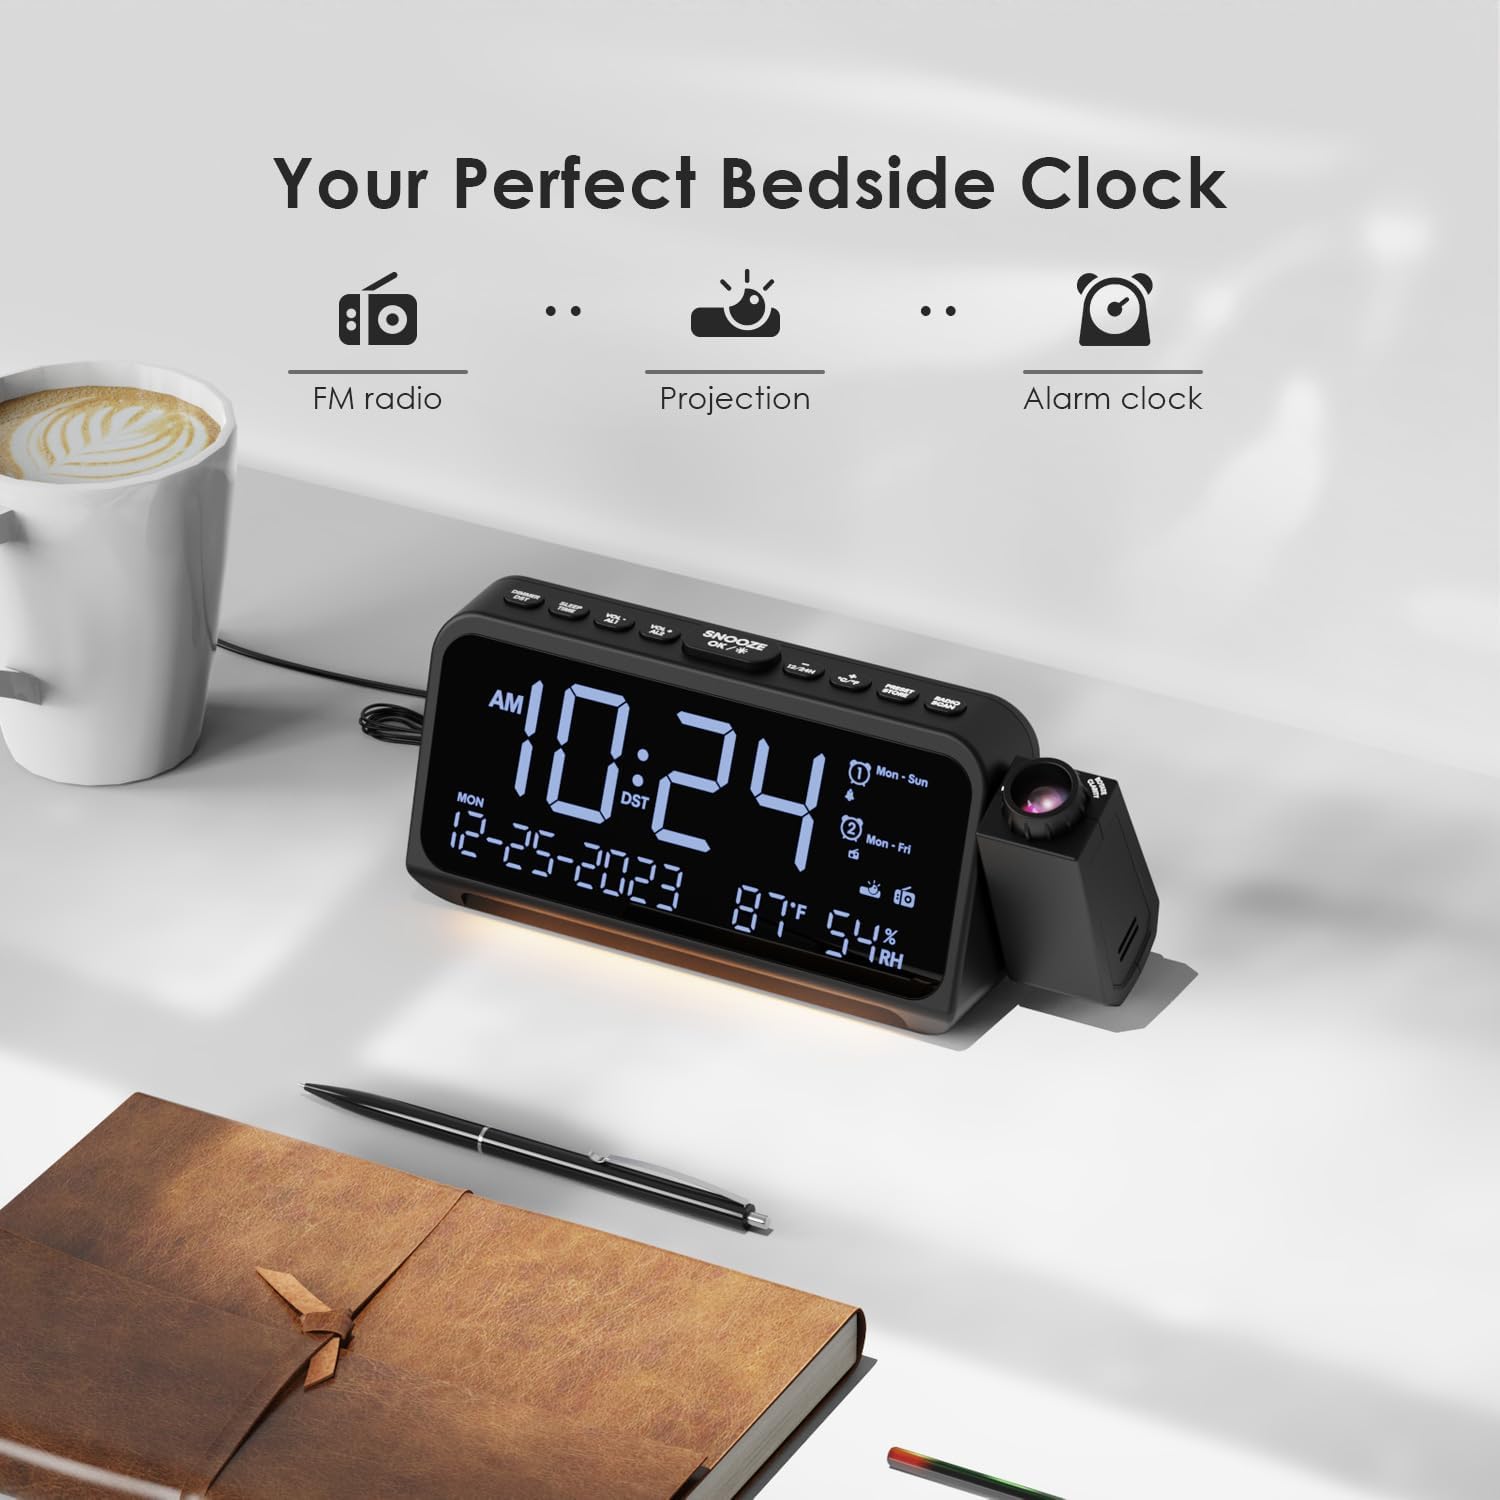
Image: Visual representation of the clock's main functions: FM radio, projection, and alarm clock.
Пакет мазмұны
Пакетте келесі элементтердің бар-жоғын тексеріңіз:
- ROCAM Digital Projection Alarm Clock (CR1024)
- USB Type-C қуат кабелі
- Қуат адаптері
- Пайдаланушы нұсқаулығы
Note: 1 CR2 battery is required for backup functionality and is not included in the package.

Image: The alarm clock, USB-C cable, power adapter, and user manual laid out, with product dimensions (20cm x 8.7cm x 3.81cm) and weight (240g) indicated.
Өнім аяқталдыview
Жоғарғы панель түймелері:
- SNOOZE/OK/*: Snooze alarm, confirm settings, or activate night light.
- VOL-/AL1: Decrease volume, set Alarm 1.
- VOL+/AL2: Increase volume, set Alarm 2.
- 12/24 сағ: 12 сағаттық және 24 сағаттық уақыт пішімін ауыстырыңыз.
- °C/°F: Цельсий және Фаренгейт температура дисплейі арасында ауысыңыз.
- PRESET/STORE: FM радиосының алдын ала орнатылған параметрлерін сақтаңыз.
- RADIO/SCAN: Turn FM radio on/off, scan for stations.
- УАҚЫТТЫ ОРНАТУ: Уақытты орнату режимін енгізіңіз.
- ДАБЫЛДЫ ОРНАТУ: Дабыл орнату режимін енгізіңіз.
Side Panel & Rear:
- Проекциялық объектив: Projects time onto a surface.
- Фокус дөңгелегі: Adjusts the clarity of the projected image.
- Проекциялық айналу: Allows 270° adjustment of the projection angle.
- DIM түймесі: Adjusts projection brightness.
- Қуат түймесі: Turns the projection on/off.
- Type-C Input (5V-2A): Main power connection.
- USB-A Output (5V-1A): Сыртқы құрылғыларды зарядтауға арналған.
- FM антеннасы: Extend for better radio reception.
- Батарея бөлімі: For CR2 backup batteries.

Сурет: егжей-тегжейлі view of the top control buttons and the projection unit, highlighting the dual alarm settings.

Image: The back of the alarm clock, illustrating the Type-C power input and the USB-A output port for charging other devices.
Орнату
1. Қуат қосылымы:
- Connect the provided USB Type-C cable to the Type-C input port on the back of the alarm clock.
- Plug the other end of the USB cable into the power adapter, then plug the adapter into a standard wall outlet.
- Дисплей жанады, бұл сағаттың қосулы екенін көрсетеді.

Image: The alarm clock is shown connected to a wall outlet via its USB-C power cable and adapter.
2. Battery Backup Installation:
- Сағаттың төменгі жағындағы батарея бөлімін табыңыз.
- Бөлменің қақпағын ашыңыз.
- Insert 1 CR2 battery (not included) according to the polarity markings (+/-).
- Close the battery compartment cover. This battery will preserve time and alarm settings during a power outage.

Image: The bottom of the alarm clock with the battery compartment open, showing where to insert CR2 batteries.
Пайдалану нұсқаулары
1. Уақыт пен күнді орнату:
- түймесін басып тұрыңыз УАҚЫТ ОРНАТЫЛДЫ сағат сандары жыпылықтай бастайды.
- Қолдану VOL+ or VOL- сағатты реттеу үшін түймелер. түймесін басыңыз УАҚЫТ ОРНАТЫЛДЫ растау үшін қайтадан басыңыз.
- Процесті минут, жыл, ай және күн үшін қайталаңыз.
- түймесін басыңыз 12/24 сағ to switch between 12-hour and 24-hour format.
- түймесін басыңыз ° C / ° F to switch between Celsius and Fahrenheit for temperature display.
2. Setting Alarms (Alarm 1 & Alarm 2):
- түймесін басып тұрыңыз ДАБЫЛДЫ ОРНАТУ button. The Alarm 1 icon and hour digits will flash.
- Қолдану VOL+ or VOL- to set the desired alarm hour. Press ДАБЫЛДЫ ОРНАТУ растау үшін.
- Бірнеше минут қайталаңыз.
- Select alarm mode (Mon-Sun, Mon-Fri, Sat-Sun, One-Time) using VOL+ or VOL-. түймесін басыңыз ДАБЫЛДЫ ОРНАТУ растау үшін.
- Choose alarm sound: buzzer or FM radio. Use VOL+ or VOL- таңдау үшін. түймесін басыңыз ДАБЫЛДЫ ОРНАТУ растау үшін.
- To set Alarm 2, briefly press ДАБЫЛДЫ ОРНАТУ again and repeat the steps.
- Дабылды қосу/өшіру үшін қысқаша басыңыз AL1 or AL2. The alarm icon will appear/disappear on the display.
Image: The clock display showing options for setting two alarms with different ringtone choices and day modes (Mon-Sun, Mon-Fri, Sat-Sun, One-Time).
3. Кідірту функциясы:
Дабыл естілгенде түймесін басыңыз SNOOZE/OK/* button to temporarily silence it for 9 minutes. The alarm will sound again after the snooze period.
4. Display Brightness (Dimmer):
түймесін басыңыз SNOOZE/OK/* button repeatedly to cycle through 5 levels of display brightness (L-1 to L-5) or turn the display off.

Image: The clock display showing five different brightness levels (L-1 to L-5) for the main LED screen.
5. Проекция параметрлері:
- Қосу/өшіру: түймесін басыңыз Қуат түймесі on the side of the projection unit to turn the projection on or off.
- Жарықтықты реттеу: түймесін басыңыз DIM button on the side of the projection unit to cycle through 5 levels of projection brightness.
- Бұрышты реттеу: Rotate the projection unit up to 270° to direct the time onto your desired surface (wall or ceiling).
- Фокусты реттеу: айналдырыңыз Фокустық дөңгелек on the projection unit to sharpen the projected image.

Image: The digital time '10:24' projected in red onto a dark wall, demonstrating the projection feature.

Image: The projection unit rotating 270 degrees, showing how the projected time can be adjusted for optimal viewing.

Image: The projected time showing five distinct brightness levels, from level 1 (dimmest) to level 5 (brightest).
6. FM радиосының жұмысы:
- Жақсырақ қабылдау үшін FM антеннасын ұзартыңыз.
- түймесін басыңыз RADIO/SCAN button to turn the FM radio on.
- басып тұрыңыз RADIO/SCAN to automatically scan and save available stations.
- Қолдану VOL+ or VOL- to manually tune to a station or cycle through saved presets.
- түймесін басыңыз PRESET/STORE to save the current station as a preset.
- түймесін басыңыз RADIO/SCAN again to turn the FM radio off.

Image: The clock displaying an FM radio frequency (108.0 MHz) and options for a sleep timer (OFF, 15, 30, 60, 90 minutes).
7. Ұйқы таймері:
When the FM radio is on, press the SNOOZE/OK/* button repeatedly to set a sleep timer (15, 30, 60, 90 minutes, or OFF). The radio will automatically turn off after the selected duration.

Image: A hand pressing a button on the clock, with sleep timer options (P01, P06, P12, P15, P20) displayed, indicating timed radio playback.
8. USB Charging Output:
Connect your smartphone or other USB-powered device to the USB-A output port (5V-1A) on the back of the clock to charge it. Ensure the alarm clock is powered via its USB-C input.
Техникалық қызмет көрсету
- Тазалау: Сағатты жұмсақ, құрғақ шүберекпен сүртіңіз. Абразивті тазартқыштарды немесе еріткіштерді қолданбаңыз.
- Батареяны ауыстыру: Егер қуат көзін өшіру кезінде сағат уақытын жоғалтсаtage, CR2 қосалқы батареясын ауыстырыңыз.
- Орналастыру: Avoid placing the clock in direct sunlight, high temperatures, or high humidity.
Ақаулықтарды жою
| Мәселе | Шешім |
|---|---|
| Сағат дисплейі бос. | Ensure the USB-C power cable is securely connected to both the clock and a working power outlet. Check if the display brightness is set to OFF. |
| Дабыл естілмейді. | Verify that the alarm is activated (alarm icon visible). Check the alarm volume. Ensure the alarm mode (Mon-Sun, Mon-Fri, etc.) is correctly set for the current day. |
| Проекция бұлыңғыр. | айналдырыңыз Фокустық дөңгелек on the projection unit until the image is clear. Ensure the projection surface is within optimal range. |
| FM радиосының қабылдауы нашар. | Fully extend the FM antenna. Try repositioning the clock to improve signal. Perform an auto-scan to find stronger stations. |
| USB зарядтау порты жұмыс істемейді. | Ensure the alarm clock is powered by the USB-C input. Check the charging cable and the device being charged. |
Техникалық сипаттамалар
- Модель нөмірі: CR1024
- Өлшемдері: 20 x 3.81 x 8.7 см (L x W x H)
- Салмағы: 240 г
- Қуат кірісі: USB Type-C, 5V-2A
- USB шығысы: USB Type-A, 5V-1A
- Батареяның сақтық көшірмесі: 1 x CR2 battery (not included)
- FM жиілігі диапазоны: 87.5 - 108 МГц
Кепілдік және қолдау
ROCAM products are designed for reliability and performance. This product comes with a standard manufacturer's warranty. For specific warranty details, please refer to the warranty card included in your package or contact ROCAM customer support.
If you encounter any issues or have questions regarding your ROCAM Digital Projection Alarm Clock, please contact our customer support team. Contact information can typically be found on our official webсайтында немесе өнімнің қаптамасында.