1. Кіріспе
The ACT AC7049 Dual Monitor Docking Station transforms your laptop into a complete workstation. This versatile 11-in-1 docking station allows you to connect up to two Full HD displays (max. 2048 x 1152 resolution) to your laptop via HDMI, using a single USB-C/A cable. It expands your laptop's connectivity with a Gigabit LAN port, microphone and headphone jacks, and six additional USB ports. Featuring DisplayLink® technology, it ensures advanced screen display on both MacOS and Windows computers.
2. Негізгі мүмкіндіктер
- Қос мониторды қолдау: Connect up to two external displays with HDMI ports, supporting resolutions up to 2048x1152@60Hz.
- Әмбебап үйлесімділік: Works with laptops featuring a USB-C or USB-A 3.2 Gen1 (USB 3.0) port, compatible with MacOS and Windows thanks to DisplayLink technology.
- Кең байланыс: Includes 2x HDMI, 1x Gigabit Ethernet, 3x USB-A 3.2 Gen 1 (one with fast charging), 4x USB-A 2.0, and 3.5mm audio jacks for microphone and headphones.
- Икемді орналастыру: Designed for both vertical and horizontal placement to optimize desk space and port accessibility.
- USB зарядтау порты: Dedicated USB port for charging smartphones and tablets.
3. Пакет мазмұны
Пакетте келесі элементтердің бар-жоғын тексеріңіз:
- ACT AC7049 Docking Station
- USB-C/A 3.2 Gen1 Connection Cable (USB-A to USB-C)
- Қуат адаптері
- Тік тіреу
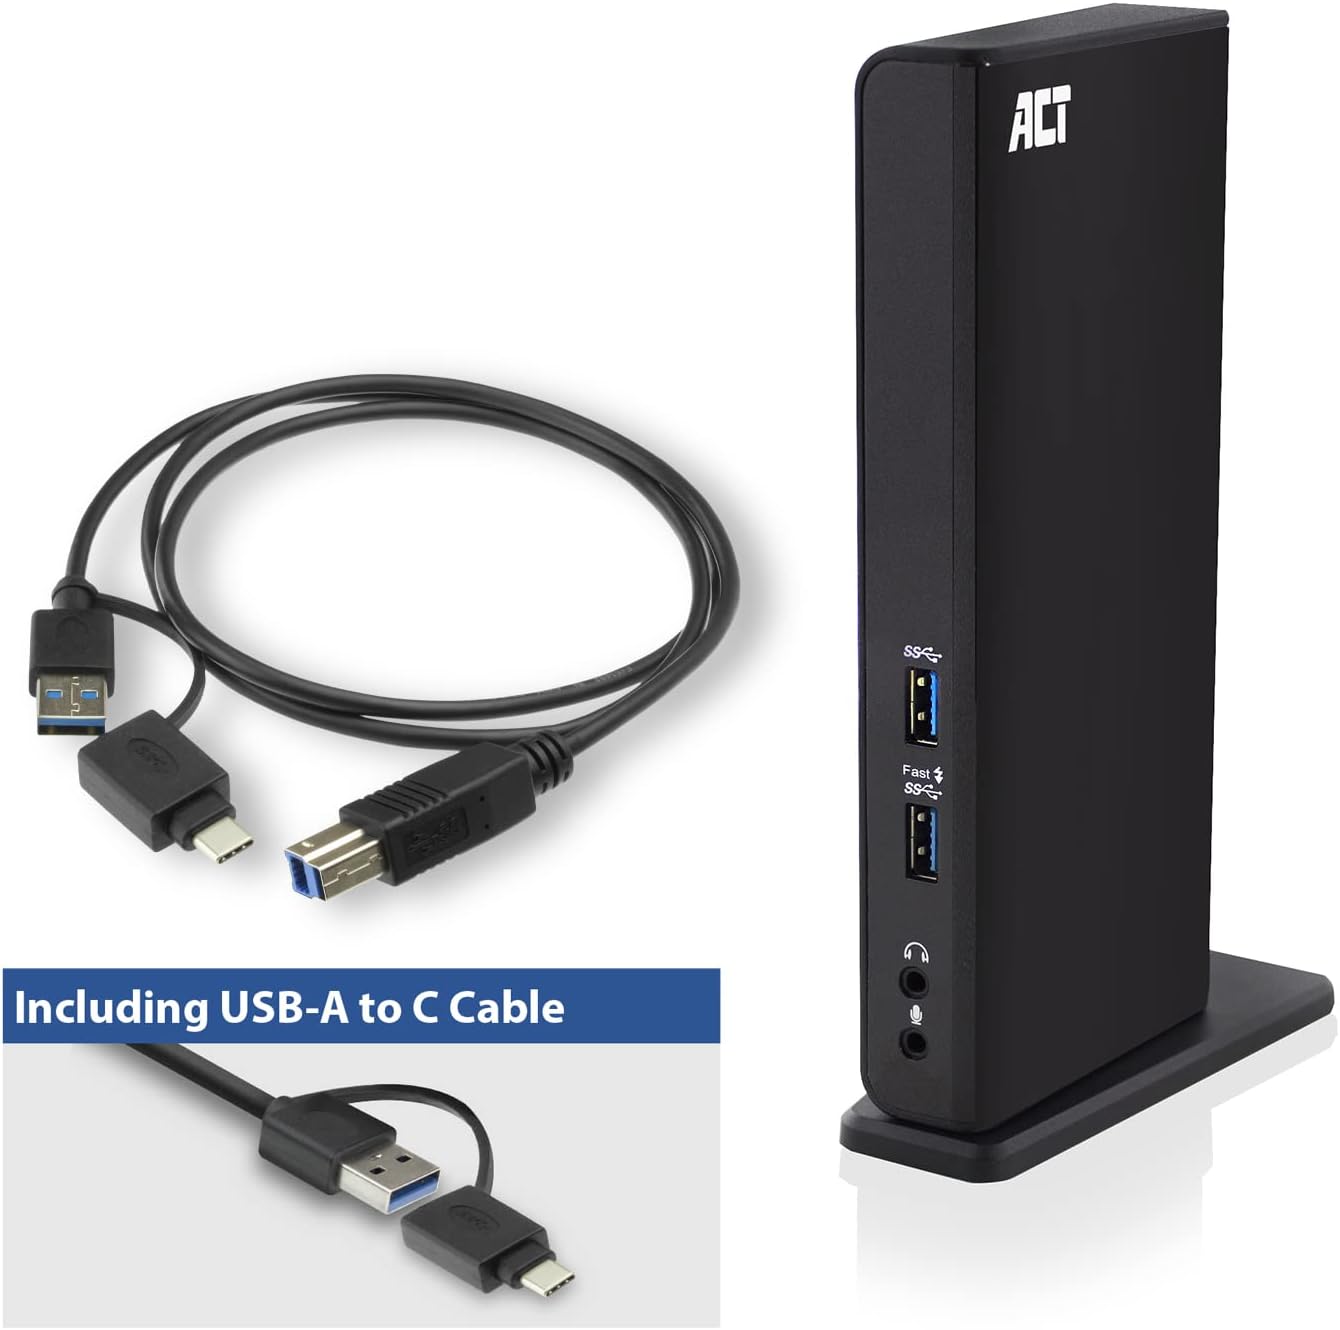
Image: The ACT AC7049 Docking Station shown with its included USB-A to USB-C connection cable and power adapter, highlighting the components provided in the package.
4. Орнату нұсқаулығы
4.1. Қуат адаптерін қосу
- Connect the power adapter to the DC 5V input port on the back of the AC7049 docking station.
- Plug the power adapter into a wall outlet. The docking station will power on.
4.2. Ноутбукке қосылу
- Use the provided USB-C/A 3.2 Gen1 connection cable. Connect the USB-B end to the corresponding port on the docking station.
- Connect the other end (USB-A or USB-C, depending on your laptop's port) to an available USB 3.2 Gen1 (USB 3.0) or USB-C port on your laptop.
4.3. Driver Installation (DisplayLink)
The AC7049 utilizes DisplayLink technology for extended monitor functionality. Drivers are typically installed automatically on most operating systems. If not, please follow these steps:
- Ресми DisplayLink сайтына кіріңіз webсайт (www.displaylink.com/downloads) to download the latest drivers for your operating system (Windows or MacOS).
- Install the downloaded driver package and follow the on-screen instructions.
- Сұралса, компьютерді қайта іске қосыңыз.

Image: The official DisplayLink 'Plug and Display' logo, indicating the technology used for multi-monitor support.
5. Пайдалану нұсқаулары
5.1. Сыртқы дисплейлерді қосу
- Connect your HDMI monitors to the two HDMI ports on the back of the docking station.
- Once connected, your operating system should detect the new displays. You can configure display settings (extend, mirror, primary display) through your computer's display settings.

Image: A visual representation of the docking station enabling both 'Mirror your content' and 'Extend your content' display modes across a laptop and two external monitors.
5.2. Connecting USB Peripherals
- Алдыңғы USB порттары: Two USB-A 3.2 Gen1 ports (one with fast charging capability) are located on the front for easy access to frequently used devices like USB drives, smartphones, or tablets.
- Rear USB Ports: Four USB-A 2.0 ports are located on the back for connecting peripherals such as keyboards, mice, printers, or other less frequently connected devices.
5.3. Желіге қосылу
Connect an Ethernet cable from your router or network switch to the Gigabit Ethernet port on the docking station. Your laptop will automatically gain wired network access.
5.4. Аудио қосылымдар
Connect your headphones and/or microphone to the dedicated 3.5mm audio jacks on the front of the docking station.

Image: An isometric diagram showcasing the comprehensive connectivity of the ACT AC7049, demonstrating how a laptop, two monitors, a keyboard, mouse, network cable, headphones, and a smartphone can all be connected simultaneously.
6. Орналастыру опциялары
The ACT AC7049 docking station offers flexible placement options to suit your workspace:
- Тік орналастыру: Use the included stand to position the docking station vertically. This saves desk space and provides easy access to all ports.
- Көлденең орналастыру: The docking station can also be placed horizontally if preferred.

Image: The ACT AC7049 Docking Station positioned vertically on its stand, highlighting its compact design and accessible ports.
7. Техникалық қызмет көрсету
To ensure optimal performance and longevity of your ACT AC7049 Docking Station, follow these maintenance guidelines:
- Тазалау: Use a soft, dry cloth to clean the exterior of the docking station. Avoid using liquid cleaners or aerosols, as they may damage the device.
- Желдету: Қызып кетудің алдын алу үшін док станциясының жақсы желдетілетін жерге орналастырылғанына көз жеткізіңіз. Желдету саңылауларын жаппаңыз.
- Сақтау орны: Ұзақ уақыт бойы пайдаланбаған кезде, қондыру станциясын тікелей күн сәулесінен және төтенше температурадан алыс салқын, құрғақ жерде сақтаңыз.
- Кабельдерді басқару: Keep cables organized and free from kinks or excessive bending to prevent damage to the cables and ports.
8. Ақаулықтарды жою
If you encounter issues with your ACT AC7049 Docking Station, please refer to the following common troubleshooting steps:
- Дисплей шығысы жоқ:
- Ensure the docking station is powered on and correctly connected to your laptop.
- HDMI кабельдерінің док станциясына да, мониторларға да мықтап жалғанғанын тексеріңіз.
- Check your laptop's display settings to ensure the external monitors are detected and configured correctly (e.g., extended or mirrored).
- Reinstall or update the DisplayLink drivers from www.displaylink.com/downloads.
- Мәселені оқшаулау үшін бір мониторды қосып көріңіз.
- USB құрылғылары жұмыс істемейді:
- Ensure the docking station is properly connected to your laptop and powered.
- Try connecting the USB device directly to your laptop to confirm it is functional.
- Connect the USB device to a different USB port on the docking station.
- Ноутбукті қайта іске қосыңыз.
- Желі қосылымы жоқ:
- Verify the Ethernet cable is securely connected to both the docking station and your router/switch.
- Check your laptop's network settings to ensure the wired connection is enabled.
- Test the Ethernet cable with another device if possible.
- Дыбыс жұмыс істемейді:
- Ensure headphones/microphone are fully plugged into the correct 3.5mm jacks.
- Check your laptop's sound settings to ensure the docking station's audio output/input is selected as the default device.
9. Техникалық сипаттамалар
| Ерекшелік | Техникалық сипаттама |
|---|---|
| Үлгі нөмірі | AC7049 |
| Бренд | ACT |
| Түс | Қара |
| Қосылу технологиясы | USB-A, USB-C |
| Бейне шығысы | 2 x HDMI (Max. 2048 x 1152 @ 60Hz) |
| USB порттары | 3 x USB-A 3.2 Gen 1 (5Gbps, 1x Fast Charging), 4 x USB-A 2.0 (480Mbps) |
| Желі порты | 1 x Гигабиттік Ethernet (RJ45) |
| Аудио порттары | 1 x 3.5mm Headphone Jack, 1 x 3.5mm Microphone Jack |
| Үйлесімді құрылғылар | Laptop, Computer (with USB 3.2 Gen1 / USB 3.0 or USB-C port) |
| Операциялық жүйені қолдау | Windows, MacOS (via DisplayLink) |
| Өлшемдері (L x W x H) | 10.9 x 6 x 18.1 см (шамамен) |
| Элемент салмағы | 317 грамм |
10. Кепілдік және қолдау
ACT products are designed for reliability and adhere to international standards and EU legislation. The ACT AC7049 Docking Station comes with a manufacturer's warranty, typically ranging from 2 to 5 years. For specific warranty details and support, please refer to the official ACT webсайтына немесе сатушыға хабарласыңыз.
For technical support or further inquiries, please visit the official ACT connectivity webсайт: www.act-connectivity.com