1. Өнім аяқталдыview
The Xigmatek LUX S Arctic (Model EN48298) is a mid-tower PC case designed for computer enthusiasts and gamers. It features a distinctive triangular mesh front panel for optimal airflow and comes equipped with four 120mm X24A A-RGB fans to provide efficient cooling and customizable lighting. The case supports Micro ATX motherboards and is constructed with durable materials, including tempered glass for a clear view ішкі құрамдас бөліктерден тұрады.
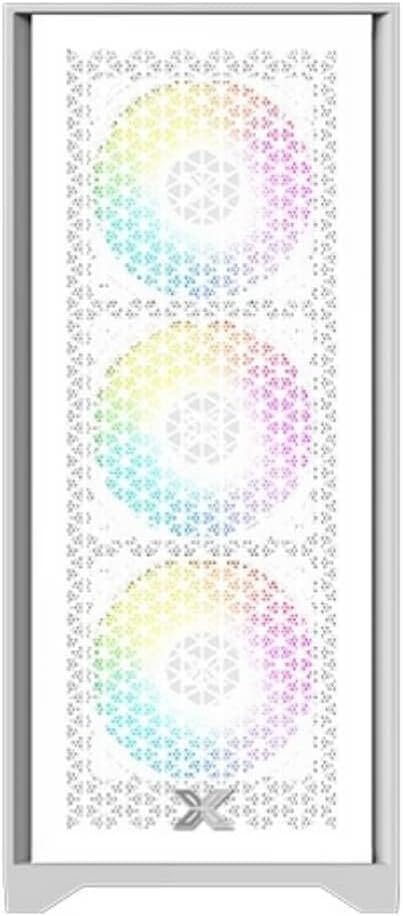
1.1-сурет: Алдыңғы view of the Xigmatek LUX S Arctic PC case, showcasing the triangular mesh design and the pre-installed A-RGB fans.
2. Пакет мазмұны
Before proceeding with installation, please ensure all components listed below are present in your package. If any items are missing or damaged, contact your retailer or Xigmatek support.
- Xigmatek LUX S Arctic Mid-Tower PC Case
- 4 x 120mm X24A A-RGB Fans (pre-installed)
- Accessory box (screws, cable ties, standoffs, user manual)
3. Орнату және орнату
Follow these steps to install your computer components into the Xigmatek LUX S Arctic PC case. Ensure your system is powered off and unplugged before beginning any installation.
3.1. Істі дайындау
- Корпусты тегіс, тұрақты бетке қойыңыз.
- Carefully remove the tempered glass side panel by unscrewing the thumb screws at the rear of the case and gently pulling the panel away.
- Remove the opposite side panel (metal) in a similar manner to access the cable management area.

3.1-сурет: Интерьер view of the PC case, illustrating the spacious layout for component installation.
3.2. Аналық платаны орнату
- Install the I/O shield that came with your motherboard into the designated opening at the rear of the case.
- Align your Micro ATX motherboard with the pre-installed standoffs. Ensure all screw holes on the motherboard match the standoffs.
- Аналық платаны қосалқы қораптағы берілген бұрандаларды пайдаланып бекітіңіз. Тым қатты тартпаңыз.
3.3. Қуат блогын (PSU) орнату
- Locate the PSU mounting area at the rear bottom of the case.
- Slide your PSU into the bay from the rear, ensuring the fan faces the bottom (if the case has a filtered intake) or upwards.
- Қуат блогын корпустың сыртқы артқы жағынан бұрандалармен бекітіңіз.
3.4. Сақтау дискісін орнату
The case supports various storage configurations. Refer to the accessory box for specific mounting hardware.
- 2.5 дюймдік SSD дискілері: Mount SSDs to the designated brackets behind the motherboard tray.
- 3.5 дюймдік қатты дискілер: Install HDDs into the drive cage located beneath the PSU shroud.

3.2-сурет: Артқы салон view, highlighting cable management cutouts and storage drive mounting locations.
3.5. Кеңейту картасын орнату (GPU және т.б.)
- Корпустың артқы жағынан қажетті PCIe ұясының қақпақтарын алыңыз.
- Insert your expansion card (e.g., graphics card) into the corresponding PCIe slot on your motherboard until it clicks into place.
- Secure the card with a screw to the case chassis.
3.6. Cable Management and Connections
Connect all necessary cables from the PSU to your motherboard and components. Utilize the cable routing cutouts and tie-down points behind the motherboard tray for a clean build and improved airflow.
- Connect front panel headers (Power SW, Reset SW, HDD LED, Power LED) to the motherboard.
- Connect USB 2.0 and USB 3.0 headers to the motherboard.
- Connect audio header to the motherboard.
- Connect the pre-installed A-RGB fans to your motherboard's A-RGB header or a compatible controller. Ensure power is supplied to the fan hub/controller if applicable.
4. Пайдалану нұсқаулары
Барлық құрамдас бөліктер орнатылып, кабельдер қосылғаннан кейін жүйені қосуға болады.
- Replace both side panels and secure them with their respective screws.
- Connect your monitor, keyboard, mouse, and power cable to the rear of your PC.
- Flip the power switch on your PSU to the 'ON' position.
- Press the power button on the front panel of the case.
- The pre-installed A-RGB fans will illuminate. You can control their lighting effects via your motherboard's software (if connected to an A-RGB header) or a dedicated controller (if included with the fans or purchased separately).
5. Техникалық қызмет көрсету
Тұрақты техникалық қызмет көрсету компьютер компоненттерінің оңтайлы өнімділігі мен ұзақ қызмет ету мерзімін қамтамасыз етуге көмектеседі.
- Шаң сүзгілері: The Xigmatek LUX S Arctic case likely includes removable dust filters (e.g., top, bottom, front). Clean these filters every 1-3 months, depending on your environment, by gently brushing or washing them with water and allowing them to dry completely before reinstallation.
- Ішкі тазалау: Periodically (every 6-12 months), open the case and use compressed air to remove dust buildup from fans, heatsinks, and other components. Hold fan blades gently to prevent them from spinning too fast during cleaning.
- Сыртқы тазалау: Сыртқы беттерді жұмсақ шүберекпен сүртіңіз, damp cloth. Avoid harsh chemicals that may damage the finish or tempered glass.
6. Ақаулықтарды жою
If you encounter issues with your PC build, refer to these common troubleshooting steps.
- Жүйе қосылмайды:
- PSU қосқышының «ON» күйінде екеніне көз жеткізіңіз.
- Check all power cables (24-pin ATX, 8-pin CPU, GPU power) are securely connected.
- Verify front panel power switch header is correctly connected to the motherboard.
- Fans Not Spinning/RGB Not Lighting Up:
- Check fan power connections to the motherboard or fan hub.
- Ensure A-RGB cables are correctly connected to the motherboard's A-RGB header or controller.
- Verify that any fan hub or controller is receiving power.
- Дисплей шығысы жоқ:
- Ensure your monitor cable is connected to the graphics card (not the motherboard's integrated graphics ports, unless you are using integrated graphics).
- Графикалық картаны оның PCIe ұясына қайта салыңыз.
- Check graphics card power connections.
For more complex issues, consult your motherboard manual or component manufacturer's support resources.
7. Техникалық сипаттамалар
| Ерекшелік | Мәлімет |
|---|---|
| Бренд | Xigmatek |
| Модель атауы | LUX S Arctic |
| Үлгі нөмірі | EN48298 |
| Іс түрі | Орта мұнара |
| Түс | Арктикалық ақ |
| Материал | Tempered Glass (side panel) |
| Аналық платаның үйлесімділігі | Микро ATX |
| Алдын ала орнатылған желдеткіштер | 4 x 120mm X24A A-RGB Fans |
| Салқындату әдісі | Ауа |
| Алдыңғы панель енгізу-шығару | 2 x USB ports (type not specified, typically USB 2.0/3.0), Audio Jacks |
| Қуат көзін орнату | Rear Mount (bottom) |
| Ұсынылатын пайдалану | Ойын |
8. Кепілдік және қолдау
For information regarding warranty coverage, technical support, or replacement parts, please refer to the warranty card included with your product or visit the official Xigmatek webсайт.