1. Кіріспе
This user manual provides comprehensive instructions for the installation, operation, and maintenance of your MSI MAG Forge M100A Micro-ATX Tower Gaming PC Case. Please read this manual thoroughly before beginning installation to ensure proper setup and to maximize the performance and longevity of your system.
The MSI MAG Forge M100A is designed to provide optimal airflow, aesthetic appeal with its Auto-RGB fans and acrylic panel, and ease of maintenance with its magnetic dust filter. It supports Micro-ATX and Mini-ITX motherboards, offering a compact yet capable solution for your gaming PC build.
2. Өнім аяқталдыview
The MSI MAG Forge M100A PC Case is engineered for efficient cooling and a visually striking build. Key components and features are highlighted below.
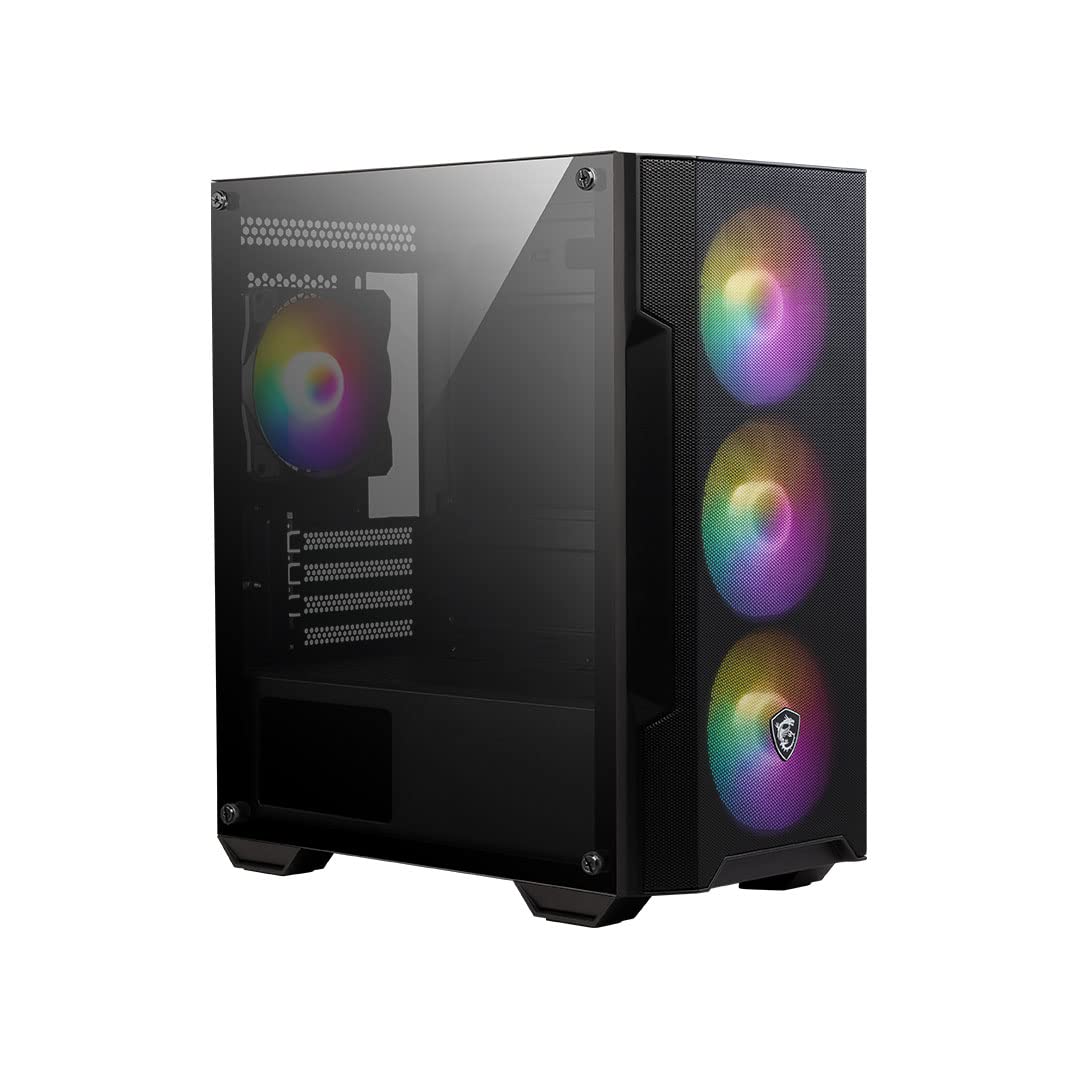
2.1-сурет: Жалпы view of the MSI MAG Forge M100A PC Case, showcasing the tempered glass side panel and front RGB fans.

2.2-сурет: Алдыңғы view of the PC case, highlighting the three 120mm Auto-RGB fans.
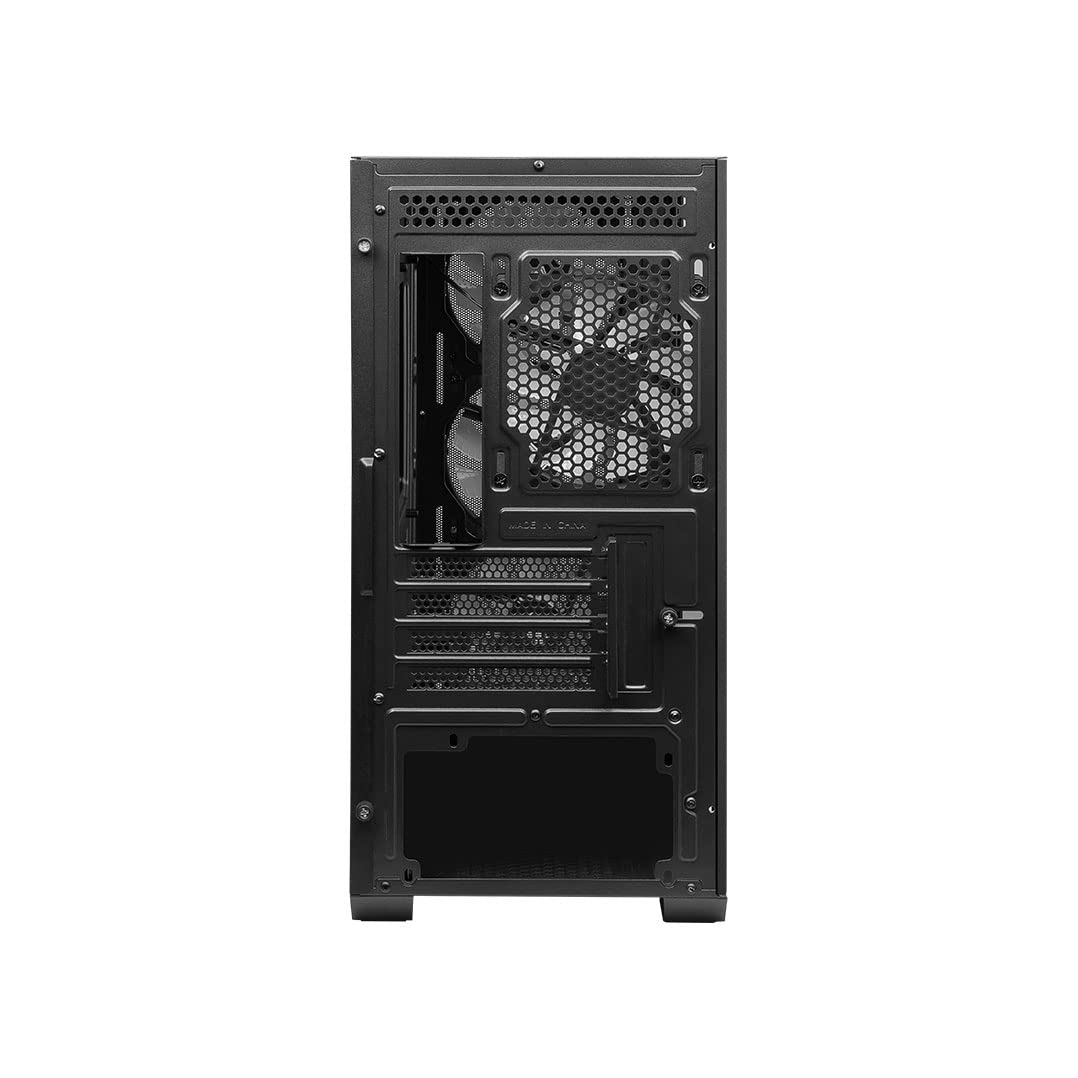
2.3-сурет: Артқы view of the PC case, showing the I/O shield cutout, expansion slots, and rear fan mount.

2.4-сурет: Егжей-тегжейлі view of the top-mounted I/O panel, including power, reset, audio jacks, USB 2.0, USB 3.2 Gen 1 Type-A, and LED switch.
3. Негізгі мүмкіндіктер
- Optimized Air Flow: The case features an optimized airflow design with four pre-installed 120mm Auto-RGB fans (three front, one rear) to ensure efficient heat dissipation and maintain peak performance for your components.

Figure 3.1: Airflow diagram illustrating cool air intake and hot air exhaust paths.
- Auto RGB Fans: Four 120mm Auto-RGB fans are included, providing vibrant lighting effects and enhancing the aesthetic appeal of your gaming setup.

Figure 3.2: The case showcasing its RGB lighting capabilities with installed components.
- Magnetic Dust Filter: A magnetic dust filter is located on the top panel for easy removal and cleaning, helping to keep your system components free from dust buildup and ensuring optimal performance.

Figure 3.3: Illustration of the magnetic dust filter for easy maintenance.
- Acrylic Panel: The durable and visually appealing acrylic side panel allows you to showcase your internal components and RGB lighting, adding an elegant touch to your build.
- Тұрақты құрылыс: Built with robust materials, the MAG Forge M100A ensures long-lasting protection for your valuable PC components.
4. Орнату нұсқаулығы
Follow these steps to set up your MSI MAG Forge M100A PC case and install your components.
4.1 Қаптаманы ашу және тексеру
- ДК қорабын қаптамасынан абайлап алыңыз.
- Тасымалдау кезінде корпустың зақымдану белгілерін тексеріңіз. Егер зақым табылса, дереу сатушыңызға хабарласыңыз.
- Verify that all accessories (screws, cable ties, manual) are included.
4.2 Құрамдас бөліктерді орнату
Before installing components, ensure you have a clean, static-free workspace.
- Аналық платаны орнату:
The MAG Forge M100A supports Micro-ATX and Mini-ITX motherboards. Install the necessary standoffs for your motherboard form factor. Carefully align your motherboard with the standoffs and I/O shield, then secure it with screws.

Figure 4.1: Motherboard support for Mini-ITX and Micro-ATX form factors.
- Қуат блогын (PSU) орнату:
Install your PSU into the dedicated compartment at the bottom of the case. Secure it with screws from the rear of the case.
- Сақтау дискісін орнату:
Install 2.5" SSDs or 3.5" HDDs into the designated drive bays. Refer to the case's internal layout for specific mounting points.
- Графикалық картаны (GPU) орнату:
Remove the necessary expansion slot covers at the rear of the case. Insert your graphics card into the PCIe slot on your motherboard and secure it with screws.
- CPU салқындатқышын орнату:
Ensure your CPU cooler fits within the maximum height specification (160mm). Install it according to the cooler's manufacturer instructions.

Figure 4.2: Hardware compatibility specifications for CPU cooler height, GPU length, and PSU length.
- Кабельдерді басқару:
Кабельдерді ұқыпты басқару үшін аналық плата науасының артындағы кабельді өткізу ойықтары мен бекіту нүктелерін пайдаланыңыз. Бұл ауа ағынын және эстетиканы жақсартады.
5. Пайдалану нұсқаулары
Барлық құрамдас бөліктер орнатылып, кабельдер қосылғаннан кейін жүйені қосуға болады.
5.1 Қуатты қосу
- Connect your monitor, keyboard, mouse, and other peripherals to the appropriate ports on your motherboard's I/O panel.
- Connect the power cable to your PSU and plug it into a wall outlet.
- Flip the power switch on the back of your PSU to the 'ON' position.
- Press the Power button on the top I/O panel of the case.
5.2 Front I/O Panel Functions
- Қуат түймесі: Жүйені қосады немесе өшіреді.
- Қалпына келтіру түймесі: Жүйені қайта іске қосады.
- Mic/Audio Jacks: Құлаққаптар мен микрофондарды қосыңыз.
- USB 2.0 порттары (x2): USB 2.0 құрылғыларын қосуға арналған.
- USB 3.2 Gen 1 Type-A порты (x1): Жоғары жылдамдықты USB құрылғыларын қосуға арналған.
- Жарықдиодты қосқыш: Cycles through different RGB lighting modes for the pre-installed fans.
6. Техникалық қызмет көрсету
Тұрақты техникалық қызмет көрсету компьютер компоненттерінің оңтайлы жұмыс істеуін қамтамасыз етеді және олардың қызмет ету мерзімін ұзартады.
6.1 Шаң сүзгісін тазалау
The magnetic dust filter on the top panel should be cleaned regularly (e.g., monthly, depending on environment) to prevent dust buildup inside the case.
- Gently lift the magnetic dust filter from the top of the case.
- Clean the filter using compressed air, a soft brush, or by rinsing it with water (ensure it is completely dry before reattaching).
- Place the clean filter back onto the top panel.
6.2 Ішкі тазалау
Periodically clean the interior of your PC case to remove accumulated dust from fans, heatsinks, and other components.
- Power off and unplug your PC before opening the case.
- Use compressed air to blow dust out of fans, CPU cooler fins, and GPU heatsinks. Hold fan blades gently to prevent them from spinning too fast.
- Ішкі беттерді микрофибра матамен сүртіңіз.
- Ensure all components are securely seated before closing the case.
7. Ақаулықтарды жою
Бұл бөлімде ДК корпусында кездесетін жалпы мәселелер қарастырылады.
| Мәселе | Ықтимал себебі | Шешім |
|---|---|---|
| ДК қосылмайды. | Power cable not connected; PSU switch off; Front panel power connector loose. | Ensure power cable is securely connected. Check PSU switch. Verify front panel power connector is correctly attached to motherboard. |
| Fans are not spinning or RGB is not working. | Fan power cables disconnected; RGB controller not powered or faulty. | Check fan power connections to motherboard or fan hub. Ensure RGB controller (if applicable) is powered and connected. Use the LED switch on the front panel to cycle modes. |
| USB ports on front panel not working. | Front panel USB header not connected to motherboard. | Verify that the USB 2.0 and USB 3.0/3.2 headers from the case are securely connected to the corresponding pins on your motherboard. |
| Audio jacks on front panel not working. | Front panel audio header not connected to motherboard. | Ensure the HD Audio header from the case is correctly connected to the audio pins on your motherboard. |
| Excessive dust buildup. | Infrequent cleaning of dust filters. | Clean the magnetic dust filter regularly. Perform interior cleaning as described in Section 6.2. |
8. Техникалық сипаттамалар
| Ерекшелік | Мәлімет |
|---|---|
| Бренд | MSI |
| Модель сериялары | MAG FORGE |
| Үлгі нөмірі | 306-7G20A21-809 |
| Іс түрі | Micro-ATX Tower |
| Түс | Қара |
| Материал | Acrylic (Side Panel) |
| Өнім өлшемдері (LxWxH) | 60 x 60 x 85 см |
| Элемент салмағы | 3.36 кг |
| Аналық платаға қолдау көрсету | Micro-ATX, Mini-ITX |
| Алдын ала орнатылған желдеткіштер | 4 x 120mm Auto-RGB Fans (3 Front, 1 Rear) |
| Алдыңғы енгізу-шығару порттары | 2 x USB 2.0, 1 x USB 3.2 Gen 1 Type-A, Audio In/Out, Power, Reset, LED Switch |
| CPU салқындатқышының биіктігін тазалау | 160мм (ең көп) |
| GPU ұзындығын тазалау | 300мм (ең көп) |
| PSU ұзындығының клиренсі | 200mm (without 3.5" HDD tray) |
| Шаң сүзгілері | Магниттік (жоғарғы) |

Figure 8.1: Diagram illustrating the dimensions of the MSI MAG Forge M100A PC Case, showing approximate measurements of 423cm height, 388cm depth, and 200cm width.
9. Кепілдік және қолдау
9.1 Кепілдік туралы ақпарат
The MSI MAG Forge M100A PC Case comes with a Өндірушінің 2 жылдық кепілдігі сатып алған күннен бастап. Бұл кепілдік қалыпты пайдалану кезіндегі материалдар мен жұмыс ақауларын қамтиды. Кепілдік шағымдары үшін сатып алуды растайтын құжатты сақтаңыз.
Кепілдік келесі себептермен келтірілген залалды қамтымайды:
- Improper installation or use not in accordance with this manual.
- Accidents, abuse, neglect, fire, water, lightning, or other acts of nature.
- Рұқсат етілмеген өзгертулер немесе жөндеулер.
- Қалыпты тозу.
9.2 Техникалық қолдау
For technical assistance, troubleshooting beyond this manual, or warranty inquiries, please visit the official MSI website or contact MSI customer support through their designated channels.
Official MSI Webсайт: www.msi.com