1. Кіріспе
Thank you for choosing the InFocus P120 INL412 Multimedia Projector. This manual provides essential information for the safe and efficient operation of your projector. Please read it thoroughly before using the device and retain it for future reference. The InFocus P120 INL412 is designed for versatile multimedia presentations, offering clear and vibrant images for various applications.
2. Қауіпсіздік туралы ақпарат
To ensure safe operation and prevent damage to the projector, please observe the following safety precautions:
- Желдету саңылауларын жаппаңыз. Қызып кетудің алдын алу үшін проектордың айналасында ауа ағыны дұрыс болуы үшін жеткілікті орын қалдырыңыз.
- l болғанда проектор объективіне тікелей қараудан аулақ болыңызamp қосулы, себебі жарқын жарық көзге зақым келтіруі мүмкін.
- Do not place the projector on an unstable cart, stand, or table. The projector may fall, causing serious injury to a child or adult, and serious damage to the unit.
- Disconnect the power cord from the wall outlet if the projector will not be used for an extended period.
- Барлық қызмет көрсету жұмыстарын білікті қызмет көрсету мамандарына тапсырыңыз. Проекторды өзіңіз ашуға немесе жөндеуге тырыспаңыз.
- Keep the projector away from water or moisture. Do not expose it to rain or immerse it in liquid.
- Use only the power cord supplied with the projector or an authorized replacement.
3. Пакет мазмұны
Төменде көрсетілген барлық заттардың проектор жинағына кіретінін тексеріңіз:
- InFocus P120 INL412 Multimedia Projector
- Қуат сымы
- Батареялары бар қашықтан басқару құралы
- VGA кабелі
- Пайдаланушы нұсқаулығы (бұл құжат)
- Жылдам бастау нұсқаулығы
4. Өнім аяқталдыview
Familiarize yourself with the main components of your InFocus P120 INL412 projector.
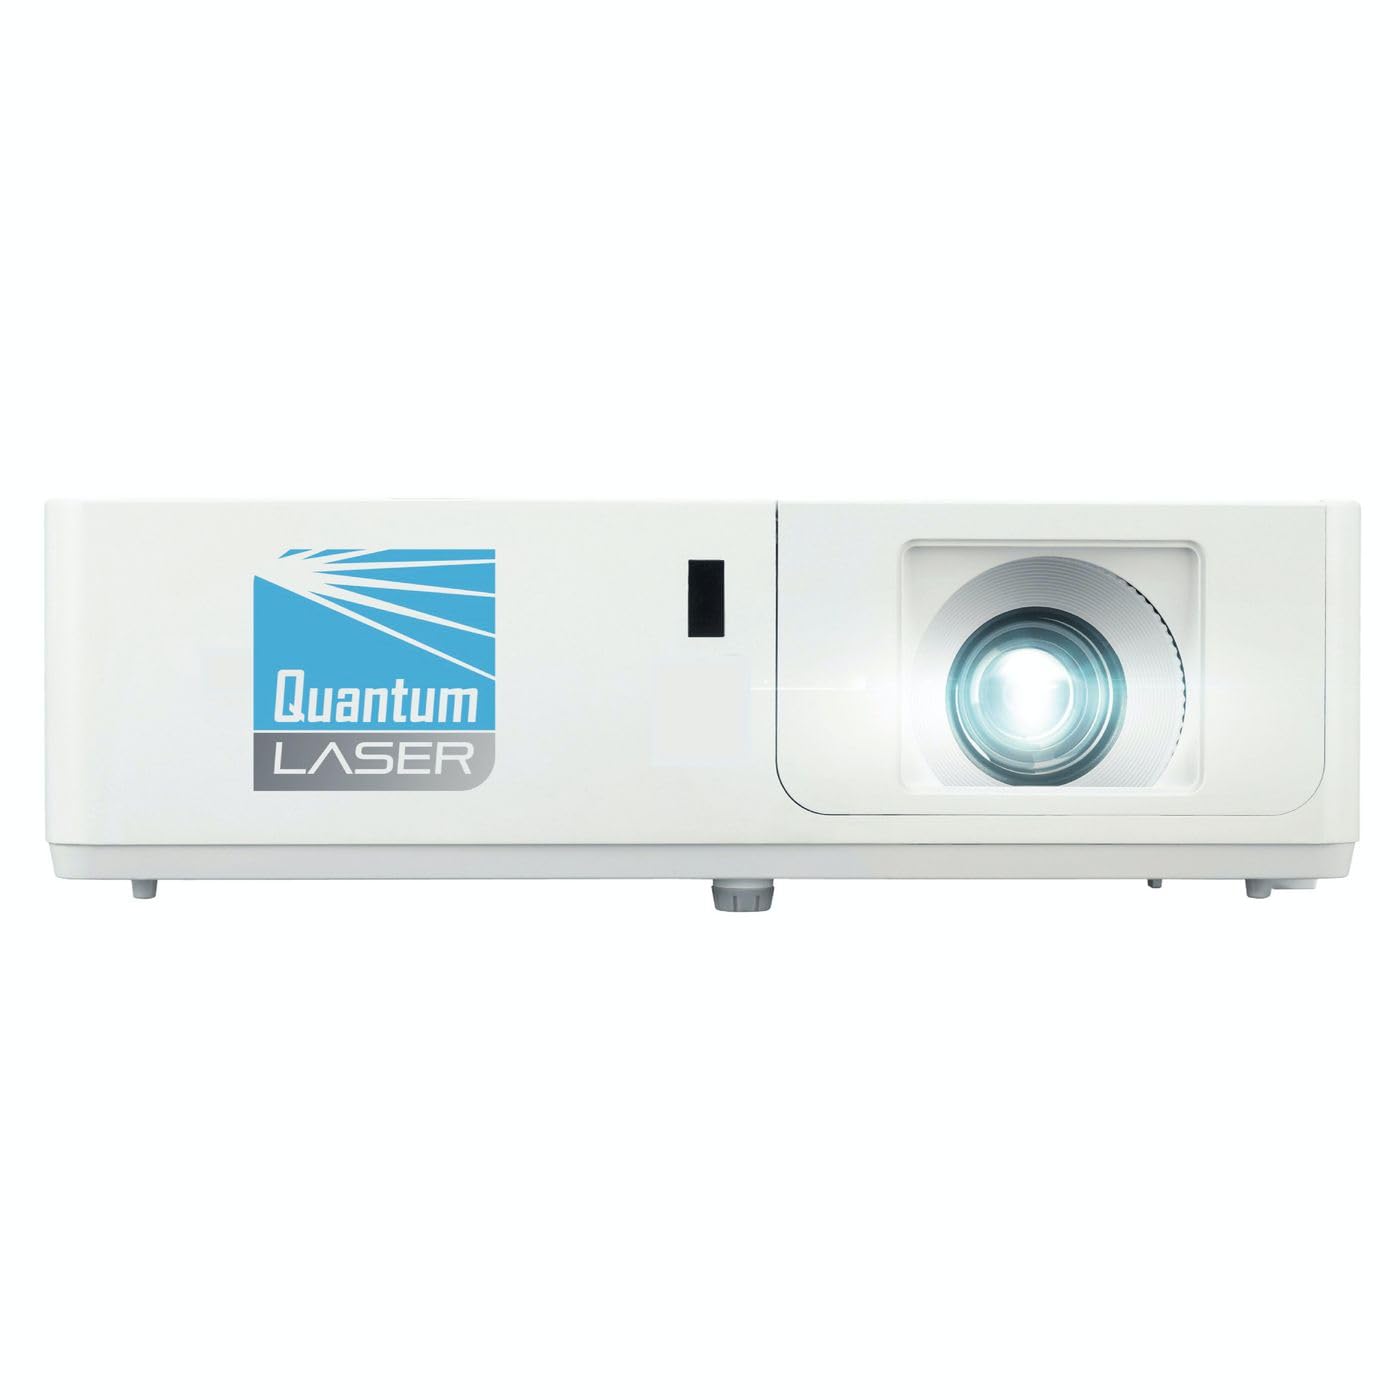
1-сурет: Алдыңғы view of the InFocus P120 INL412 Multimedia Projector, showing the lens and ventilation grilles.
4.1 Алдыңғы панель
- Проекциялық объектив: Суретті экранға шығарады.
- Фокустық қоңырау: Adjusts the clarity of the projected image.
- Масштабтау сақинасы: Проекцияланған кескіннің өлшемін реттейді.
- IR қабылдағыш: Қашықтан басқару пультінен сигналдарды қабылдайды.
4.2 Жоғарғы панель
- Басқару тақтасы: Buttons for power, menu navigation, source selection, and keystone correction.
- Индикатор шамдары: Display the projector's status (e.g., power, lamp, temperature).
4.3 Артқы панель (қосылу)
- HDMI кірісі: Connects to HDMI-enabled devices (laptops, Blu-ray players).
- VGA кірісі: VGA шығысы бар компьютерлерге қосылады.
- USB порты: For service or connecting USB devices (if supported by model).
- Аудио кіріс/шығыс: Сыртқы дыбыс көздерін немесе динамиктерді қосу үшін.
- Қуат кірісі: Қуат сымын қосады.
5. Орнату
Проекторды бастапқы орнату үшін мына қадамдарды орындаңыз:
- Орналастыру: Place the projector on a stable, flat surface or mount it securely. Ensure the projector is positioned at an appropriate distance from the screen to achieve the desired image size.
- Қуат қосылымы: Қуат сымын проектордың қуат кірісіне, содан кейін жерге қосылған розеткаға қосыңыз.
- Бастапқы құрылғыны қосу: Connect your source device (e.g., laptop, DVD player) to the projector using an appropriate cable (HDMI, VGA, etc.). Ensure the cable is securely connected to both the source and the projector.
- Қуат қосулы: Press the power button on the projector's control panel or the remote control to turn on the projector. The power indicator light will illuminate.
- Фокус пен масштабты реттеу: Once an image is projected, rotate the focus ring on the lens until the image is sharp and clear. Use the zoom ring to adjust the image size to fit your screen.
- Негізгі тасты түзету: If the image appears trapezoidal, use the keystone correction function (either via buttons on the projector/remote or through the on-screen menu) to square the image.
6. Пайдалану нұсқаулары
6.1 Қуатты қосу/өшіру
- Қосу үшін: Press the power button once. The projector will go through a warm-up sequence.
- Қуатты өшіру үшін: Press the power button twice. The first press will prompt a shutdown confirmation; the second press will initiate shutdown. Allow the projector to cool down completely before unplugging.
6.2 Дереккөзді таңдау
Press the 'Source' button on the projector or remote control to cycle through available input sources (HDMI, VGA, etc.) until your desired source is displayed.
6.3 Мәзір навигациясы
Press the 'Menu' button to access the on-screen display (OSD) menu. Use the arrow buttons to navigate through options and 'Enter' or 'OK' to select. Use the 'Exit' or 'Menu' button to close the OSD.
- Кескін параметрлері: Adjust brightness, contrast, color, aspect ratio, and picture mode.
- Дисплей параметрлері: Configure keystone, projection mode (front/rear, desktop/ceiling), and resolution.
- Аудио параметрлері: Дыбыс деңгейін және аудио шығыс параметрлерін басқару.
- Жүйе параметрлері: Manage language, timer, power-saving modes, and factory reset.
7. Техникалық қызмет көрсету
Тұрақты техникалық қызмет көрсету оңтайлы өнімділікті қамтамасыз етеді және проектордың қызмет ету мерзімін ұзартады.
- Линзаны тазалау: Проектор линзасын оптикалық беттерге арнайы жасалған жұмсақ, талшықсыз шүберекпен ақырын сүртіңіз. Абразивті тазалағыштарды немесе шамадан тыс күш қолданбаңыз.
- Кабинетті тазалау: Use a soft, dry cloth to clean the projector's exterior. For stubborn marks, dampen the cloth slightly with water. Avoid using harsh chemicals.
- Ауа сүзгісін тазалау/ауыстыру: Check the air filter periodically. If your model has a removable filter, clean it with a soft brush or vacuum cleaner. Replace the filter as recommended in the on-screen menu or when visibly dirty to maintain proper ventilation.
- Lamp Ауыстыру: Проектор лamp шектеулі өмір сүру ұзақтығы бар. Қашан лamp life indicator appears, or the image brightness significantly decreases, replace the lamp according to the instructions provided in the full service manual or by a qualified technician. Always allow the projector to cool down completely before attempting lamp ауыстыру.
8. Ақаулықтарды жою
Жалпы мәселелер және олардың шешімдері үшін төмендегі кестені қараңыз:
| Мәселе | Ықтимал себебі | Шешім |
|---|---|---|
| Ешқандай сурет көрсетілмеді | Power cord disconnected, incorrect input source, source device off. | Check power connections. Select correct input source. Ensure source device is powered on. |
| Сурет бұлыңғыр | Объектив фокуста емес, проекция қашықтығы дұрыс емес. | Adjust the focus ring on the lens. Reposition the projector closer or further from the screen. |
| Сурет трапеция тәрізді | Проектор экранға перпендикуляр емес. | Use keystone correction (manual or automatic) to square the image. |
| Проектор қызып кетеді және өшеді | Blocked ventilation, dirty air filter. | Ensure clear space around vents. Clean or replace the air filter. |
| Қашықтан басқару пульті жұмыс істемейді | Dead batteries, obstruction between remote and projector, incorrect angle. | Replace batteries. Ensure clear line of sight to IR receiver. Point remote directly at the projector. |
9. Техникалық сипаттамалар
Key technical specifications for the InFocus P120 INL412 Multimedia Projector:
| Ерекшелік | Техникалық сипаттама |
|---|---|
| Үлгі нөмірі | P120 INL412 (Item model number: 7296144) |
| Дисплей түрі | DLP |
| Native Resolution | 1280 x 800 |
| Максималды дисплей ажыратымдылығы | 1280 x 800 |
| Қосылу технологиясы | USB (and other standard inputs like HDMI, VGA) |
| Өнім өлшемдері | 5.25 x 0.31 x 1.66 дюйм |
| Элемент салмағы | 6.6 фунт |
| Өндіруші | Фокуста |
10. Кепілдік және қолдау
The InFocus P120 INL412 Multimedia Projector comes with a standard manufacturer's warranty. Please refer to the warranty card included in your package for specific terms and conditions, including warranty duration and coverage details. For technical support, service, or further inquiries, please visit the official InFocus support webсайтына өтіңіз немесе тұтынушыларға қызмет көрсету бөліміне хабарласыңыз.
Қолдау туралы ең соңғы ақпаратты алу үшін мына сайтқа кіріңіз: www.infocus.com/support