1. Кіріспе
This manual provides detailed instructions for the safe and efficient operation of your Fitnet AL-300L Aquarium Chiller. This unit is designed to maintain optimal water temperatures for various aquatic environments, including freshwater and saltwater aquariums, as well as hydroponic systems. Please read this manual thoroughly before installation and use to ensure proper function and longevity of the product.

Figure 1: Fitnet AL-300L Aquarium Chiller. This image shows the main chiller unit with its digital display and water inlet/outlet nozzles.
Өнім ерекшеліктері:
- Тиімді салқындату: Features a high-efficiency compressor and R134a refrigerant for stable and precise temperature control.
- Температура диапазоны: Effectively maintains water temperature between 68°F-79°F (20°C-26°C).
- Тиімді жылу диссипациясы: Equipped with multiple ventilation holes and two built-in cooling fans.
- Төмен шу жұмысы: Designed with silent fans to minimize operational noise.
- Әмбебап қолданба: Suitable for freshwater and saltwater fish tanks, and hydroponic systems.
- Толық жинақ: Includes water pump, water pipe, and connectors for immediate setup.
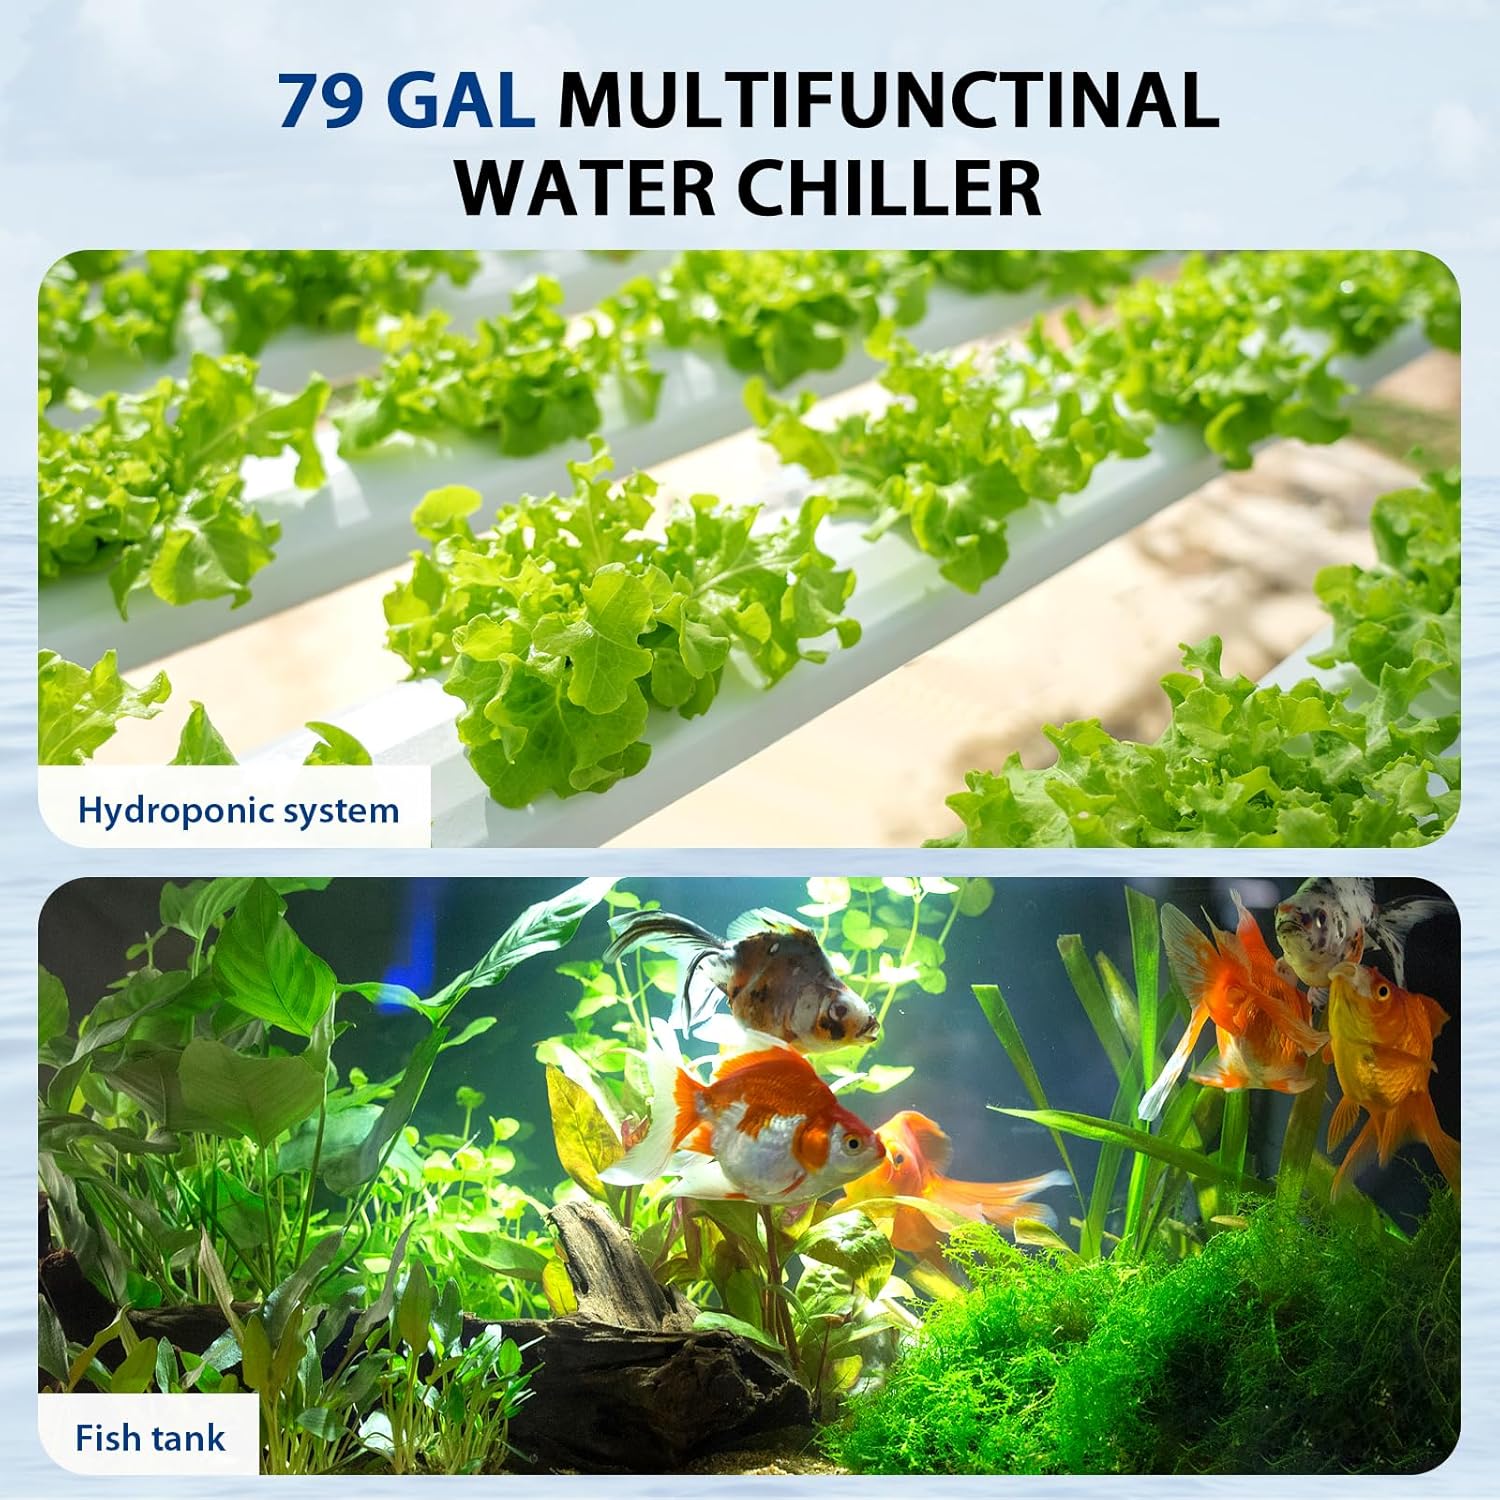
Figure 2: Versatile applications. This image illustrates the chiller's suitability for both hydroponic systems (top) and traditional fish tanks (bottom).
2. Қауіпсіздік туралы ақпарат
Жарақат алуды немесе өнімді зақымдауды болдырмау үшін келесі қауіпсіздік шараларын орындаңыз.
- Always disconnect the power supply before performing any maintenance, installation, or cleaning.
- Ensure the chiller is placed on a stable, level surface.
- Maintain at least 6 inches (15 cm) of clear space around the chiller for adequate heat dissipation. Blocking vents can lead to overheating and reduced performance.
- Қуат сымы немесе ашасы зақымдалған болса, салқындатқышты пайдаланбаңыз.
- Do not immerse the main chiller unit in water. The water pump is submersible, but the chiller unit is not.
- Бұл құрылғы тек үй ішінде пайдалануға арналған.
- Балалардың қолы жетпейтін жерде сақтаңыз.
- Use a Ground Fault Circuit Interrupter (GFCI) for all electrical connections to prevent electrical shock.

Figure 3: Recommended clearance for heat dissipation. This diagram illustrates the importance of maintaining at least 6 inches (15 cm) of space between the chiller and any walls or obstructions to ensure proper airflow and cooling efficiency.
3. Пакет мазмұны
Орнатуды жалғастырмас бұрын пакетте барлық элементтердің бар екенін тексеріңіз.
- Fitnet AL-300L Aquarium Chiller Unit
- Суасты сорғысы
- Water Pipe (Hose)
- Connectors and Clamps
- Қуат сымы
- Нұсқаулық (бұл құжат)

Figure 4: Included components. This image displays the main chiller unit alongside the water pump, hoses, connectors, and clamps that come with the product.

Figure 5: Submersible water pump. This image shows the water pump, designed for submersion in fresh or saltwater, which circulates water through the chiller.
4. Орнату нұсқаулары
Follow these steps for proper installation of your aquarium chiller.
- Positioning the Chiller: Place the chiller on a flat, stable surface near your aquarium or hydroponic system. Ensure there is at least 6 inches (15 cm) of clear space around all sides for optimal airflow and heat dissipation.
- Prepare Connectors: Gather the provided connectors, including the white sealing washers.
- Install Inlet/Outlet Nozzles:
- Insert a white sealing washer onto each inlet/outlet nozzle.
- Place the pipe joint into the black nut cap.
- Tighten the black nuts onto the chiller's inlet and outlet ports.
- Су сорғысын қосу: Attach one end of the water pipe to the outlet of the submersible water pump. Secure it with a clamp қажет болса.
- Connect Chiller to System:
- Connect the other end of the water pipe from the pump to the chiller's inlet port.
- Connect a second water pipe from the chiller's outlet port back to your aquarium or hydroponic system.
- Ағып кетуді болдырмау үшін барлық қосылымдардың сенімді және су өткізбейтініне көз жеткізіңіз.
- Суасты сорғы: Place the submersible water pump into your aquarium or hydroponic reservoir. Ensure it is fully submerged and positioned to draw water effectively.
- Қуат қосылымы: Plug the chiller's power cord into a GFCI-protected electrical outlet. Plug in the water pump's power cord.
Figure 6: Chiller installation steps. This diagram illustrates the process of preparing accessories, installing sealing washers, attaching pipe joints, and tightening the black nuts for secure hose connections.

Figure 7: Chiller setup with an aquarium. This image shows the chiller unit connected to a small fish tank, illustrating the hose routing and the overall footprint of the chiller (dimensions: 12.6" H x 11.4" W x 11.4" D).
5. Пайдалану нұсқаулары
The chiller features a digital control panel for temperature setting and calibration.
5.1. Қуатты қосу/өшіру
Locate the power switch on the back of the unit. Flip the switch to the 'ON' position to power on the chiller. The digital display will illuminate.

Figure 8: Power switch. This image shows the main power switch located on the rear panel of the chiller unit.
5.2. Temperature Setting (Assumed Target Temperature Range: 75-79°F)
The chiller will begin cooling after a 2-3 minute power-on delay. To adjust the target temperature:
- Set Shutdown Temperature: түймесін басыңыз Орнату кілт. пайдаланыңыз ▲ (жоғары) немесе ▼ (down) arrow keys to adjust the desired shutdown temperature (e.g., 77°F). Press the Rst сақтау кілті.
- Set Starting Temperature (F1 Code): түймесін ұзақ басыңыз Орнату дейін кілт F1 code appears. Then, press the Орнату key again. Use the ▲ or ▼ arrow keys to adjust the temperature difference (e.g., to 4°F for a working range of 4°F).

Figure 9: Temperature setting and F2 calibration. This image provides a visual guide to setting the shutdown temperature and adjusting the F1 code for the working temperature range, as well as the F2 calibration process.
5.3. F2 Calibration Setting
If the chiller's displayed temperature does not match an external thermometer, you can calibrate it:
- түймесін ұзақ басыңыз Орнату көрсету пернесі F1. түймесін басыңыз ▲ көрсету пернесі F2. түймесін басыңыз Орнату қайтадан.
- пайдаланыңыз ▲ or ▼ arrow keys to adjust the offset value (e.g., to 5 if the chiller reads 77°F and the actual temperature is 72°F, meaning a -5 adjustment is needed). Press Rst ағымдағы температура дисплейіне оралу үшін.
6. Техникалық қызмет көрсету
Тұрақты техникалық қызмет көрсету тоңазытқыштың қызмет ету мерзімін ұзартады және оның оңтайлы жұмыс істеуін қамтамасыз етеді.
- Таза ауа желдеткіштері: Periodically check and clean the air intake and exhaust vents to prevent dust and debris buildup, which can impede heat dissipation. Use a soft brush or vacuum cleaner.
- Түтіктер мен қосылымдарды тексеріңіз: Regularly check hoses and connections for any signs of leaks, kinks, or damage. Replace damaged components immediately.
- Clean Water Pump: Disconnect power to the pump and remove it from the water. Disassemble and clean the impeller and pump housing to remove any algae or debris that may affect water flow.
- Судың сапасы: Maintain good water quality in your aquarium or hydroponic system to reduce the buildup of contaminants in the chiller's internal components.
7. Ақаулықтарды жою
If you encounter issues with your chiller, refer to the following common problems and solutions.
| Мәселе | Ықтимал себебі | Шешім |
|---|---|---|
| Chiller not cooling or insufficient cooling. |
|
|
| Қосылымдардан су ағып жатыр. |
|
|
| Chiller making unusual noise. |
|
|
| Digital display shows incorrect temperature. |
|
|
8. Техникалық сипаттамалар
| Ерекшелік | Мәлімет |
|---|---|
| Модель атауы | AL-300L |
| Сыйымдылығы | 79 галлон / 300 литр |
| Өлшемдері (L x W x H) | 12.6 x 11.4 x 11.39 дюйм |
| Хладагент | R134a |
| Ұсынылатын температура диапазоны | 68°F - 79°F (20°C - 26°C) |
| Материал | Алюминий |
| Түс | Қара |
| Өндіруші | Фитнет |
| Pump Power (Qmax) | 15W, 600L/H |
| Тtage | 110В/60Гц |
9. Кепілдік және қолдау
Fitnet offers a 1 жылдық өндірушінің кепілдігі for this 79-gallon water chiller. This warranty covers defects in materials and workmanship under normal use.
For warranty claims, technical support, or any questions regarding your Fitnet Aquarium Chiller, please contact Fitnet customer service through your original purchase platform or the official Fitnet webсайт.
Кепілдікті растау үшін сатып алуды растайтын құжатты сақтаңыз.