
Кіріспе
The ThinkRider A1 is a direct-drive bike trainer designed for indoor cycling. It offers precise power output and is compatible with popular cycling software like Zwift for an engaging training experience. This manual provides essential information for setting up, operating, maintaining, and troubleshooting your A1 bike trainer.
Негізгі мүмкіндіктер мыналарды қамтиды:
- Accurate Power Data: Provides precise power readings for effective training.
- Fixed 3% Slope Resistance: Designed to meet professional training needs with a consistent resistance level.
- Өте тыныш жұмыс: Operates at a low noise level (as low as 58dB), ensuring minimal disturbance.
- Тұрақты батареяның қызмет ету мерзімі: Offers a stand-by time of up to 300 days and training time of up to 300 hours.
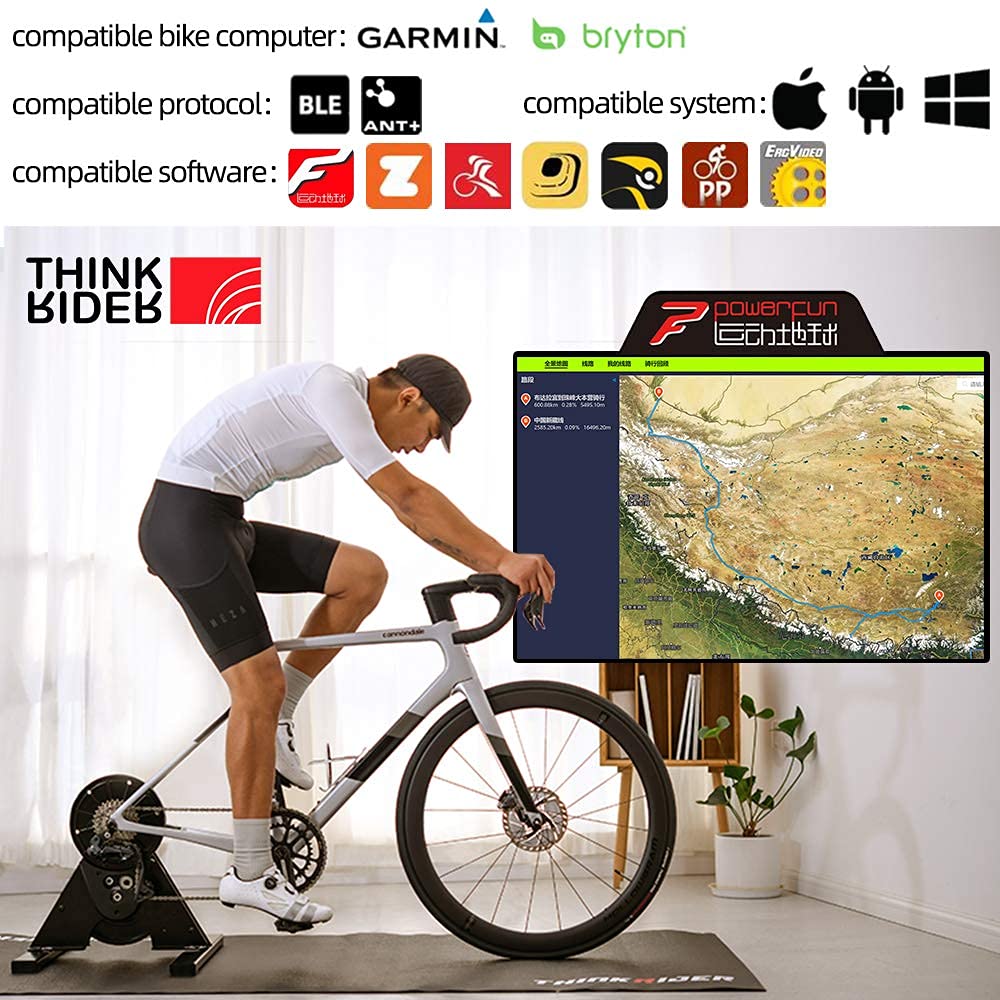
- Сымсыз байланыс: Supports BLE 4.0 and ANT+ protocols for broad compatibility with devices and software.
Product accessories included: Quick release lever, quick release converter, and this instruction manual. Please note that a thru-axle converter and ANT+ receiver are optional and sold separately.
Орнату
Follow these steps to set up your ThinkRider A1 Bike Trainer:
- Қаптаманы ашу және жинау: Carefully remove all components from the packaging. Attach the foot braces to the main unit using the provided hardware. Ensure they are securely fastened for stability.
- Install Cassette: A cassette (not included) must be installed on the trainer's freehub. Ensure the cassette matches your bike's drivetrain (e.g., 10-speed, 11-speed). Use any necessary spacers to ensure proper alignment.
- Adjust Hub Width: The trainer includes aluminum adapters to adjust for different hub widths. Depending on your bike's rear axle type (quick release or thru-axle), you may need to flip or adjust these adapters to match your bike's spacing.
- Mount Your Bicycle: Remove the rear wheel from your bicycle. Carefully align your bike's rear dropouts with the trainer's axle. Secure the bike using the quick release lever or thru-axle (if using an optional converter). Ensure the chain is properly seated on the cassette.


Пайдалану нұсқаулары
The ThinkRider A1 is a direct-drive trainer with a fixed 3% slope resistance. This means the resistance level is constant and cannot be adjusted via software. Your power output is measured by an internal sensor.
- Қуат қосулы: The trainer is powered by a CR2032 battery. Ensure the battery is installed correctly. The trainer will automatically activate when pedaling begins.
- Connect to Software/Device: The A1 trainer transmits data wirelessly via BLE 4.0 (Bluetooth Low Energy) and ANT+.
- Блютез: On your smartphone, tablet, or computer, enable Bluetooth. Open your preferred cycling application (e.g., Zwift, Rouvy, ThinkRider Powerfun) and search for available sensors. Select the ThinkRider A1 to connect. Note that some Android devices may require location services to be enabled for Bluetooth sensor pairing.
- ANT+: If using an ANT+ compatible device (e.g., bike computer, PC with ANT+ dongle), ensure ANT+ is enabled. Your device should automatically detect the trainer as a power meter.
- Жаттығуды бастау: Once connected, start pedaling. Your power data, speed, and other metrics will be displayed in your connected application. The trainer provides a consistent resistance simulating a 3% incline.

Техникалық қызмет көрсету
The ThinkRider A1 bike trainer is designed for durability and smooth operation with minimal maintenance. Regular checks can help ensure its longevity and performance.
- Тазалау: Periodically wipe down the trainer with a damp cloth to remove sweat, dust, and grime. Avoid using harsh chemicals.
- Батареяны ауыстыру: The internal sensor is powered by a CR2032 battery. If you experience inconsistent power readings or connectivity issues, replace the battery. The battery compartment is typically located on the side of the main unit.
- Қосылымдарды тексеру: Ensure all bolts, especially those for the foot braces, remain tight. Regularly inspect the quick release or thru-axle connection for secure bike mounting.
- Сақтау орны: When not in use, store the trainer in a dry, clean environment away from extreme temperatures.

Ақаулықтарды жою
If you encounter issues with your ThinkRider A1 trainer, refer to the following common problems and solutions:
- No Power Data or Connectivity Issues:
- Батареяны тексеру: The most common cause for data dropouts or no connection is a low or dead CR2032 battery. Replace the battery with a fresh one.
- Bluetooth/ANT+ Interference: Ensure there are no other devices causing interference. Try moving closer to the trainer or restarting your device/application.
- Бағдарламалық қамтамасыз ету мәселелері: Ensure your cycling application is up-to-date. Try restarting the application or your device.
- Location Services (Android): For Android devices, ensure location services are enabled for Bluetooth sensor pairing.
- Unstable Trainer:
- Foot Braces: Ensure the foot braces are securely attached and all bolts are tightened.
- Деңгей беті: Place the trainer on a flat, stable surface.
- Bike Not Mounting Securely:
- Axle Adapters: Verify that the correct axle adapters are used and properly configured for your bike's hub width.
- Quick Release/Thru-Axle: Ensure the quick release lever or thru-axle is fully tightened and secured.
Техникалық сипаттамалар
Below are the technical specifications for the ThinkRider A1 Bike Trainer:
| Ерекшелік | Техникалық сипаттама |
|---|---|
| Құрылыс | Triangular steel structure |
| Жүргізу режимі | Тікелей жетек |
| Сымсыз сигнал | BLE 4.0 / ANT+ |
| Simulated Slope | Preset 3% slope (fixed resistance) |
| Максималды қуат | 0-1200 Вт |
| Қуат қатесі | ±3% |
| Шу деңгейі | 58dB (@1.0m & 30kph) |
| Қуат көзі | CR2032 батареясы |
| Жаттығу уақыты | 300 сағатқа дейін |
| Күту уақыты | 300 күнге дейін |
| Қаптама өлшемі | 520 x 460 x 200 мм |
| Қаптама салмағы | 14.8 kg (net 12.55 kg) |
| Материал | Metal, Alloy Steel |
| Түс | Қара |
| Үйлесімді дөңгелек өлшемі | 29 дюймге дейін |
| Элемент салмағы | 14 кг 300 г |

Кепілдік және қолдау
Information regarding the specific warranty period and detailed support contact information for the ThinkRider A1 Bike Trainer was not available in the provided product data. For warranty claims or technical assistance, please refer to the official ThinkRider website or contact the retailer from whom you purchased the product. It is recommended to keep your proof of purchase for any warranty-related inquiries.