Кіріспе
This manual provides detailed instructions for the setup, operation, and maintenance of your groov e Atlas Radio Alarm Clock with Wireless Charger. Please read this manual thoroughly before using the device to ensure proper function and to maximize your user experience. Keep this manual for future reference.
Пакет мазмұны
Барлық элементтер пакетте бар екенін тексеріңіз:
- groov e Atlas Radio Alarm Clock
- Қуат адаптері
- Пайдаланушы нұсқаулығы
Өнім ерекшеліктері
- Сымсыз зарядтау (5 Вт): Conveniently charge compatible smartphones by placing them on the top surface.
- FM радиосы: Сүйікті FM радиостанцияларыңызды тыңдаңыз.
- Жарықдиодты дисплей: Уақытты мөлдір сандық дисплей.
- Электр желілері: Reliable power supply for continuous operation.
- USB зарядтау станциясы: Additional USB port for charging other devices.
- Қос дабыл: Әр түрлі ояту уақыттарына екі тәуелсіз дабылды орнатыңыз.
- Дисплейдің күңгірттенуі: Adjust the brightness of the LED display.
Орнату
- Қуатты қосу: Insert the power adapter into the 'DC IN' port on the back of the alarm clock, then plug the adapter into a wall outlet. The display will light up.
- Уақытты орнату:
- Press and hold the 'TIME SET' button located on the back of the unit.
- Use the 'TUN-' or 'TUN+' buttons on the top panel to adjust the hour.
- Press 'TIME SET' again to confirm the hour and move to minutes.
- Use 'TUN-' or 'TUN+' to adjust the minutes.
- Press 'TIME SET' once more to confirm and exit time setting.
- To switch between 12-hour and 24-hour format, press the '12/24H' button on the back.

Сурет: артқы view of the groov e Atlas alarm clock, highlighting the DC IN power input and the USB charging port. The '12/24H TIME SET' and 'SLEEP' buttons are also visible.
Пайдалану нұсқаулары
Setting Alarms (ALM1 / ALM2)
- Press the 'ALM1' or 'ALM2' button to select the alarm you wish to set. The alarm icon will flash on the display.
- Use the 'TUN-' or 'TUN+' buttons to adjust the alarm hour.
- Press the 'ALM1' or 'ALM2' button again to confirm the hour and move to minutes.
- Use 'TUN-' or 'TUN+' to adjust the alarm minutes.
- Press the 'ALM1' or 'ALM2' button a third time to confirm the alarm time. The alarm icon will remain lit, indicating the alarm is active.
- To deactivate an alarm, press the corresponding 'ALM1' or 'ALM2' button until the alarm icon disappears from the display.
FM радиосының жұмысы
- Қосу/өшіру: Press the 'ON/OFF' button to turn the radio on or off.
- Автоматты сканерлеу: Press the 'SCAN' button to automatically scan and save available FM stations.
- Қолмен баптау: Use the 'TUN-' or 'TUN+' buttons to manually adjust the frequency. Press and hold for faster tuning.
- Алдын ала орнатылған станциялар: Use 'MEM-' or 'MEM+' to cycle through saved preset stations.
- Дыбыс деңгейін реттеу: Use the 'VOL-' or 'VOL+' buttons to control the radio volume.
Сурет: жоғарғы view of the groov e Atlas alarm clock, illustrating the layout of the control buttons for volume, tuning, memory, scan, and power.
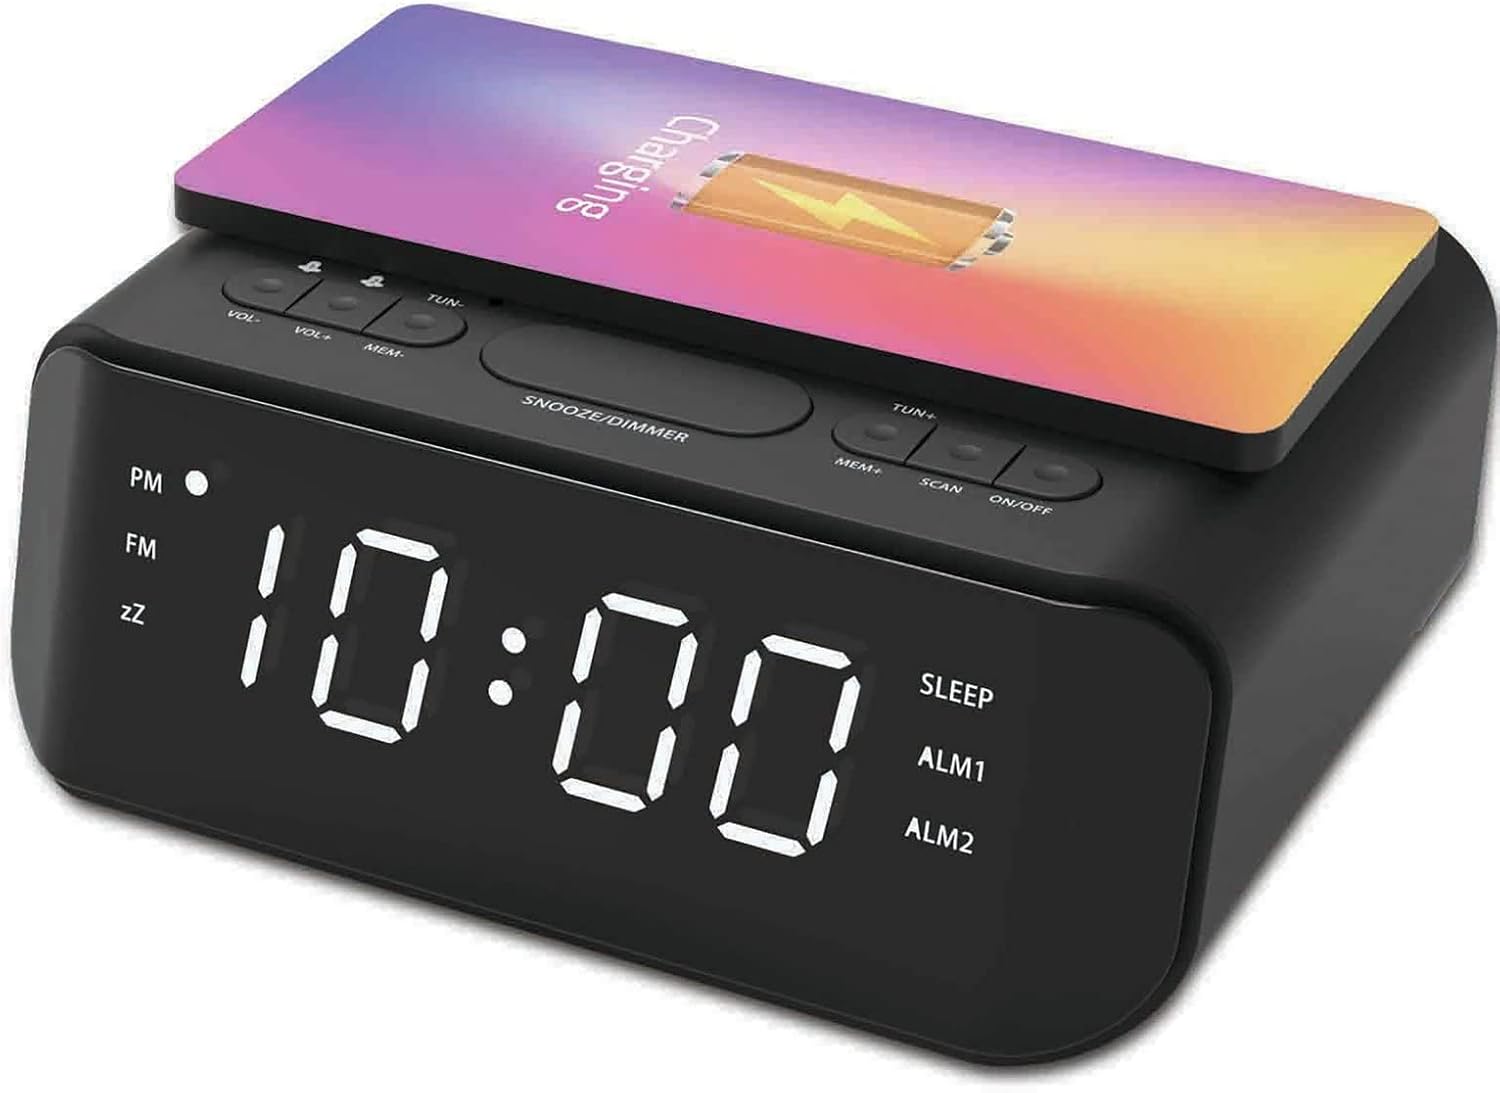
Сымсыз зарядтау
- Ensure your smartphone is compatible with 5W Qi wireless charging.
- Place your compatible smartphone centrally on the wireless charging pad located on the top surface of the alarm clock.
- The phone's display should indicate that charging has begun. If not, adjust the phone's position.

Image: A smartphone placed on the groov e Atlas alarm clock's top surface, showing the charging indicator on the phone's screen, confirming wireless charging is active.
USB зарядтау
- Connect a USB charging cable (not included) to the USB port on the back of the alarm clock.
- Кабельдің екінші ұшын құрылғыға жалғаңыз.
- Құрылғы зарядтала бастайды.
Диммерді көрсетіңіз
Press the 'SNOOZE/DIMMER' button to cycle through different brightness levels for the LED display. This allows you to adjust the display to your preferred visibility, especially in dark environments.
Техникалық қызмет көрсету
- Тазалау: Use a soft, dry cloth to clean the surface of the alarm clock. Do not use liquid cleaners or abrasive materials.
- Сақтау орны: Ұзақ уақыт бойы пайдаланбаған кезде, құрылғыны желіден ажыратып, салқын, құрғақ жерде сақтаңыз.
- Қауіпсіздік: Do not expose the device to water, high humidity, or extreme temperatures. Avoid dropping or subjecting the device to strong impacts.
Ақаулықтарды жою
| Мәселе | Ықтимал себебі | Шешім |
|---|---|---|
| Құрылғы қосылмайды. | Қуат адаптері қосылмаған немесе ақаулы розетка. | Қуат адаптерінің құрылғыға және жұмыс істеп тұрған розеткаға мықтап жалғанғанына көз жеткізіңіз. Басқа розетканы қолданып көріңіз. |
| Сымсыз зарядтау жұмыс істемейді. | Phone not Qi-compatible or not positioned correctly. | Verify your phone supports Qi wireless charging. Reposition the phone centrally on the charging pad. Remove any thick phone cases. |
| Дабыл естілмейді. | Дабыл қосылмаған немесе дыбыс деңгейі тым төмен. | Check if the alarm icon is lit on the display. Increase the alarm volume using the 'VOL+' button. |
| Радио қабылдау нашар. | Әлсіз сигнал немесе антеннаның орналасуы. | Extend and adjust the position of the FM antenna wire on the back of the unit for better reception. |
Техникалық сипаттамалар
- Модель нөмірі: GVWC06BK
- Бренд: groov e
- Түсі: Қара
- Дисплей түрі: Сандық жарықдиодты
- Қуат көзі: Mains Powered (AC Adapter included)
- Сымсыз зарядтау шығысы: 5W
- USB зарядтау шығысы: 5В/1А
- Дабыл мүмкіндіктері: Dual Alarm, Snooze
- Радио: FM
- Материал: Акрилонитрил бутадиен стироны (ABS)
- Пішін: Тікбұрышты
- Монтаждау түрі: Үстел орнату
- Қозғалыс түрі: Кварц
- Батареялар: Not included (requires 1 battery for backup, type not specified in data)
Кепілдік және қолдау
Your groov e Atlas Radio Alarm Clock GVWC06BK comes with a standard manufacturer's warranty. Please refer to the warranty card included in your package for specific terms and conditions, including the warranty period and coverage details.
For technical support, troubleshooting assistance, or warranty claims, please contact groov e customer service through their official webсайтына немесе кепілдік картаңызда көрсетілген байланыс ақпаратына сүйене отырып.
Кепілдікке қатысты кез келген сұраулар үшін сатып алуды растайтын құжатты сақтаңыз.