
Filius 0543-14
Filius 0543-14 Radio Controlled Solar Alarm Clock User Manual
Model: 0543-14 | Brand: Filius
Кіріспе
Thank you for choosing the Filius 0543-14 Radio Controlled Solar Alarm Clock. This manual provides essential information for the safe and efficient operation of your new alarm clock. Please read it thoroughly before use and retain it for future reference.
The Filius 0543-14 features a silver plastic casing, a clear white analog dial, illumination, a loud alarm, and a snooze function. It is designed for indoor use and incorporates radio-controlled time synchronization and solar power capabilities.
Қауіпсіздік туралы ақпарат
- Do not expose the clock to extreme temperatures, direct sunlight for prolonged periods (beyond normal operation), or high humidity.
- Сағатты түсіріп алудан немесе қатты соққыларға ұшыратудан сақ болыңыз.
- Сағатты өзіңіз бөлшектеуге немесе жөндеуге әрекеттенбеңіз. Барлық қызмет көрсетуді білікті мамандарға тапсырыңыз.
- Батареяларды балалардың қолы жетпейтін жерде сақтаңыз. Жұтылған жағдайда дереу медициналық көмекке жүгініңіз.
- Пайдаланылған батареяларды жергілікті ережелерге сәйкес тастаңыз.
Пакет мазмұны
Барлық элементтер пакетте бар екенін тексеріңіз:
- Filius 0543-14 Alarm Clock
- 1 x AA батареясы
- Пайдаланушы нұсқаулығы (бұл құжат)
Орнату
1. Батареяны орнату
The Filius 0543-14 alarm clock requires one AA battery for operation. A battery is included in the package.
- Сағаттың артқы жағындағы батарея бөлігінің қақпағын табыңыз.
- Қақпақты сырғыту немесе көтеру арқылы алыңыз.
- Insert the AA battery, ensuring the correct polarity (+ and -) as indicated inside the compartment.
- Батарея бөлігінің қақпағын мықтап орнына салыңыз.

Сурет: артқы view of the Filius 0543-14 alarm clock, showing the battery compartment and controls.
2. Бастапқы уақыт синхрондауы (радио басқарылатын)
This clock is radio-controlled and will automatically set itself to the correct time once the battery is installed and it receives a signal. This process may take a few minutes to several hours depending on your location and signal strength.
- Сигнал қабылдауды жеңілдету үшін сағатты терезенің жанына немесе ашық жерге қойыңыз.
- Avoid placing it near electronic devices that may cause interference (e.g., TVs, computers, microwaves).
- The clock will automatically search for the time signal. The hands will move to 12:00 and then adjust to the correct time.
- If the clock does not set itself after 24 hours, try moving it to a different location or manually setting the time (refer to the "Manual Time Setting" section if available on the device, otherwise rely on radio control).
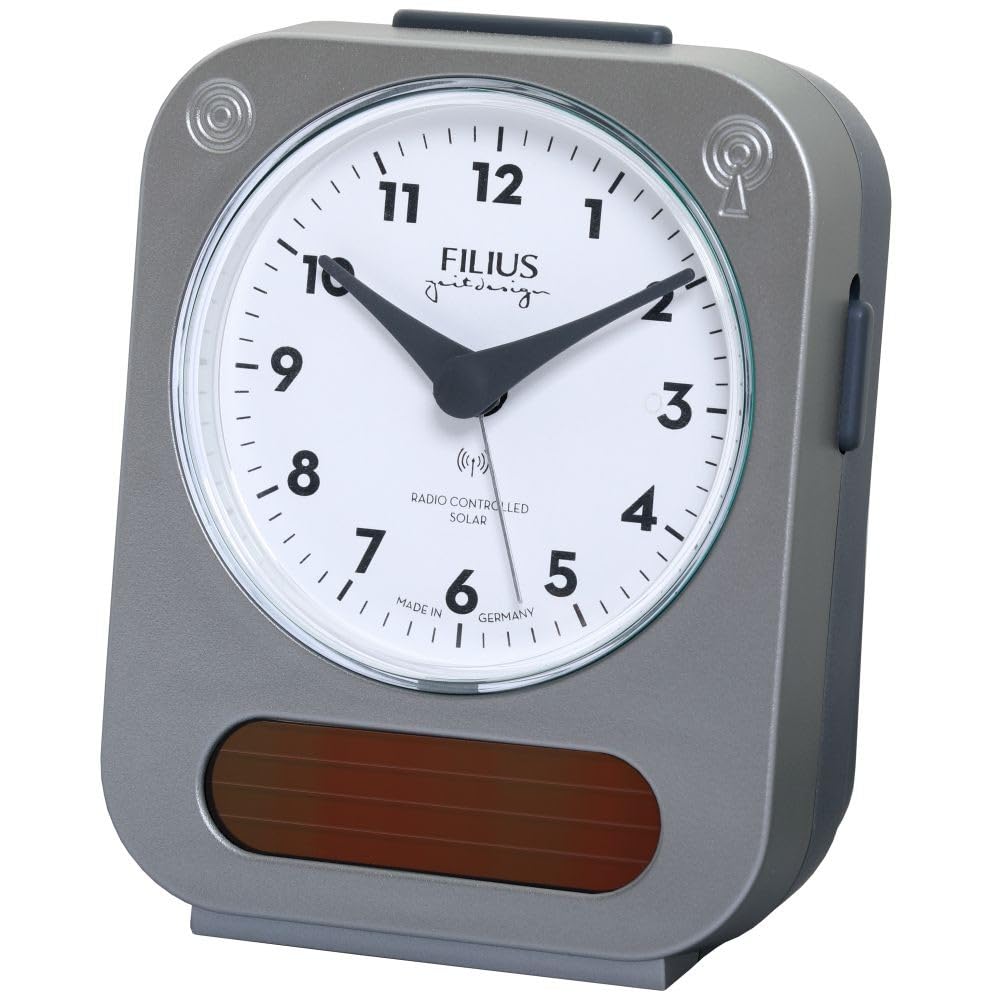
Image: Detail of the clock face, highlighting the "RADIO CONTROLLED SOLAR" indicator.
Пайдалану нұсқаулары
1. Дабылды орнату
Оятқыш уақытын орнату үшін:
- Locate the alarm setting knob, usually on the back or side of the clock.
- Оятқыштың тілшесін қажетті уақытқа жылжыту үшін тұтқаны бұраңыз.
- Activate the alarm by sliding the alarm ON/OFF switch (typically on the side or back) to the "ON" position.
2. Кейінге қалдыру функциясы
When the alarm sounds, press the large button on top of the clock to activate the snooze function. The alarm will temporarily stop and sound again after approximately 5-10 minutes.
3. Жарықтандыру
To illuminate the clock face in low light conditions, press the large button on top of the clock. The backlight will activate for a few seconds, allowing you to read the time.

Image: The Filius 0543-14 alarm clock displaying its blue illumination feature in the dark.
4. Solar Power Feature
The clock is equipped with a solar panel to supplement power. Ensure the clock is exposed to ambient light (not necessarily direct sunlight) to utilize this feature and extend battery life. The solar panel is visible on the front bottom of the clock.
Техникалық қызмет көрсету
1. Тазалау
Wipe the clock with a soft, dry cloth. Do not use abrasive cleaners, solvents, or chemical sprays, as these may damage the casing or dial.
2. Батареяны ауыстыру
When the clock's display dims or the alarm weakens, it is time to replace the AA battery. Follow the "Battery Installation" steps in the Setup section.
Ақаулықтарды жою
| Мәселе | Ықтимал себебі | Шешім |
|---|---|---|
| Сағат дұрыс уақытты көрсетпейді немесе тілдер қозғалмайды. | Battery is dead or incorrectly installed. No radio signal received. | Check and replace the battery. Move the clock to a location with better signal reception (e.g., near a window). Allow up to 24 hours for synchronization. |
| Дабыл естілмейді. | Alarm is not activated. Alarm time is incorrectly set. Battery is low. | Ensure the alarm ON/OFF switch is in the "ON" position. Verify the alarm hand is set to the desired time. Replace the battery. |
| Illumination is dim or not working. | Батарея заряды төмен. | Батареяны ауыстырыңыз. |
Техникалық сипаттамалар
- Модель нөмірі: 0543-14
- Бренд: Filius
- Материал: Пластмасса (күміс)
- Дисплей түрі: Аналогтық
- Арнайы мүмкіндіктер: Illuminated, Loud Alarm, Snooze, Radio Controlled, Solar Powered
- Қуат көзі: 1 x AA Battery (included), Solar
- Өнім өлшемдері (L x W x H): Шамамен 9.5 см (Ұ) x 5 см (W) x 12.5 см (H)
- Элемент салмағы: 195 грамм
- Мақсатты пайдалану: Ішкі
- Шығу елі: Германия
Кепілдік туралы ақпарат
Specific warranty details are not provided in the product information. Please refer to the retailer's return policy or contact Filius customer support for warranty information. Typically, electronic devices come with a standard manufacturer's warranty against defects in materials and workmanship.
Қолдау
For further assistance, technical support, or inquiries regarding your Filius 0543-14 alarm clock, please contact your retailer or visit the official Filius webбайланыс ақпаратына арналған сайт.
Назар аударыңыз: қосалқы бөлшектердің бар-жоғы туралы ақпарат берілмейді.
Ask a question about this manual
Ask about setup, troubleshooting, compatibility, parts, safety, or missing instructions. Manuals+ will review the question and use this page’s manual context to help answer it.