1. Кіріспе
This manual provides detailed instructions for setting up, operating, and maintaining your Epson L485 Wi-Fi Inktank Printer. Please read this manual thoroughly to ensure proper use and to maximize the performance and longevity of your device.
Өнім аяқталдыview
The Epson L485 is a versatile all-in-one printer offering print, scan, and copy functionalities with the added convenience of Wi-Fi Direct. It features an innovative ink tank system designed for high-volume printing with impressive page yields and a high print resolution for quality output.

1-сурет: Алдыңғы view of the Epson L485 Wi-Fi Inktank Printer.
Қорапта не бар
- Epson L485 принтер блогы
- Бағдарламалық құрал CD
- Қуат кабелі
- Кепілдік картасы
- Set of Original Epson Ink Bottles (Black, Cyan, Magenta, Yellow)
1-бейне: аяқталдыview of the Epson L485 Wi-Fi Inktank Printer's features and design.
2. Орнату нұсқаулығы
Follow these steps to set up your Epson L485 printer for the first time.
Video 2: Step-by-step guide on how to set up your Epson InkTank Printer.
2.1 Initial Printer Preparation
- Принтерді қаптамадан шығару: Принтерді қаптамасынан абайлап алыңыз. Барлық қорғаныш таспалар мен материалдарды алып тастаңыз.
- Check Valve Position: Locate the ink tank valve on the side of the printer. Ensure it is in the upright (printing) position.
- Open Ink Tank Unit: Gently unhook the ink tank unit from the side of the printer and open its lid to access the ink tanks.
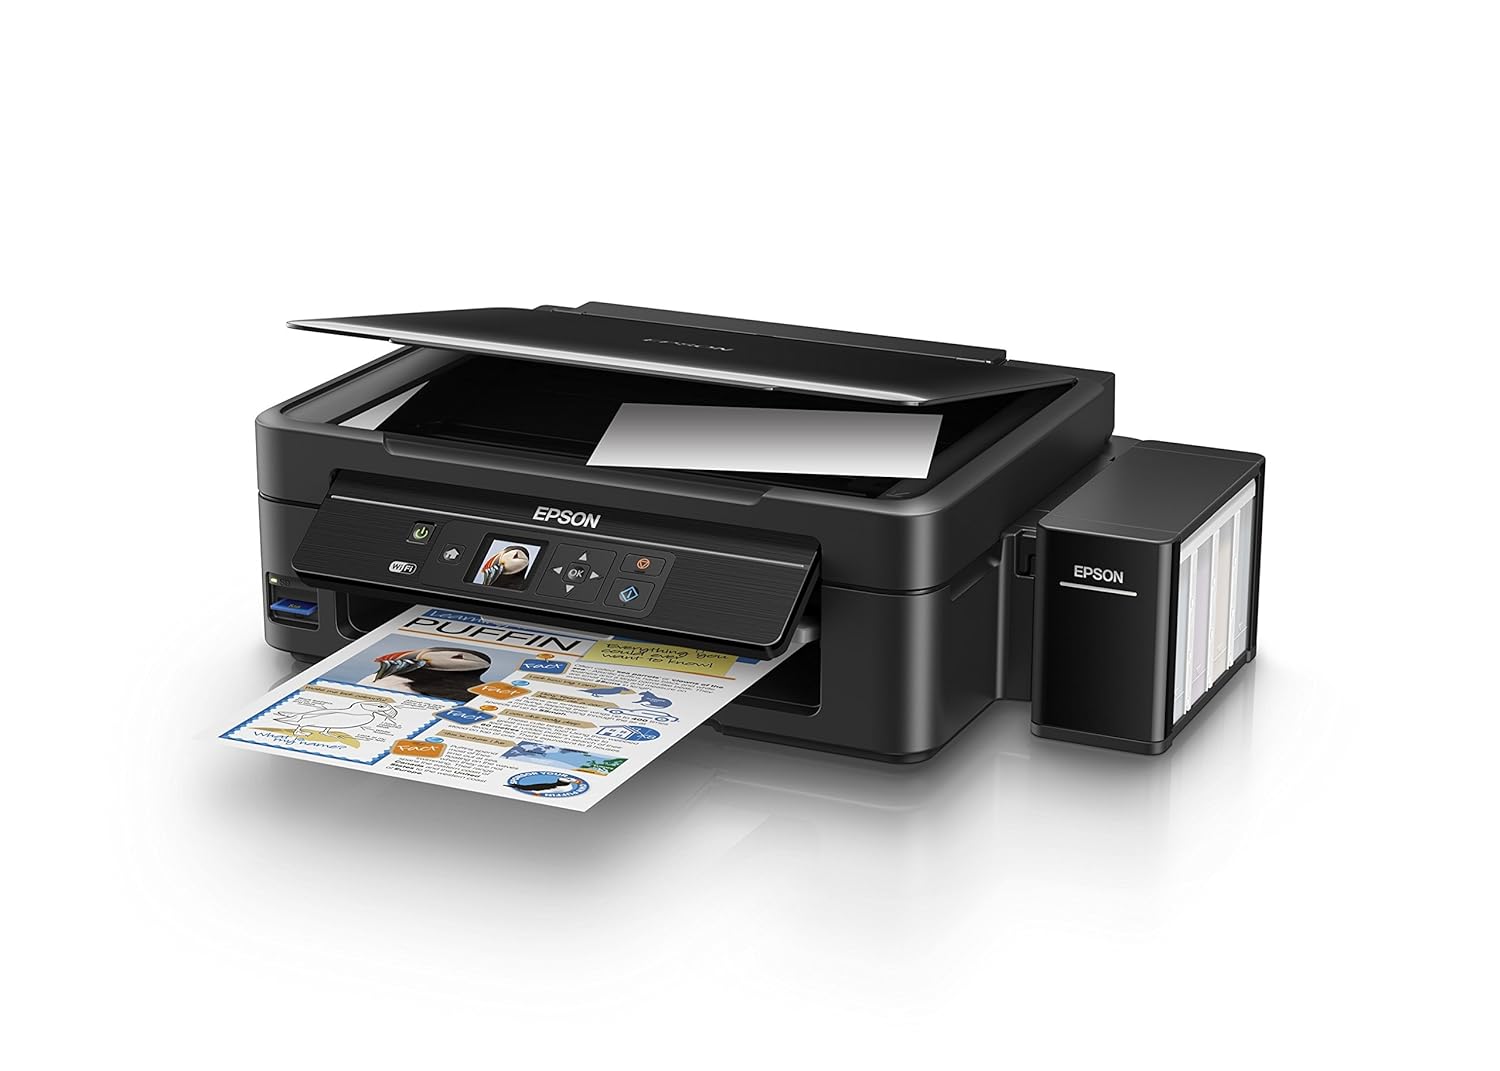
Figure 2: The ink tank unit unhooked and open, showing the ink reservoirs.
2.2 Сия ыдыстарын толтыру
- Prepare Ink Bottles: Snap off the tip of each ink bottle and remove the cap.
- Сия ыдыстарын толтыру: Match the color of the ink bottle with the corresponding ink tank. Carefully pour the entire contents of each ink bottle into its respective tank. Do not overfill.
- Қауіпсіз қақпақтар: Once all tanks are filled, replace the caps securely on the ink tanks.
- Close Ink Tank Unit: Close the lid of the ink tank unit and re-hook it to the printer.

Figure 3: Demonstrating the process of filling an ink tank with a yellow ink bottle.

Figure 4: The four color ink bottles used for the Epson L485 printer.
2.3 Power On and Ink Charging
- Қуатты қосу: Plug the power cable into the printer and then into a wall outlet.
- Turn On Printer: Принтерді қосу үшін қуат түймесін басыңыз.
- Initiate Ink Charge: Press and hold the 'Ink Charge' button (usually indicated by a droplet icon) for 3 seconds until the lights start blinking. The initial ink charging process takes approximately 20 minutes. Do not turn off or unplug the printer during this process.
- Аяқталу: The lights will stop blinking when ink charging is complete.
2.4 Драйверді орнату
- Бағдарламалық жасақтама ықшам дискісін салыңыз: Insert the provided Software CD into your computer's CD/DVD drive. If your computer does not have a CD drive, download the latest drivers from the official Epson support webсайт.
- Экрандағы нұсқауларды орындаңыз: Follow the prompts on your computer screen to install the printer drivers and utilities. Agree to the license agreement and select 'Start & Connection' for setup.
- Connect USB Cable (if prompted): If setting up via USB, connect the USB cable between the printer and your computer when prompted by the installation software.
2.5 Connectivity Setup
The Epson L485 supports both USB and Wi-Fi connectivity.
USB қосылымы
Connect the USB cable from the printer to an available USB port on your computer. The printer should be recognized automatically after driver installation.
Wi-Fi орнату
The printer features an LCD screen for easy Wi-Fi setup without needing a PC.
- Access Wi-Fi Setup: On the printer's control panel, navigate to the 'Wi-Fi Setup' option using the arrow keys and press 'OK'.
- Желіні таңдаңыз: Choose your desired wireless network from the list and enter the password if required.
- Қосылымды растау: Once connected, the Wi-Fi indicator light will be solid, and the LCD screen will confirm the setup is complete.

Figure 5: Demonstrating wireless printing from a smartphone to the Epson L485 printer.
3. Принтерді пайдалану
3.1 Басып шығару
The Epson L485 delivers high-quality prints with a resolution of 5760 dpi. It offers print speeds of up to 33 ppm for black and 15 ppm for color documents.
- Қағаз жүктеу: Load paper into the rear paper feeder. Adjust the paper guides to fit the paper size.
- Басып шығару тапсырмасын таңдаңыз: From your computer or mobile device, select the document or image you wish to print.
- Параметрлерді реттеу: Choose your print settings (e.g., paper size, print quality, color/black & white) in the print dialog box.
- Басып шығару: Тапсырманы принтерге жіберу үшін «Басып шығару» түймесін басыңыз.

Figure 6: The Epson L485 printer in action, producing a vibrant print.
3.2 Сканерлеу
The printer features a sheetfed scanner with an optical resolution of 1200 dpi x 2400 dpi for clear and detailed scans.
- Құжатты орналастыру: Lift the scanner lid and place your document face-down on the scanner glass, aligning it with the corner mark.
- Сканерлеуді бастау: Компьютеріңізден Epson Scan бағдарламалық құралын ашыңыз немесе принтердің басқару тақтасындағы сканерлеу функциясын пайдаланыңыз.
- Параметрлерді реттеу: Select scan settings such as resolution, color mode, and destination folder.
- Сканерлеуді бастау: Begin the scanning process.

Figure 7: The scanner bed of the Epson L485 printer with the lid open.
3.3 Көшіру
Make copies directly from the printer's control panel.
- Құжатты орналастыру: Place the document you wish to copy on the scanner glass.
- Select Copy Function: On the printer's LCD screen, navigate to the 'Copy' option.
- Параметрлерді реттеу: Select the number of copies, color or black & white, and other copy settings.
- Start Copy: Көшіруді бастау үшін «Бастау» түймесін басыңыз.
3.4 Wi-Fi Direct
Wi-Fi Direct allows you to connect your mobile devices directly to the printer without a router, enabling convenient wireless printing.
- Enable Wi-Fi Direct: On the printer's control panel, go to 'Wi-Fi Setup' and select 'Wi-Fi Direct'. Follow the on-screen instructions to enable it and view желі аты мен құпия сөз.
- Мобильді құрылғыны қосу: On your mobile device, go to Wi-Fi settings, find the printer's Wi-Fi Direct network, and connect using the provided password.
- Басып шығару: Use an Epson printing app (e.g., Epson iPrint) or your device's native print function to print directly to the printer.
4. Техникалық қызмет көрсету
4.1 Сияны қайта толтыру
When ink levels are low, refill the tanks using genuine Epson ink bottles. Refer to section 2.2 for detailed ink filling instructions. Always use the correct color ink for each tank.
4.2 Тазалау
Тұрақты тазалау басып шығару сапасын сақтауға көмектеседі және принтердің қызмет ету мерзімін ұзартады.
- Сыртқы тазалау: Принтердің сыртын жұмсақ шүберекпен сүртіңіз, damp шүберек. Абразивті тазалағыштарды пайдаланбаңыз.
- Басып шығару механизмін тазалау: If print quality declines (e.g., missing lines, incorrect colors), perform a print head cleaning using the printer's utility software on your computer or through the printer's control panel menu.
- Саңылауларды тексеру: Run a nozzle check pattern to diagnose print quality issues before performing a head cleaning.
5. Ақаулықтарды жою
This section addresses common issues you might encounter with your Epson L485 printer.
5.1 Принтер жауап бермейді
- Принтердің қуат көзіне қосылғанына және розеткаға мықтап жалғанғанына көз жеткізіңіз.
- Check the USB cable connection to both the printer and computer, or verify the Wi-Fi connection status.
- Принтерді де, компьютерді/мобильді құрылғыны да қайта іске қосыңыз.
5.2 Нашар басып шығару сапасы
- Perform a nozzle check to identify clogged nozzles. If necessary, run a print head cleaning cycle.
- Сия деңгейлерін тексеріңіз және кез келген аз резервуарларды толтырыңыз.
- Ensure you are using genuine Epson ink and appropriate paper types for your print job.
5.3 Қағаз кептелістері
- Turn off the printer and carefully remove any jammed paper from the paper tray, output tray, or inside the printer.
- Қағаздың дұрыс салынғанына және мыжылып қалмағанына немесе бүгілмегеніне көз жеткізіңізurlред.
6. Техникалық сипаттамалар
| Бренд | Epson |
| Модель атауы | L485 |
| Қосылу технологиясы | Сымсыз дәлдiк |
| Баспа технологиясы | Сия бүріккіш |
| Арнайы мүмкіндік | Жад картасы ұясы |
| Түс | Қара |
| Принтердің шығысы | Түс |
| Ең жоғары басып шығару жылдамдығы (түрлі-түсті) | 15 бет/мин |
| Максималды басып шығару жылдамдығы (монохромды) | 33 бет/мин |
| Элемент салмағы | 6001 грамм |
| Принтер түрі | Сия бүріккіш |
| Сканер түрі | Табақша |
| Көшірудің ең жоғары жылдамдығы (қара және ақ) | 33 бет/мин |
| Дисплей түрі | СКД |
| Үйлесімді құрылғылар | Смартфондар |
| Сия түсі | Қара, көгілдір, қызыл қызыл, сары |
| Ажыратымдылық | 5760 5760 x XNUMX DPI |
| Қосымша принтер функциялары | All In One (Print, Scan, Copy) |
| Ең үлкен медиа өлшемі | A4 |
| Қағаз өлшемі | A4 |
| Екі жақты басып шығару | Жоқ |
7. Кепілдік және қолдау
Your Epson L485 Wi-Fi Inktank Printer comes with a free installation service and an onsite warranty.
7.1 Free Installation and Onsite Warranty
To avail free installation for your printer, please contact Epson support after receiving your product. The onsite warranty covers manufacturing defects and ensures professional assistance at your location.
7.2 Қолдау қызметіне хабарласыңыз
For installation, support, or any technical assistance, please contact Epson customer service:
- Телефон: 1860 3000 1600 (Timings: 9 am - 6 pm)