1. Кіріспе
The Polaroid PLRTC18 Shutter Release Timer Remote Control is designed to provide precise control over your camera's shutter, enabling advanced photographic techniques such as time-lapse, long exposures, and delayed shots. This device connects directly to your compatible Canon DSLR camera via a dedicated cable, allowing you to program various timing functions with accuracy.

Figure 1.1: User operating the PLRTC18 remote control with a camera on a tripod.
Please read this manual thoroughly to understand the features and proper operation of your new remote control.
2. Пакет мазмұны
- Polaroid PLRTC18 Shutter Release Timer Remote Control
- Camera Connection Cables (2 types for broad compatibility)
- Пайдаланушы нұсқаулығы
- AAA батареялары (2)
3. Орнату
3.1. Батареяны орнату
The PLRTC18 requires two AAA batteries for operation. To install:
- Қашықтан басқару құралының артқы жағындағы батарея бөлігінің қақпағын табыңыз.
- Қақпақты көрсеткімен көрсетілген бағытта ашыңыз.
- Бөлімнің ішінде көрсетілгендей полярлықтың дұрыстығын (+/-) қамтамасыз ете отырып, екі AAA батареясын салыңыз.
- Батарея бөлігінің қақпағын орнына мықтап кіргенше жабыңыз.

Figure 3.1: Battery compartment with two AAA batteries.
Ескерту: To conserve battery life, it is recommended to remove the batteries when the remote control will not be used for an extended period, as there is no dedicated ON/OFF switch.
3.2. Connecting to Your Camera
The remote control connects to your camera using one of the provided cables. Identify the correct cable for your specific Canon DSLR model.
- Plug one end of the appropriate connection cable into the remote control's port.
- Plug the other end of the cable into your camera's remote control terminal. This is typically a 3-pin or mini headphone jack style port, often located on the side of the camera body.
- Екі қосылым да қауіпсіз екеніне көз жеткізіңіз.

Figure 3.2: Connecting the remote control cable to a Canon camera.
4. Пайдалану нұсқаулары
4.1. Басқару элементтеріview
Familiarize yourself with the buttons and LCD display on the remote control:

Figure 4.1: PLRTC18 Remote Control Layout.
- СКД дисплей: Shows current settings for DELAY, LONG, INTVL (Interval), and N (Number of exposures).
- SET батырмасы: Орнату режиміне кіру және таңдауларды растау үшін пайдаланылады.
- Көрсеткі түймелері (жоғары/төмен/солға/оңға): Used to navigate between settings and adjust values.
- TIMER START/STOP Button: Initiates or stops the programmed timer sequence.
- /LOCK Button: Functions as a manual shutter release (half-press for focus, full-press for shutter) and can lock the remote.
4.2. Setting Timer Functions
The remote control allows you to set four primary timing parameters: Delay, Long Exposure, Interval, and Number of Exposures. All settings can be adjusted up to 99 hours, 59 minutes, and 59 seconds in one-second increments.
- түймесін басыңыз ОРНАТУ button to enter the setting mode. The first parameter (DELAY) will begin to flash.
- пайдаланыңыз Солға/оңға көрсеткі buttons to navigate between DELAY, LONG, INTVL, and N.
- пайдаланыңыз Жоғары / Төмен көрсеткі buttons to adjust the values for the selected parameter (hours, minutes, seconds).
- After setting a value, press ОРНАТУ again to move to the next digit or parameter.
- Once all desired parameters are set, press ОРНАТУ until the display stops flashing and returns to standby mode.
4.2.1. DELAY (Self-Timer)
This sets the amount of time before the first exposure sequence begins. Useful for getting into the shot or allowing camera vibrations to settle.
4.2.2. LONG (Exposure Time)
This sets the duration the camera's shutter will remain open for each exposure. Set your camera to Bulb mode for this function to work correctly.
4.2.3. INTVL (Interval Time)
This sets the time between the end of one exposure and the start of the next. Essential for time-lapse photography.
4.2.4. N (Number of Exposures)
This sets the total number of exposures the remote will trigger. Set to "---" for an unlimited number of shots.
4.3. Таймерді іске қосу және тоқтату
Once your desired settings are programmed:
- түймесін басыңыз ТАЙМЕРДІ БАСТАУ/ТОҚТАТУ button to begin the programmed sequence. The LCD will display a countdown or active timer.
- To stop an ongoing sequence, press the ТАЙМЕРДІ БАСТАУ/ТОҚТАТУ түймесін қайтадан басыңыз.
4.4. Manual Shutter Release
The remote control can also function as a simple wired shutter release.
- Жартылай басу: түймесін басыңыз /LOCK button halfway down to activate your camera's autofocus.
- Толық баспасөз: түймесін басыңыз /LOCK button fully down to trigger the shutter.
- Locking the Shutter: For continuous shooting or long exposures in Bulb mode (without using the LONG timer function), press the /LOCK button fully down and slide it forward to lock it in the depressed position. Slide it back to release.
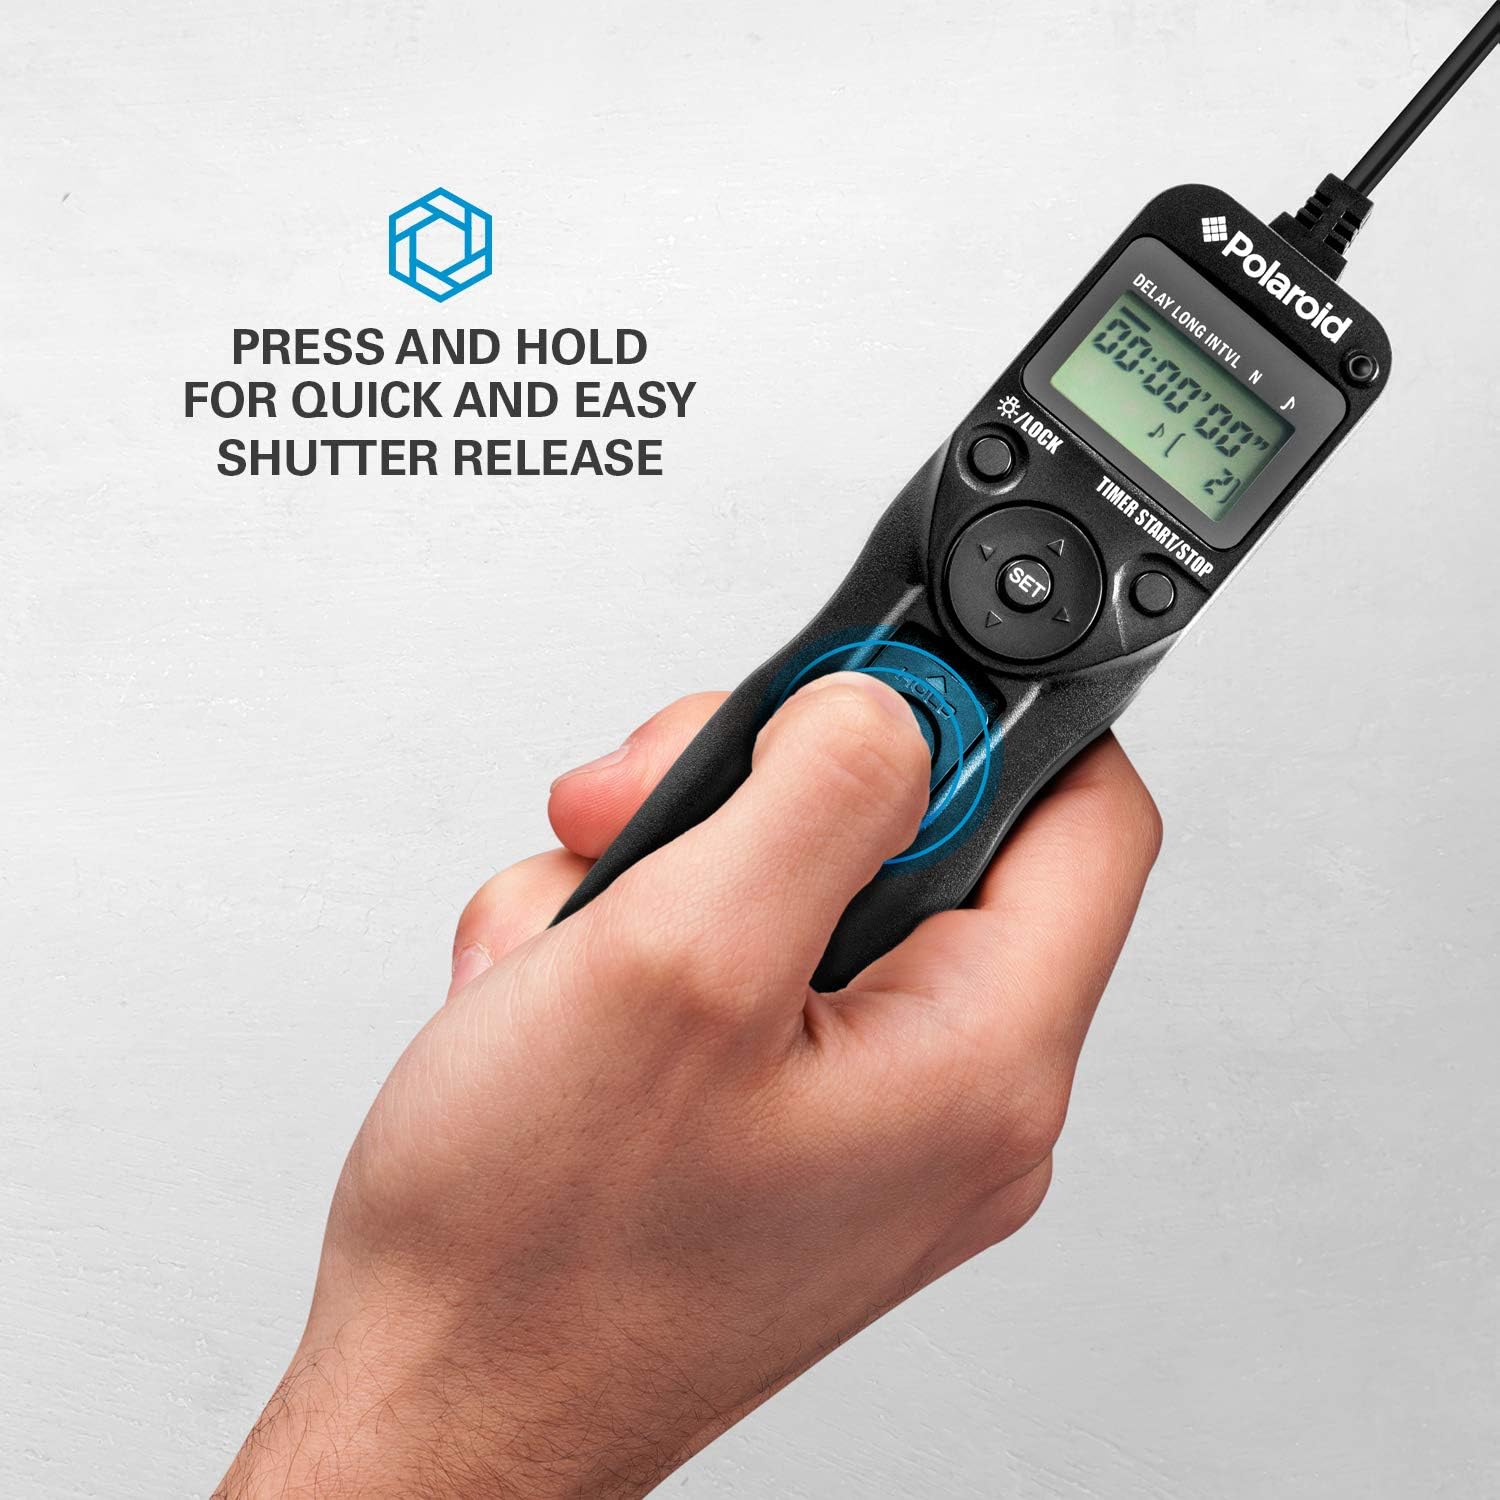
Figure 4.2: Manual shutter release operation.
5. Техникалық қызмет көрсету
- Тазалау: Wipe the remote control with a soft, dry cloth. Do not use liquid cleaners or solvents.
- Батареяға күтім жасау: Remove batteries if the unit will not be used for an extended period to prevent leakage. Replace batteries when the low battery indicator appears on the LCD.
- Сақтау орны: Қашықтан басқару құралын салқын, құрғақ жерде, тікелей күн сәулесінен және төтенше температурадан алыс жерде сақтаңыз.
- Кабельге күтім жасау: Avoid bending or twisting the connection cables excessively to prevent damage.
6. Ақаулықтарды жою
| Мәселе | Ықтимал себебі | Шешім |
|---|---|---|
| Қашықтан басқару пульті қосылмайды. | Батареялар таусылған немесе дұрыс орнатылмаған. | Батареяның полярлығын тексеріңіз. Жаңа AAA батареяларымен ауыстырыңыз. |
| Камера іске қосылмайды. |
|
|
| Timer sequence does not start. | Settings not confirmed or START button not pressed. | Ensure all settings are confirmed with ОРНАТУ содан кейін түймесін басыңыз ТАЙМЕРДІ БАСТАУ/ТОҚТАТУ. |
| LCD дисплейі күңгірт немесе жыпылықтайды. | Батарея төмен. | AAA батареяларын ауыстырыңыз. |
7. Техникалық сипаттамалар
- Үлгі: PLRTC18
- Бренд: Полароид
- Қосылу мүмкіндігі: Сымды
- Таймер функциялары: Delay, Long Exposure, Interval, Number of Exposures
- Таймер параметрлері: 1 second to 99 hours, 59 minutes, 59 seconds (in 1-second increments)
- Түсірілімдер саны: 1 to 9999, or unlimited (---)
- Көрсеткіш: Артқы жарықтандырылған СКД
- Қуат көзі: 2 x AAA батареялары
- Түсі: Қара
8. Камера үйлесімділігі
The Polaroid PLRTC18 is compatible with a wide range of Canon Digital SLR cameras that utilize a 3-pin or mini headphone jack style remote control terminal. Compatible models include, but are not limited to:
- Canon G10, G11, G12, G16
- Canon EOS Digital Rebel series
- Canon 60D, 70D
- Canon Elan II/IIE, Elan 7/7E
- Canon Rebel Ti /2000/G/GII/X/XS
- Canon IX/IX Lite
- Canon SX50 HS
- Canon EOS Rebel T1i, T2, T2i, T3, T3i, T4i, T5, T5i, T6
- And similar models with compatible shutter release ports.
Please consult your camera's manual to confirm the type of remote control port it uses.
9. Кепілдік және қолдау
For warranty information or technical support, please refer to the documentation included with your purchase or visit the official Polaroid webсайт. Кепілдік шағымдары үшін сатып алуды растайтын құжатты сақтаңыз.