AAXA Technologies KP-101-01
AAXA LED Pico Micro Video Projector User Manual
Model: KP-101-01 | Brand: AAXA Technologies
1. Өнім аяқталдыview
The AAXA LED PICO, Pocket projector is an ultra-compact device designed for portable media projection. It integrates long-lasting LED technology with a built-in multimedia player and versatile input options, making it suitable for various mobile projection needs.
Негізгі мүмкіндіктер мыналарды қамтиды:
- Ультра жарық 10 000 люмен: Delivers clear images with High Definition 720p (1280x720) native resolution, supporting up to 1080p.
- Vibrant Color Technology: Equipped with 15,000-hour LEDs for extended lifespan and vivid color reproduction.
- Ультра портативті дизайн: Features an 80-minute built-in rechargeable Lithium-ion Battery, chargeable via the supplied micro USB cable.
- Біріктірілген аудио: Built-in speakers provide audio playback.
- Бірнеше қосылым опциялары: Includes mini-HDMI, 3.5mm Aux Audio Out, Composite A/V connections, and Micro SD/USB readers for media playback (supports up to 16GB).
- Plug 'n Play Setup: Designed for instant setup with USB devices, compatible with Apple Mac and PC.
- Large Image Projection: Capable of projecting images up to 60 inches in low-light conditions.

1-сурет: Жоғарыдан төменге view of the AAXA LED Pico Micro Video Projector, highlighting its compact design, control buttons, and projection lens.
2. Қорапта не бар
Your AAXA LED Pico Micro Video Projector package should contain the following items:
- AAXA LED Pico Micro Video Projector Unit
- Микро USB зарядтау кабелі
- Composite A/V Cable (3.5mm Jack)
- Mini-HDMI to HDMI Cable
- Small Tripod (may vary by package)
- Қуат адаптері (зарядтауға арналған)
3. Орнату нұсқаулығы
3.1 Charging the Projector
Before initial use, fully charge the projector's built-in Lithium-ion battery. Connect the supplied micro USB cable to the projector's DC 5V port and the other end to a USB power adapter (not always included) or a computer's USB port. The charging indicator light will show the charging status.

Figure 2: The micro USB cable connected to the projector for charging. Ensure the cable is securely inserted into the DC 5V port.
3.2 Қуатты қосу/өшіру
To power on the projector, press and hold the power button located on the control panel until the device powers up. To power off, press and hold the power button again until the projector shuts down.
3.3 Кіріс көздерін қосу
Проектор әртүрлі кіріс көздерін қолдайды:
- HDMI: Use a mini-HDMI to HDMI cable to connect to laptops, gaming consoles, or other HDMI-enabled devices.
- Құрама A/V: Use the 3.5mm Composite A/V cable to connect to older video sources.
- Micro SD картасы: Insert a Micro SD card (up to 16GB) into the designated slot for direct media playback.
- USB: Plug a USB memory stick into the USB port for direct media playback.

3-сурет: жағы view of the projector, illustrating the various input ports including HDMI, AV, USB, and Micro SD card slot.
3.4 Фокусты реттеу
Locate the focus wheel on the side of the projector. Rotate the wheel until the projected image appears clear and sharp on your desired surface. The optimal image size is up to 60 inches in low-light conditions.

Figure 4: The projector mounted on a small tripod, demonstrating how the focus wheel (located near the lens) is used to sharpen the image.
4. Пайдалану нұсқаулары
4.1 Мәзірді шарлау
Use the control buttons on the top of the projector to navigate through the on-screen menu. The central "OK" button confirms selections, while the arrow keys (up, down, left, right) move the cursor. The "Menu" or "Back" button (if present) allows you to return to the previous screen or main menu.
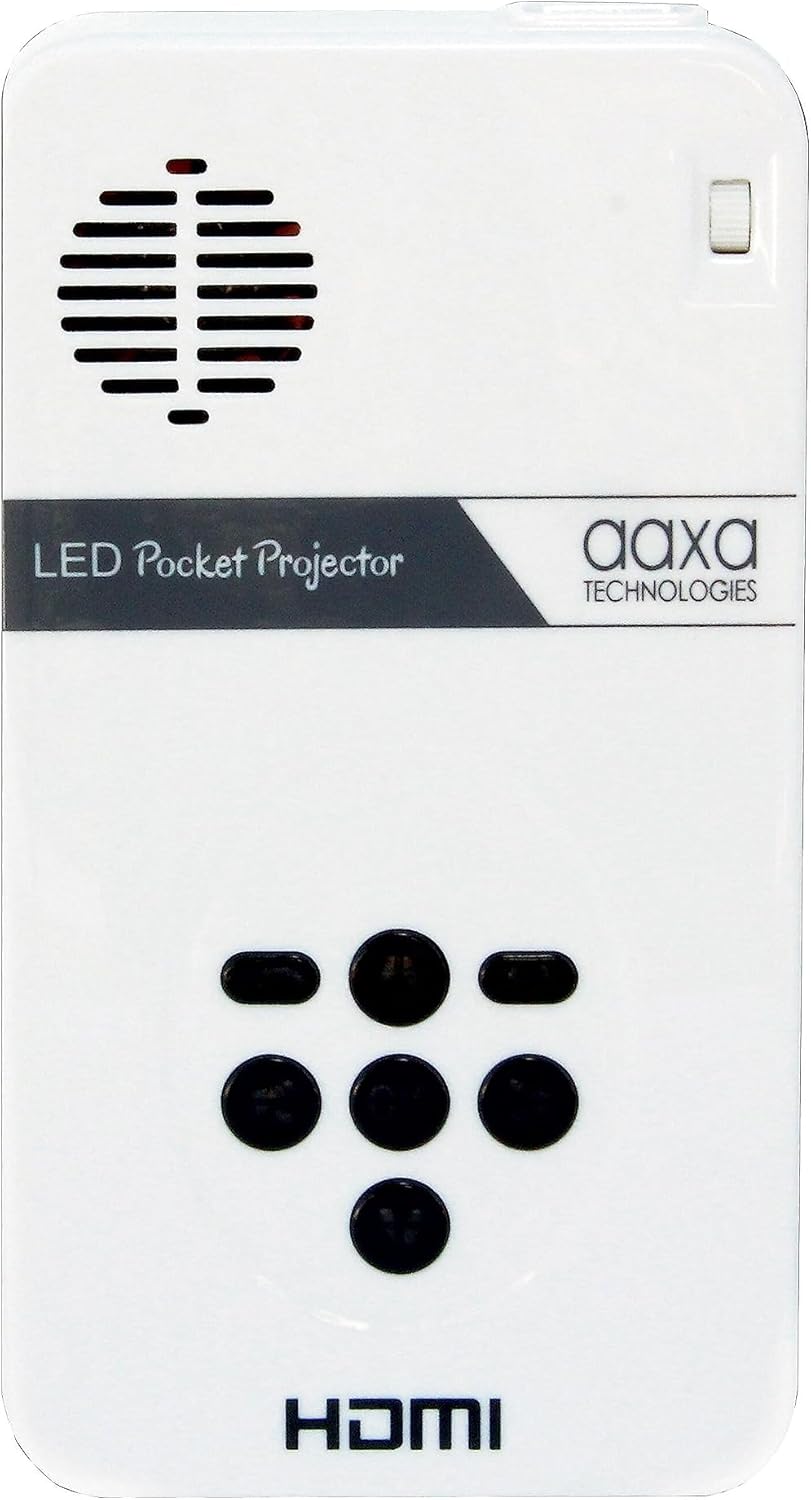
Figure 5: Close-up of the projector's top control panel, detailing the layout of the navigation buttons for menu interaction.
4.2 Медиа ойнату
Once a Micro SD card or USB drive is inserted, the projector's built-in media player will typically detect it automatically. Navigate to the "Media" or "Files" section in the menu to browse and select videos, pictures, or text documents for playback.
4.3 Аудио шығысы
The projector has built-in speakers. For a more immersive audio experience, you can connect external speakers or headphones using the 3.5mm Aux Audio Out port.
5. Техникалық қызмет көрсету
- Тазалау: Use a soft, dry cloth to clean the projector's exterior. For the lens, use a specialized lens cleaning cloth and solution. Avoid abrasive materials.
- Батареяға күтім жасау: To prolong battery life, avoid fully discharging the battery frequently. Store the projector in a cool, dry place when not in use for extended periods.
- Желдету: Ensure the projector's ventilation vents are not blocked during operation to prevent overheating.
6. Ақаулықтарды жою
| Мәселе | Ықтимал себебі | Шешім |
|---|---|---|
| No image projected / Projector not turning on. | Low battery; Power cable not connected; Power button not held long enough. | Charge the projector; Ensure power cable is securely connected; Press and hold the power button for 3-5 seconds. |
| Кескін бұлыңғыр. | Out of focus; Projector too close/far from surface. | Adjust the focus wheel; Move the projector closer or further from the projection surface. |
| Аудио жоқ. | Volume too low; External speakers/headphones not connected properly; Audio settings. | Increase volume; Check connections of external audio devices; Adjust audio settings in the projector menu. |
| No signal from input source. | Incorrect input selected; Cable not connected properly; Source device issue. | Select the correct input source in the menu; Ensure cables are securely connected to both projector and source device; Check if the source device is outputting a signal. |
7. Техникалық сипаттамалар
| Ерекшелік | Мәлімет |
|---|---|
| Өнім өлшемдері | 4.25 x 2.36 x 0.7 дюйм |
| Элемент салмағы | 6.4 унция |
| Элемент үлгі нөмірі | КП-101-01 |
| Батареялар | 1 литий-иондық батарея қажет (жинаққа кіреді) |
| Дисплей ажыратымдылығы | 1280 x 720 (Native) |
| Қосылу технологиясы | USB, Mini-HDMI, Composite A/V (3.5mm Jack), MicroSD AV |
| Арнайы мүмкіндік | Pico, Speakers |
| Ұсынылатын пайдаланулар | Education, Personal Media Sharing |
| Өндіруші | AAXA |
| Бірінші қолжетімді күн | 15 жылдың 2013 қазаны |
8. Кепілдік және қолдау
For detailed warranty information and customer support, please refer to the official AAXA Technologies website or the documentation included with your purchase. You can also find additional resources and FAQs on the AAXA Technologies Store on Amazon.
Пайдаланушы нұсқаулығының PDF нұсқасын жүктеп алуға болады: Пайдаланушы нұсқаулығы (PDF).
Қатысты құжаттар - КП-101-01
 |
AAXA LED Pico MAX Projector 1080P User Guide Comprehensive user guide for the AAXA LED Pico MAX Projector 1080P, covering setup, connectivity, wireless mirroring, media playback, settings, and troubleshooting for this portable projector. |
 |
AAXA P2-A Smart Pico проекторының пайдаланушы нұсқаулығы AAXA P2-A Smart Pico проекторына арналған толық пайдаланушы нұсқаулығы, орнатуды, мүмкіндіктерді, қосылымды, көшіруді, құжатты қамтиды viewing, параметрлер және ақауларды жою. |
 |
AAXA BP1 динамик проекторының пайдаланушы нұсқаулығы AAXA BP1 динамик проекторының толық пайдаланушы нұсқаулығы, егжей-тегжейлі орнату, пайдалану, медиа ойнату, қосылу опциялары (Digital AV, USB-C), ақауларды жою және техникалық сипаттамалар. Портативті проектор мен динамикті пайдалануды үйреніңіз. |
 |
AAXA P8 Smart Mini проекторының пайдаланушы нұсқаулығы: мүмкіндіктері, орнату және пайдалану AAXA P8 Smart шағын проекторына арналған толық пайдаланушы нұсқаулығы. Орнату, қосылу мүмкіндігі (Wi-Fi, Bluetooth, HDMI), мәзірді шарлау, ақауларды жою және осы портативті проектордың техникалық сипаттамалары туралы біліңіз. |
 |
AAXA P4 Pico Projector User Guide Comprehensive user guide for the AAXA P4 Pico Projector, detailing setup, operation, connectivity options, menu navigation, troubleshooting, and technical specifications. Learn how to connect various devices, manage files, and optimize your projection experience. |
 |
AAXA P6 Ultimate проекторының пайдаланушы нұсқаулығы - Орнату және пайдалану Осы жан-жақты пайдаланушы нұсқаулығымен AAXA P6 Ultimate проекторын зерттеңіз. Оңтайлы өнімділік үшін орнату, мүмкіндіктер, мәзірді шарлау, қосылым және қауіпсіздік нұсқаулары туралы біліңіз. |
Ask a question about this manual
Ask about setup, troubleshooting, compatibility, parts, safety, or missing instructions. Manuals+ will review the question and use this page’s manual context to help answer it.