Кіріспе
This user manual provides detailed instructions for the Rollei Flexline 200 digital camera. Please read this manual carefully before using your camera to ensure proper operation and to maximize its performance. Keep this manual in a safe place for future reference.
Пакет мазмұны
Төменде көрсетілген барлық заттардың камера жинағына кіретінін тексеріңіз:
- Rollei Flexline 200 Digital Camera
- Пайдаланушы нұсқаулығы
- CD-ROM Software (Zoner Photo-Studio 9 Express)
- 2 x Lithium-ion Rechargeable Batteries
- Қуаттандыру терминалы
- Connection Cable (USB)
- Білезік бау
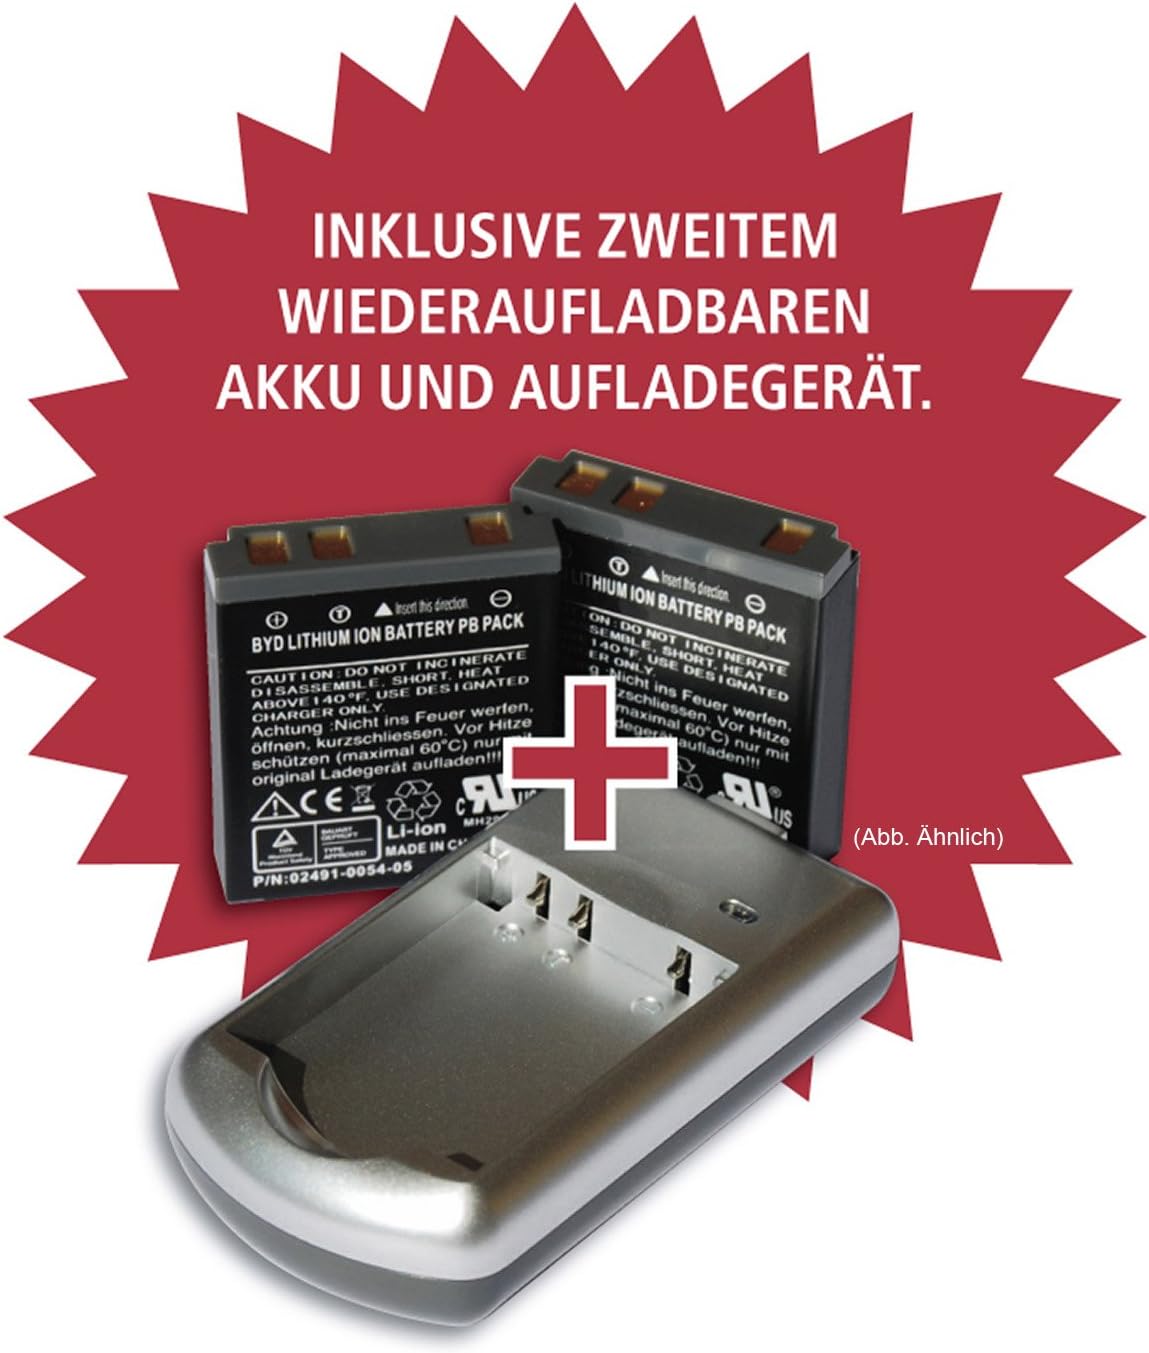
Image: Included rechargeable batteries and charging station.
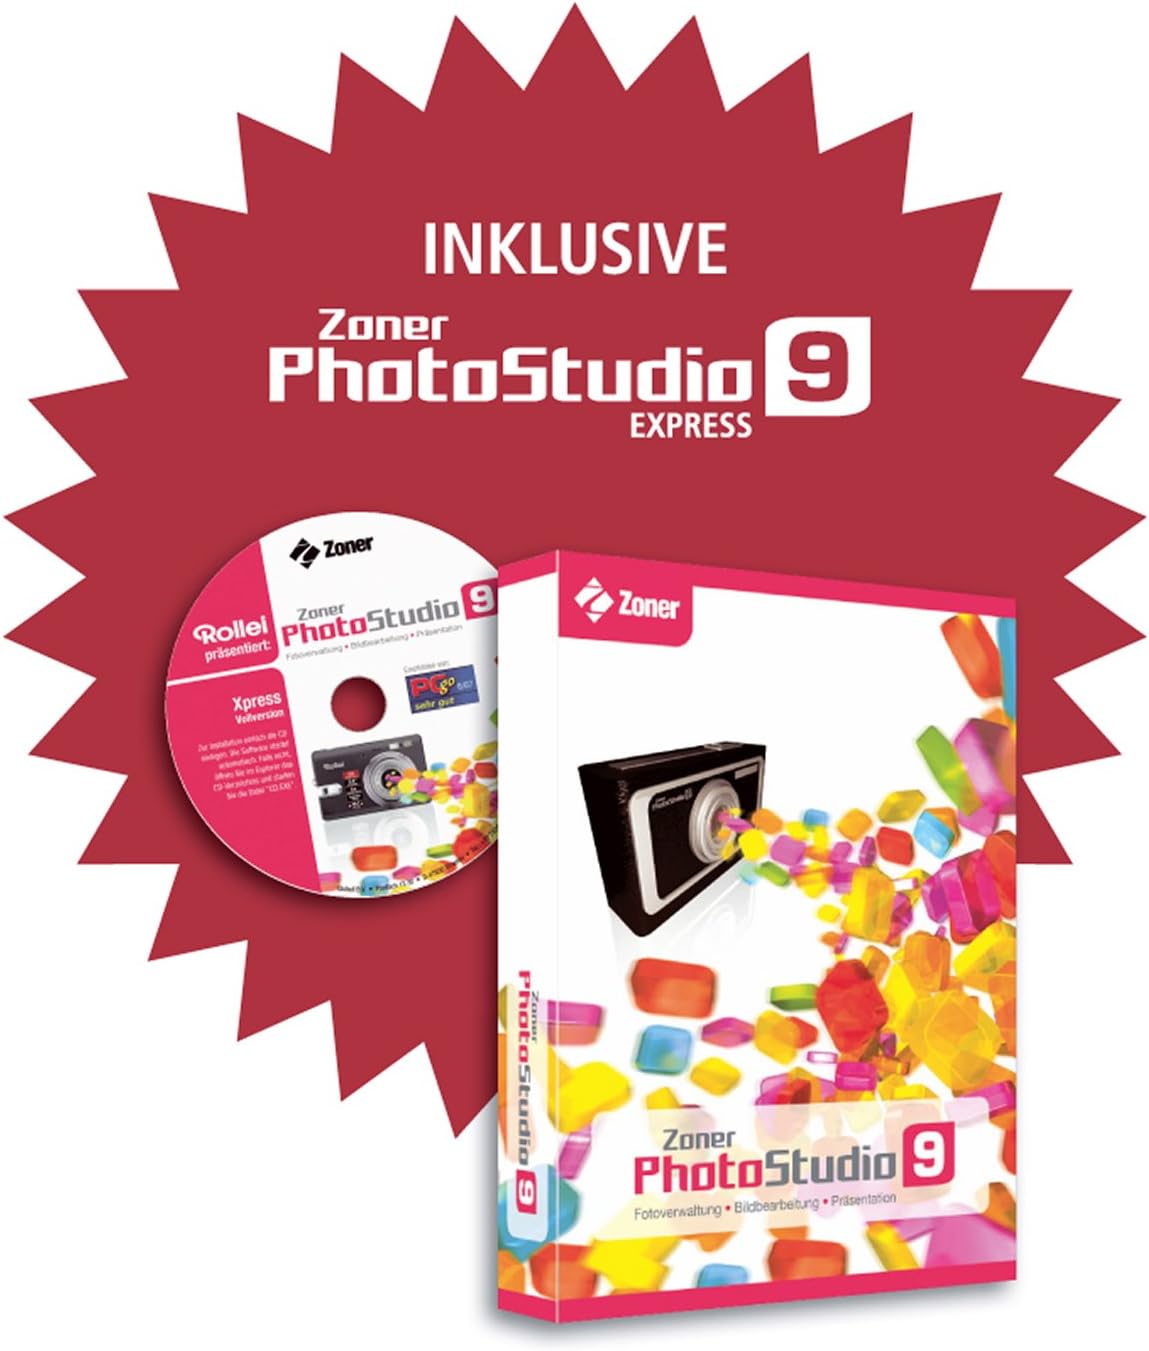
Image: Zoner PhotoStudio 9 Express software for image editing.
Камера аяқталдыview
Familiarize yourself with the various parts of your Rollei Flexline 200 camera.
Алдыңғы View
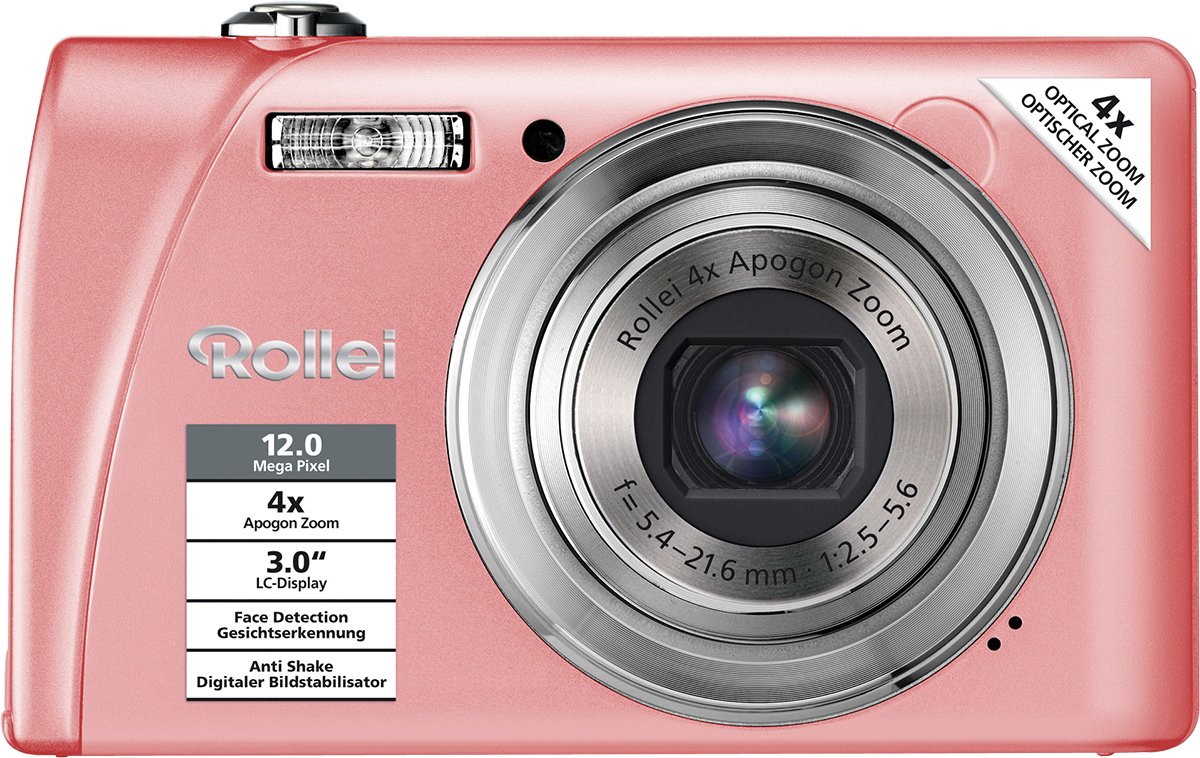
Сурет: алдыңғы view of the camera, highlighting the lens, flash, and key features like 12 Megapixel resolution and 4x Optical Zoom.
Артқы View
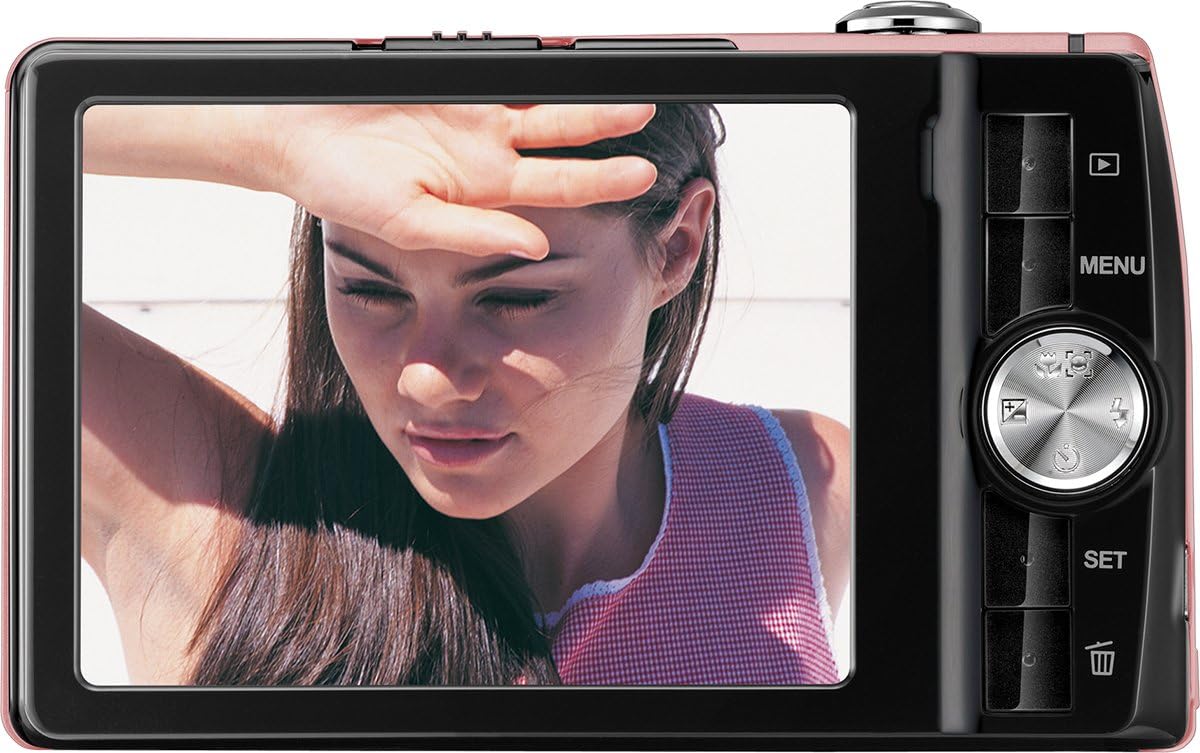
Сурет: артқы view of the camera, displaying the LCD screen and control panel with navigation buttons and menu access.
Орнату
1. Батареяны орнату
- Камераның төменгі жағында орналасқан батарея бөлімінің қақпағын ашыңыз.
- Insert a fully charged Lithium-ion battery into the compartment, ensuring the correct orientation as indicated by the diagram inside.
- Батарея бөлігінің қақпағын орнына түскенше мықтап жабыңыз.
2. Батареяны зарядтау
- Place the Lithium-ion battery into the provided charging station.
- Connect the charging station to a power outlet using the appropriate cable.
- The indicator light on the charger will show the charging status. Charge until the battery is full.
3. Жад картасын орнату
The camera supports SDHC memory cards.
- Жад картасы ұясын, әдетте батарея бөлімінің жанында, табыңыз.
- Insert the SDHC card with the metal contacts facing the correct direction, pushing it gently until it clicks into place.
- To remove, push the card in again until it springs out slightly, then pull it out.
4. Бастапқы қуат қосулы
- Камераны қосу үшін Қуат түймесін басыңыз.
- Күнді, уақытты және тілді орнату үшін экрандағы нұсқауларды орындаңыз.
Камераны пайдалану
Қуатты қосу/өшіру
түймесін басыңыз Қуат қосу немесе өшіру үшін камераның жоғарғы жағында орналасқан түймені басыңыз.
Фотосуреттер түсіру
- Камераны қосыңыз.
- 3.0 дюймдік LCD экранды пайдаланып кадрға түсіріңіз.
- 4x оптикалық масштабтауды реттеу үшін масштабтау тұтқасын пайдаланыңыз.
- Press the shutter button halfway down to activate autofocus. The focus frame will turn green when focus is achieved.
- Суретке түсіру үшін ысырма түймесін толығымен басыңыз.
Режимді таңдау
The camera offers various shooting modes, including 21 scene programs (e.g., Night Shot, Sport) and a Panorama function. Access these modes via the camera's menu or dedicated mode button (if available).
Бейне жазу
- Switch to video recording mode (refer to the on-screen menu).
- Жазуды бастау үшін ысырма түймесін басыңыз.
- Press the shutter button again to stop recording. Videos are saved in MP4 format.
Ойнату режимі
түймесін басыңыз Ойнату түймесі (көбінесе үшбұрыш белгішесімен көрсетіледі) view your captured photos and videos. Use the navigation buttons to scroll through your media.
Мәзір навигациясы
түймесін басыңыз МӘЗІР button to access camera settings. Use the directional pad to navigate through options and the ОРНАТУ таңдауларды растау үшін түймесін басыңыз.
Арнайы мүмкіндіктер
- Кескінді тұрақтандыру: Камера дірілінен туындаған бұлыңғырлықты азайтады.
- Бетті анықтау: Automatically detects and focuses on faces in the frame.
- Күлімсіреуді анықтау: Күлімсіреу анықталған кезде фотосуретті автоматты түрде түсіреді.
- Қызыл көзді азайту: Minimizes red-eye effect in flash photography.
- Автоматты таймер: Delays the shutter release for self-portraits or group shots.
- Жарылыс функциясы: Бірнеше фотосуретті бірінен соң бірін жылдам түсіреді.
Техникалық қызмет көрсету
Тазалау
- Камера корпусы: Wipe with a soft, dry cloth. Do not use harsh chemicals or solvents.
- Объектив: Use a lens brush or a soft, lint-free cloth specifically designed for camera lenses. Avoid touching the lens surface with your fingers.
- СКД экраны: Gently wipe with a soft, clean cloth.
Сақтау
Пайдаланылмаған кезде, камераны салқын, құрғақ жерде, тікелей күн сәулесінен және қатты температурадан алыс сақтаңыз. Егер камера ұзақ уақыт пайдаланылмайтын болса, батареяны алып тастаңыз.
Ақаулықтарды жою
Камера қосылмайды
- Батареяның толық зарядталғанын және дұрыс салынғанын тексеріңіз.
- Try using the second provided battery.
Pictures Are Blurry
- Линзаның таза екенін тексеріңіз.
- Ensure the camera is focusing correctly by pressing the shutter button halfway.
- Hold the camera steady or use a tripod, especially in low light.
Жад картасының қатесі
- Жад картасының дұрыс салынғанына көз жеткізіңіз.
- Try formatting the memory card (this will erase all data).
- Test with a different compatible SDHC memory card.
Техникалық сипаттамалар
| Модель атауы | Flexline 200 |
| Кескін сенсоры | 12 Megapixels (BSI CMOS) |
| Оптикалық масштабтау | 4x |
| Сандық масштабтау | 6x |
| Дисплей | 3.0" (7.62 cm) TFT Color LCD |
| Кескінді тұрақтандыру | Оптикалық |
| Бейне түсіру | MP4, 1080p, 24 fps |
| Сақтау құралы | SDHC compatible |
| Қосылу мүмкіндігі | USB |
| Батарея Түрі | Литий-ион |
| Өлшемдері (L x W x H) | 1.9 x 9.4 x 5.7 см |
| Салмағы | 126 грамм |
| Автофокус | Yes (Contrast Detection, Continuous Servo AF) |
| Автоматты таймер | Иә |
Кепілдік және қолдау
The Rollei Flexline 200 camera comes with a 24-month warranty and replacement service. For technical support or warranty claims, please contact the Rollei Service Hotline.

Image: Rollei 24-month warranty and replacement service seal.
Please refer to the official Rollei webең соңғы қолдау мәліметтерін алу үшін өнімнің қаптамасында берілген байланыс ақпаратын немесе сайтты қараңыз.