1. Кіріспе
This manual provides essential information for the safe and efficient use of your Lexmark E260D Monochrome Laser Printer. Please read these instructions carefully before operating the device and retain them for future reference. The Lexmark E260D is designed for fast, high-quality black and white document printing, featuring automatic two-sided printing for efficiency.
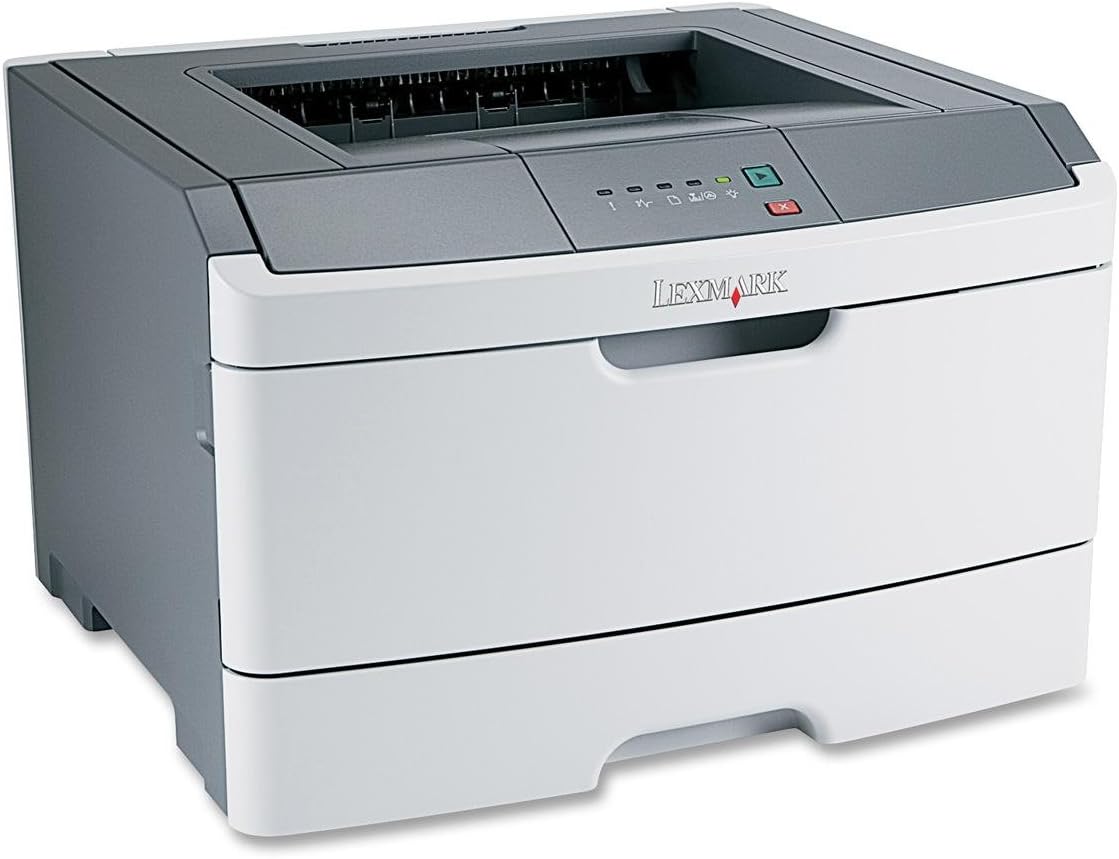
1-сурет: Lexmark E260D Monochrome Laser Printer. This image shows the printer from a front-right angle, highlighting its compact design with a white body and a dark gray top cover. The output tray is visible on top, and the Lexmark logo is displayed on the front panel above the paper input tray.
2. Қауіпсіздік туралы ақпарат
- Принтерді әрқашан жерге тұйықталған розеткаға қосыңыз.
- Желдету саңылауларын жаппаңыз.
- Принтерді судан немесе шамадан тыс ылғалдан аулақ ұстаңыз.
- Use only specified power cords and accessories.
- Avoid touching the fuser area, as it can be hot.
3. Пакет мазмұны
Барлық элементтер пакетте бар екенін тексеріңіз:
- Lexmark E260D Monochrome Laser Printer
- Қуат сымы
- Starter Toner Cartridge (may vary by region)
- Setup Guide or Documentation
- USB Cable (may be sold separately)
4. Орнату
4.1 Принтерді қаптамадан шығару
- Принтерді орамынан шығарыңыз.
- Принтердің сыртқы және ішкі жағынан барлық орауыш материалдарын, таспаларды және қорғаныс қабықшаларын алып тастаңыз.
- Принтерді жеткілікті желдеткіші бар тұрақты, тегіс жерге қойыңыз.
4.2 Принтерді қосу
- Қуат сымын принтерге, содан кейін жерге тұйықталған электр розеткасына қосыңыз.
- USB кабелінің бір ұшын принтердің USB портына, ал екінші ұшын компьютерге қосыңыз.
4.3 Тонер картриджін орнату
- Принтердің алдыңғы есігін ашыңыз.
- Carefully remove the toner cartridge from its packaging and shake it gently to distribute the toner.
- Тонер картриджін принтерге орнына түскенше салыңыз.
- Close the front access door securely.
4.4 Қағаз жүктеу
- Қағаз науасын тартып шығарыңыз.
- Қағаз бағыттағыштарын жүктеп жатқан қағаз өлшеміне сәйкестендіру үшін реттеңіз.
- Қағазды науаға салыңыз, оның тегіс екеніне және максималды толтыру сызығынан аспайтынына көз жеткізіңіз.
- Қағаз науасын принтерге бекітілгенше қайта итеріңіз.
4.5 Драйверді орнату
After connecting the printer, your operating system may automatically detect and install the necessary drivers. If not, follow these steps:
- Insert the driver CD (if included) into your computer's CD/DVD drive, or download the latest drivers from the official Lexmark support webсайт.
- Драйверді орнатуды аяқтау үшін экрандағы нұсқауларды орындаңыз.
- Сұралса, компьютерді қайта іске қосыңыз.
5. Принтерді пайдалану
5.1 Негізгі басып шығару
- Принтердің қосулы және компьютерге жалғанғанына көз жеткізіңіз.
- Компьютерде басып шығарғыңыз келетін құжатты ашыңыз.
- таңдаңыз File > Басып шығару (немесе қолданбаңыздағы баламалы команда).
- Choose the Lexmark E260D from the list of available printers.
- Adjust print settings as needed (e.g., number of copies, page range).
- басыңыз Басып шығару.
5.2 Duplex Printing (Two-Sided)
The Lexmark E260D supports automatic two-sided printing.
- Басып шығару тапсырмасын жіберген кезде, принтердің қасиеттеріне немесе параметрлеріне кіріңіз.
- Байланысты нұсқаны іздеңіз Дуплексті басып шығару or Екі жағына басып шығарыңыз.
- Қажетті дуплекстеу опциясын таңдаңыз (мысалы, ұзын жиекті байланыстыру, қысқа жиекті байланыстыру).
- Confirm your settings and click Басып шығару.
6. Техникалық қызмет көрсету
6.1 Принтерді тазалау
- Сыртқы: Сыртқы беттерді жұмсақ шүберекпен сүртіңіз, damp, түксіз мата. Абразивті тазартқыштарды немесе еріткіштерді қолданбаңыз.
- Интерьер: Periodically open the front access door and gently remove any loose toner dust with a dry, lint-free cloth. Avoid touching sensitive components.
6.2 Тонер картриджін ауыстыру
When the toner level is low, the printer's control panel will indicate it. Replace the toner cartridge as follows:
- Принтердің қосулы екеніне көз жеткізіңіз.
- Алдыңғы кіреберіс есігін ашыңыз.
- Ескі тонер картриджін тіке тартып, абайлап алыңыз.
- Unpack the new Lexmark E260D compatible toner cartridge and shake it gently.
- Жаңа картриджді принтерге орнына бекітілгенше салыңыз.
- Алдыңғы кіреберіс есігін жабыңыз.
7. Ақаулықтарды жою
7.1 Қағаз кептелістері
If a paper jam occurs, the printer's control panel will display an error. Follow these general steps:
- Принтерді өшіріп, оны розеткадан ажыратыңыз.
- Open all accessible covers (front door, rear door, etc.).
- Кептелген қағазды жыртып алмау үшін қағаз жолының бағытына қарай тартыңыз.
- Барлық қақпақтарды мықтап жабыңыз.
- Принтерді қосыңыз және қосыңыз.
7.2 Басып шығару сапасының мәселелері
- Түссізденген немесе ашық түсті баспалар: The toner cartridge may be low. Try shaking the cartridge gently or replace it.
- Жолақтар немесе дақтар: Clean the interior of the printer, especially around the toner cartridge area. Ensure the paper type setting matches the loaded paper.
- Бос беттер: Ensure the toner cartridge is properly installed and has toner. Check printer drivers and print settings.
7.3 Қосылу ақаулары
- Принтер анықталмады: Ensure the USB cable is securely connected to both the printer and the computer. Try a different USB port or cable. Reinstall printer drivers if necessary.
- Print Jobs Stuck: Clear the print queue on your computer. Restart both the printer and the computer.
7.4 Envelope Printing on Mac
Users printing envelopes on macOS may encounter issues with incorrect print orientation or partial printing. To resolve this:
- In the print dialogue box, locate the menu that initially reads 'Layout'.
- Select 'Paper Feed' from this menu.
- Change the 'Auto Select' option to 'Manual Envelope'.
- Басып шығаруды жалғастырыңыз.
8. Техникалық сипаттамалар
| Ерекшелік | Техникалық сипаттама |
|---|---|
| Модель атауы | E260D |
| Баспа технологиясы | Лазер |
| Принтердің шығысы | Монохромды |
| Максималды басып шығару жылдамдығы (монохромды) | 35 бет/мин |
| Максималды басып шығару ажыратымдылығы (ақ-қара) | 1200 нүкте/дюйм |
| Дуплексті басып шығару | Автоматты |
| Қосылу технологиясы | USB 2.0 |
| Максималды кіріс парағы сыйымдылығы | 250 парақ |
| Supported Print Media | Envelopes, Labels, Paper (plain), Transparencies |
| Жад сақтау сыйымдылығы | 32 МБ |
| Өнім өлшемдері | 16.5 x 18.1 x 14 дюйм |
| Элемент салмағы | 29.8 фунт (13.53 кг) |
| Қуатты тұтыну (қосу режимі) | 16 Вт |
9. Кепілдік туралы ақпарат
The Lexmark E260D Monochrome Laser Printer comes with an Exchange Warranty. For specific terms, conditions, and duration of your warranty, please refer to the warranty documentation included with your product or visit the official Lexmark support webсайт.
10. Тұтынушыларға қолдау көрсету
For further assistance, technical support, or to order replacement parts and supplies, please contact Lexmark Customer Support. You can find contact information and additional resources on the official Lexmark webсайт:
- Lexmark қолдауы Webсайт: www.lexmark.com/support (Назар аударыңыз: бұл толтырғыш URL. Refer to your product documentation for the exact support link.)