1. Кіріспе және одан әріview
The AKG P220 is a large-diaphragm true condenser microphone designed for professional studio and stage applications. It delivers a warm and clear sound, suitable for recording lead vocals, acoustic guitars, and brass instruments. Its robust construction and versatile features make it a reliable choice for various audio recording needs.
Key features include a switchable bass-cut filter to eliminate unwanted low-frequency rumble and an attenuation pad for handling high sound pressure levels (up to 155dB SPL), making it ideal for loud sound sources.
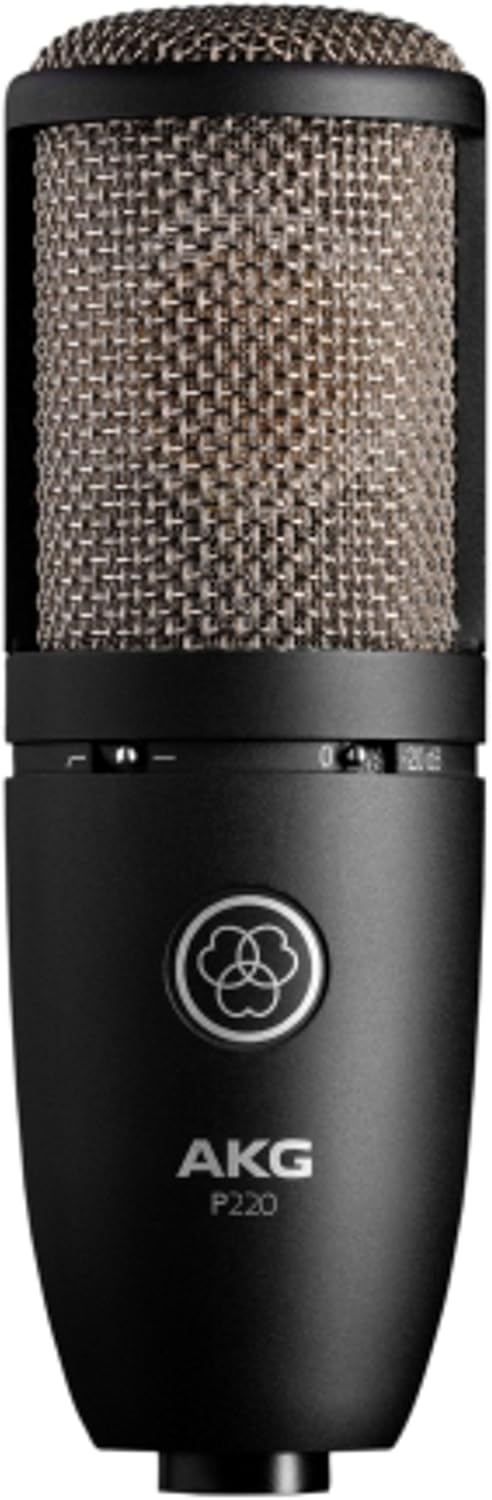
Image: The AKG P220 microphone, showcasing its black metal body and silver grille.
2. Орнату нұсқаулары
2.1 Қаптаманы ашу және тексеру
Carefully remove the microphone and its accessories from the aluminum carrying case. Inspect all components for any signs of damage. The package should include the AKG P220 microphone, a spider-type shock mount, and a spare elastic band for the mount.
2.2 Attaching the Shock Mount
- Gently insert the microphone into the shock mount. Ensure it is securely seated within the elastic bands to isolate it from vibrations.
- Tighten the screw mechanism on the shock mount to firmly hold the microphone in place.
- Attach the shock mount to a standard microphone stand using the threaded adapter.

Image: The AKG P220 microphone securely mounted in its spider-type shock mount.
2.3 Connecting to Audio Interface/Mixer
The AKG P220 requires an XLR cable and 48V phantom power for operation. It is not a plug-and-play USB microphone.
- Connect one end of a balanced XLR cable to the XLR output connector at the bottom of the microphone.
- Connect the other end of the XLR cable to an input on your audio interface or mixing console.
- Activate the 48V phantom power on your audio interface or mixing console for the connected input channel. The microphone will not function without phantom power.
3. Микрофонды пайдалану
3.1 Controls on the Microphone
The AKG P220 features two switches on its body:
- Bass-Cut Filter: This switch activates a low-cut filter at 300 Hz. Use it to reduce unwanted low-frequency noise such as rumble, footfall, or air conditioning hum, especially when recording vocals or acoustic instruments.
- Attenuation Pad (-20 dB): This switch engages a -20 dB pre-attenuation pad. Activate this when recording extremely loud sound sources (e.g., drum overheads, loud guitar amplifiers, brass instruments) to prevent input overload and distortion in your audio interface or mixer.
3.2 Microphone Placement and Techniques
Optimal microphone placement is crucial for achieving the best sound quality. Experiment with distances and angles relative to the sound source. The P220 has a cardioid polar pattern, meaning it is most sensitive to sounds coming from the front and rejects sounds from the sides and rear. This helps in isolating the desired sound source and reducing room reflections.
For vocals, position the microphone 6-12 inches from the singer, slightly off-axis to minimize plosives. For acoustic guitars, try pointing it towards the 12th fret for a balanced sound. When miking loud instruments, utilize the attenuation pad and maintain a suitable distance to capture the full dynamic range without distortion.
4. Техникалық қызмет көрсету және күту
- Тазалау: Use a soft, dry cloth to clean the microphone body. Avoid using liquid cleaners or solvents, as they can damage the finish or internal components.
- Сақтау орны: Always store the AKG P220 in its provided aluminum carrying case when not in use. The custom-fit foam interior protects the microphone and shock mount from dust, moisture, and physical damage.
- Өңдеу: Condenser microphones are delicate instruments. Avoid dropping or subjecting the microphone to harsh impacts.
- Серпімді жолақтар: The shock mount's elastic bands may wear out over time. Replace them with the provided spare band or genuine AKG replacement parts to maintain effective vibration isolation.
5. Ақаулықтарды жою
| Мәселе | Ықтимал себебі | Шешім |
|---|---|---|
| Микрофоннан дыбыс жоқ | No phantom power (48V) activated. Incorrect XLR cable connection. Faulty cable. | Ensure 48V phantom power is enabled on your audio interface/mixer. Check XLR cable connections at both ends. Try a different XLR cable. |
| Бұрмаланған дыбыс | Input overload (signal too hot). Attenuation pad not engaged for loud sources. | Engage the -20 dB attenuation pad for loud sources. Reduce the gain on your audio interface/mixer input. Increase distance from the sound source. |
| Excessive low-frequency noise/rumble | Unwanted low-frequency sounds (e.g., stage rumble, air conditioning). Bass-cut filter not engaged. | Engage the bass-cut filter switch. Ensure the microphone is properly isolated with the shock mount. |
| Microphone picking up vibrations | Shock mount not properly installed or elastic bands are worn. | Ensure the microphone is correctly seated in the shock mount. Replace worn elastic bands. |
6. Техникалық шарттар
| Ерекшелік | Техникалық сипаттама |
|---|---|
| Бренд | AKG |
| Модель атауы | AKG Pro Audio Perception 220 |
| Микрофон пішін факторы | Үлкен диафрагма |
| Полярлық үлгі | Бір бағытты (кардиоидты) |
| Қосылу технологиясы | XLR |
| Қуат көзі | Phantom power (XLR) |
| Жиілік реакциясы | 20 Гц - 20 КГц |
| Дыбыс сезімталдығы | 155 Decibels (SPL) |
| Кедергі | 200 Ом |
| Сигналдардың шуылға қатынасы | 78 дБ |
| Элемент салмағы | 1.16 фунт |
| Өнім өлшемдері (L x W x H) | 9 x 5.5 x 9.8 дюйм |
| Материал | Металл |
| Түс | Silver Blue |
| Өндіруші | Harman музыкалық тобы |
7. Қорапта не бар
- AKG P220 Condenser Microphone
- Spider-type Shock Mount
- Алюминийден жасалған қап
- Spare Elastic Band for Shock Mount
8. Кепілдік және қолдау
For warranty information, technical support, or service inquiries, please refer to the official AKG webсайтына кіріңіз немесе өкілетті AKG дилеріне хабарласыңыз. Кепілдік талаптары үшін сатып алу құжатыңызды сақтаңыз.
-ге барыңыз AKG Store Қосымша өнім туралы ақпарат пен керек-жарақтар үшін.