1. Қауіпсіздік туралы маңызды ақпарат
Please read all instructions carefully before operating your Thomson RR 68 M clock. Keep this manual for future reference.
- Сағатты шектен тыс температураға, тікелей күн сәулесіне немесе жоғары ылғалдылыққа шығармаңыз.
- Сағатты түсіріп алудан немесе қатты соққыларға ұшыратудан сақ болыңыз.
- Do not attempt to disassemble or modify the clock. This will void the warranty.
- Use only the specified battery type. Ensure correct polarity when inserting batteries.
- Сағат ұзақ уақыт пайдаланылмаса, ағып кетудің алдын алу үшін батареяларды алып тастаңыз.
2. Өнім аяқталдыview
Familiarize yourself with the components of your Thomson RR 68 M clock.
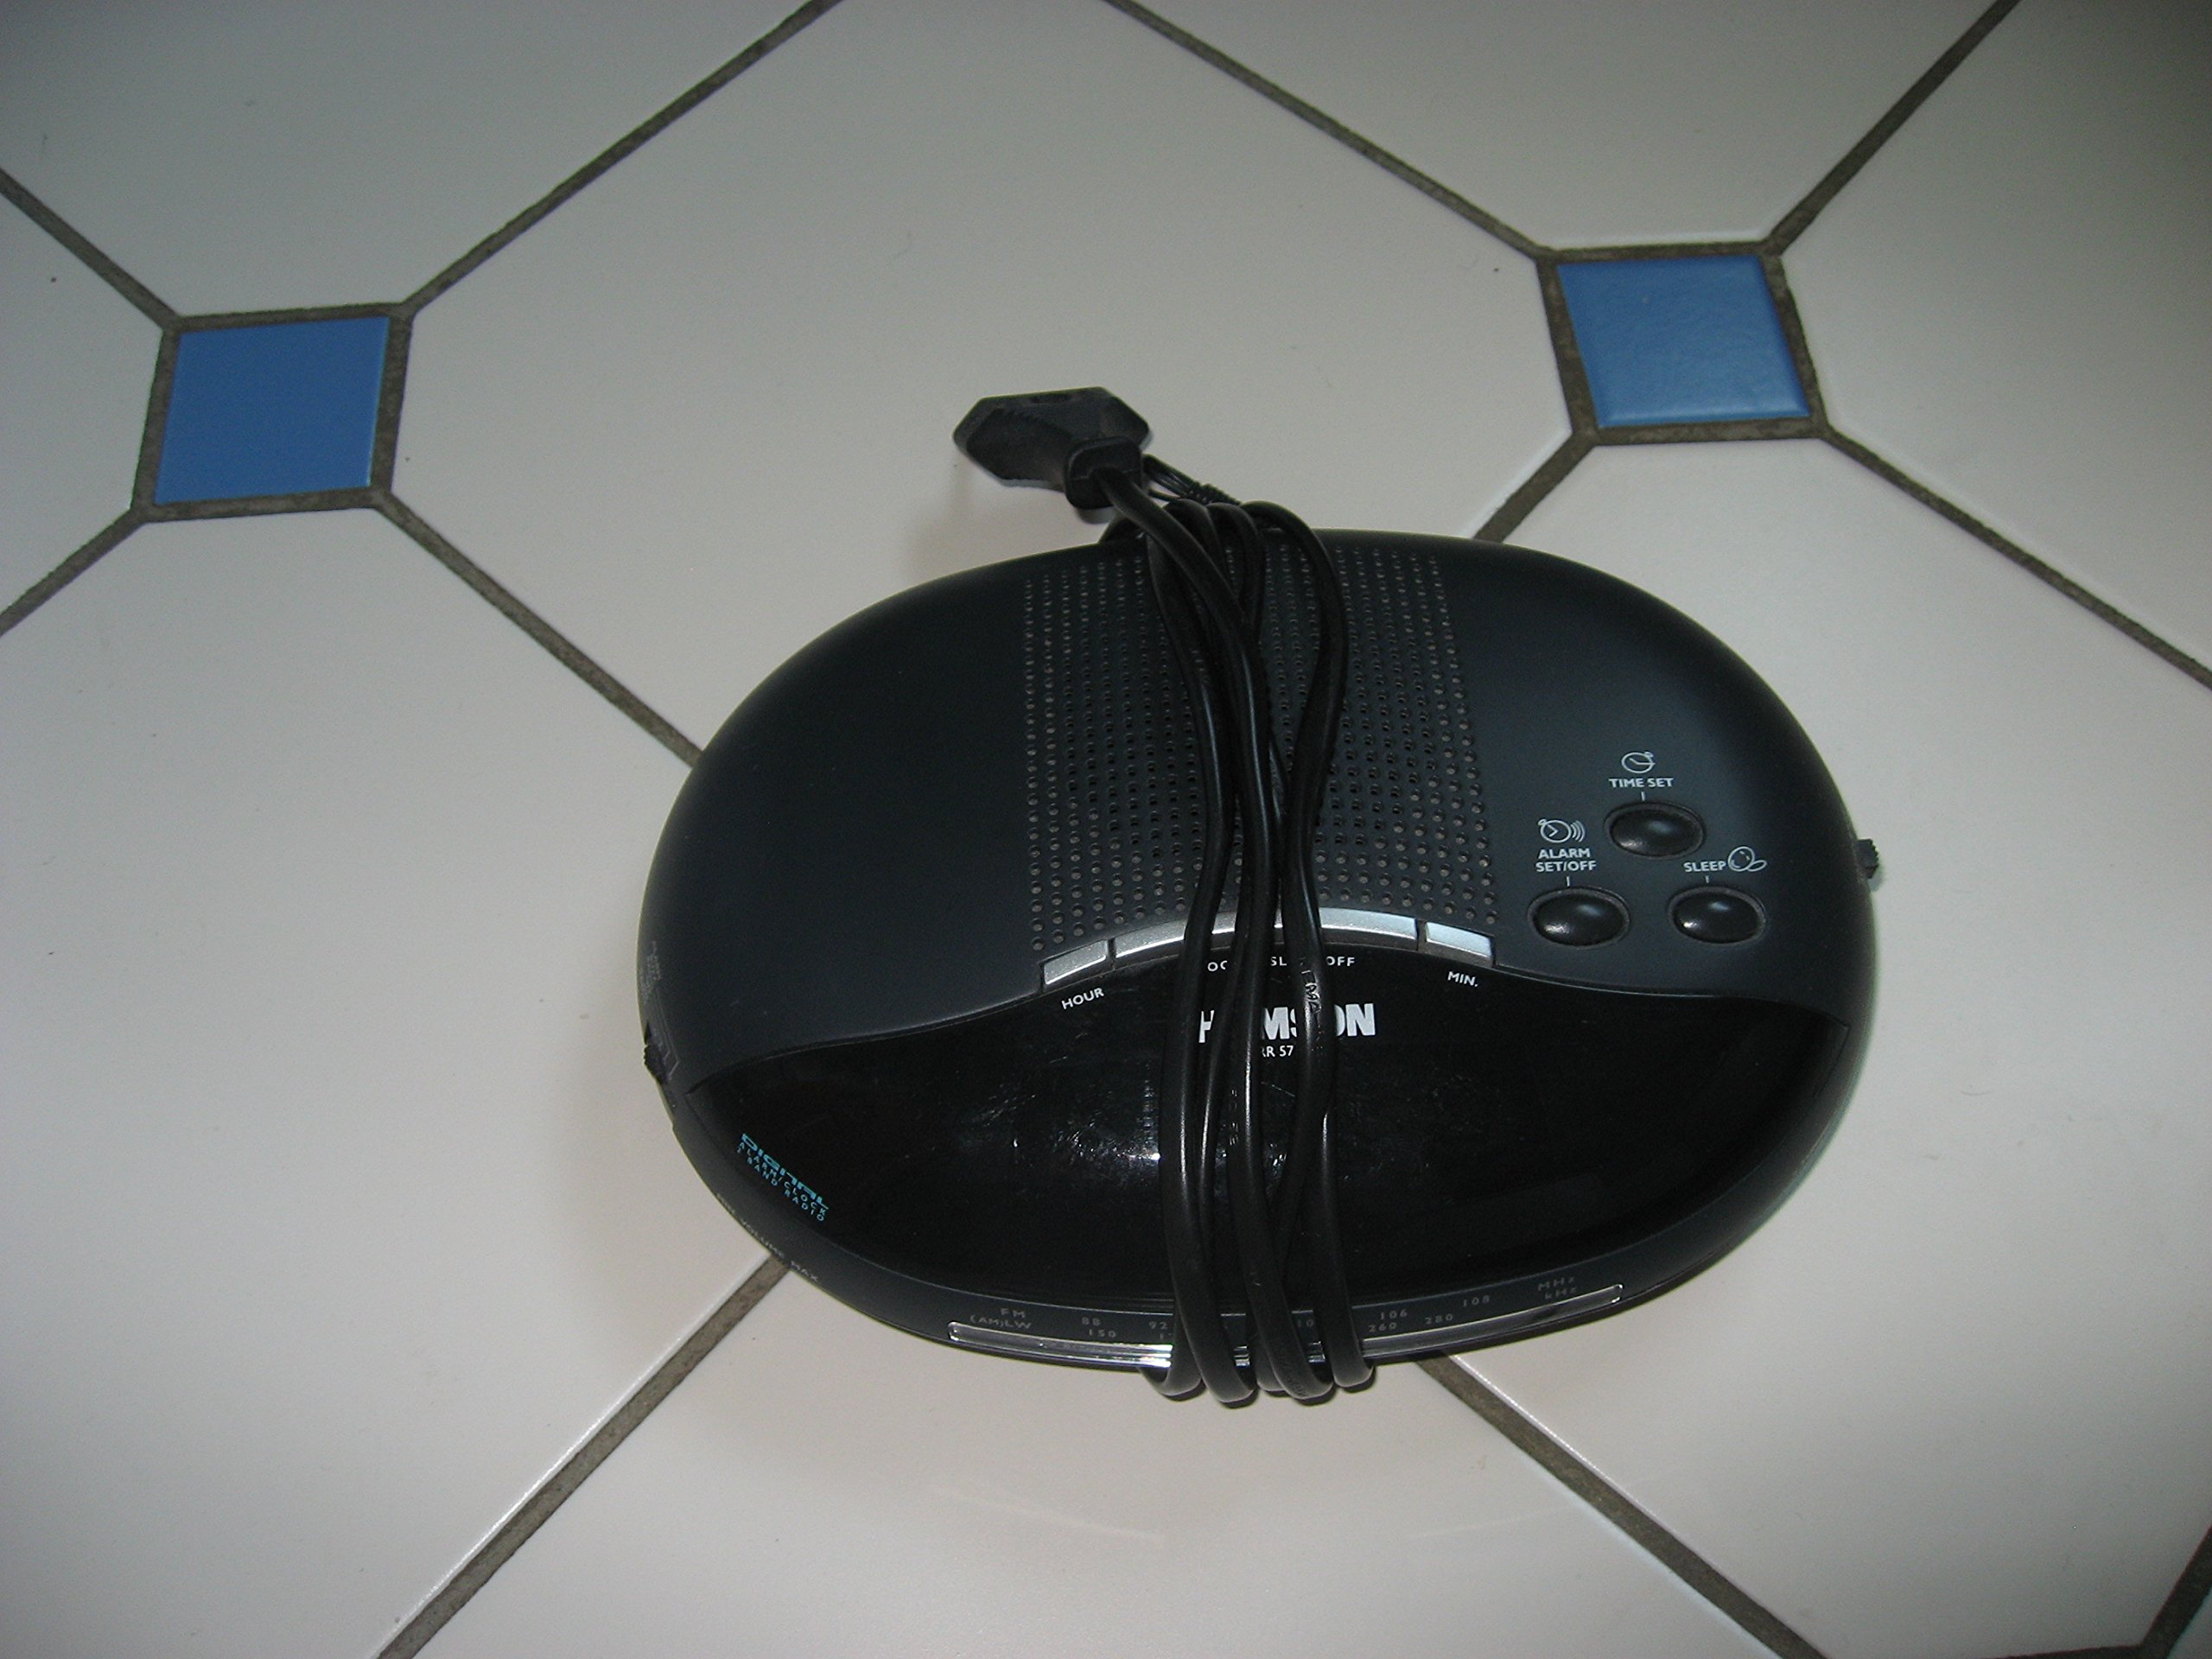
1-сурет: Алдыңғы view of the Thomson RR 68 M clock, showing the digital display and control buttons. This image illustrates the compact design suitable for tabletop placement.
2.1 Пакет мазмұны
- Thomson RR 68 M Clock Unit
- Пайдаланушы нұсқаулығы (бұл құжат)
3. Орнату
3.1 Сағатты қосу
The Thomson RR 68 M clock operates on batteries (not included). Ensure you have the correct type and quantity of batteries before proceeding.
- Батарея бөлімінің қақпағын сағаттың артқы немесе төменгі жағынан табыңыз.
- Remove the battery compartment cover by sliding or unlatching it.
- Insert the required batteries, paying close attention to the polarity markings (+ and -) inside the compartment.
- Replace the battery compartment cover securely. The clock display should now illuminate.
4. Пайдалану нұсқаулары
4.1 Уақытты орнату
To set the current time on your Thomson RR 68 M clock:
- Locate the 'SET' or 'MODE' button, usually on the back or side of the clock. Press and hold this button for a few seconds until the hour digits begin to flash.
- Use the '+' or 'HOUR' button to adjust the hour. Press repeatedly to advance the hour.
- Press the 'SET' or 'MODE' button again. The minute digits will begin to flash.
- Use the '+' or 'MINUTE' button to adjust the minutes. Press repeatedly to advance the minutes.
- Press the 'SET' or 'MODE' button one last time to confirm the time setting and exit the setting mode. The display will stop flashing.
Note: This model does not feature an alarm function.
5. Техникалық қызмет көрсету
5.1 Тазалау
Сағаттың сыртқы түрін сақтау үшін:
- Сағаттың сыртын жұмсақ, құрғақ шүберекпен сүртіңіз.
- Абразивті тазартқыштарды, еріткіштерді немесе химиялық спрейлерді пайдаланбаңыз, себебі олар әрлеуді зақымдауы мүмкін.
5.2 Батареяны ауыстыру
When the display dims or the clock stops functioning, it is time to replace the batteries. Follow the steps in Section 3.1 to replace the old batteries with new ones. Dispose of used batteries responsibly according to local regulations.
6. Ақаулықтарды жою
If you encounter issues with your Thomson RR 68 M clock, refer to the following common problems and solutions:
6.1 Clock Display is Blank or Dim
- Батареяларды тексеру: Батареялардың дұрыс полярлықпен дұрыс салынғанына көз жеткізіңіз. Қажет болса, жаңа батареялармен ауыстырыңыз.
- Батарея бөлімі: Батарея бөлімінің қақпағының мықтап жабылғанын тексеріңіз.
6.2 Уақыт дұрыс емес
- Уақытты қалпына келтіру: Follow the instructions in Section 4.1 to manually set the time.
- Батарея қуаты: If the time frequently resets or loses accuracy, the batteries may be low and require replacement.
7. Техникалық сипаттамалар
| Үлгі нөмірі | RR 68 M |
| Бренд | ТОМСОН |
| Монтаждау түрі | Үстел үсті |
| Қуат көзі | Батареялар (жинаққа кірмейді) |
| Дабыл функциясы | Жоқ |
8. Кепілдік туралы ақпарат
Specific warranty details for the Thomson RR 68 M clock are not provided within this user manual. Please refer to the product packaging, the point of purchase, or the official Thomson webКепілдіктің толық шарттары мен шарттарына арналған сайт.
9. Тұтынушыларға қолдау көрсету
For further assistance, technical support, or inquiries regarding your Thomson RR 68 M clock, please visit the official Thomson webсайтына кіріңіз немесе олардың тұтынушыларға қызмет көрсету бөліміне хабарласыңыз. Байланыс ақпараты әдетте өндірушінің веб-сайтында қолжетімді. webсайт немесе өнімнің қаптамасы.